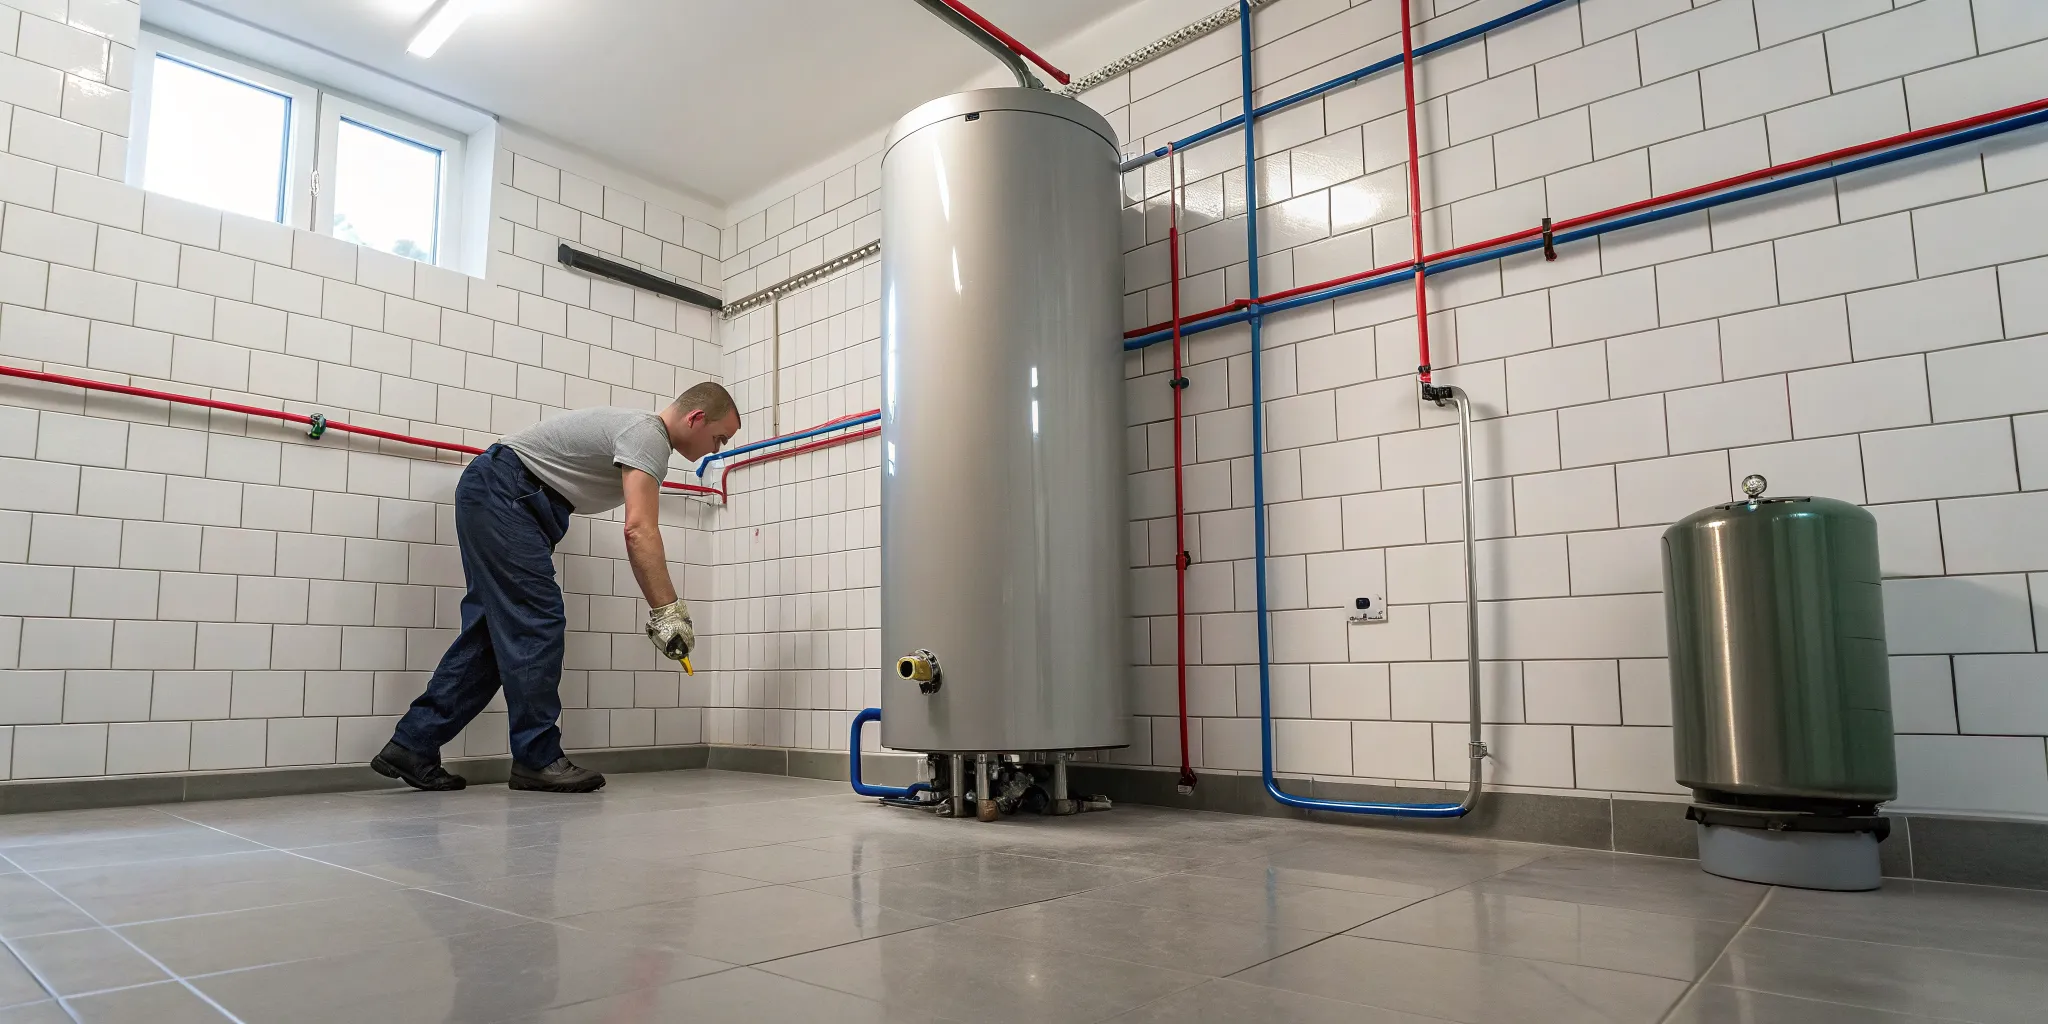
That constant trickling sound is more than just annoying—it’s the sound of a running toilet wasting water and your money. The good news? The fix is often a tiny, five-dollar rubber part. The usual culprit is a worn-out flapper that no longer creates a tight seal, letting water seep from the tank into the bowl. Before you get overwhelmed thinking about a major plumbing repair, take a deep breath. Fixing a toilet running when not in use is one of the most straightforward DIY home repairs. This guide will show you exactly how to identify the problem and give you the confidence to fix it yourself.
Key Takeaways
- Identify the Source First: Before buying parts, figure out if the problem is the flapper, fill valve, or float. A few drops of food coloring in the tank is a foolproof way to confirm a leaky flapper without flushing.
- Simple Adjustments Are Often the Fix: You can frequently solve the problem for free. Check that the flapper’s chain has a little slack and adjust the float so the water level stops about an inch below the overflow tube.
- Don’t Hesitate to Call for Help: If you’ve tried the common fixes and the toilet still runs, it’s a sign of a more complex issue. Problems like high water pressure or a cracked valve are best handled by a professional to ensure a lasting solution.
Why Won’t My Toilet Stop Running?
That phantom running sound from your toilet isn’t just annoying—it’s a sign that water is being wasted, which can drive up your utility bills. When your toilet runs constantly, it means water is leaking from the tank into the bowl, triggering the fill mechanism to keep refilling the tank. The good news is that this is one of the most common plumbing issues homeowners face, and you can often pinpoint the cause with a little detective work inside the toilet tank. Most of the time, the fix is simple and doesn’t require a major overhaul. The key is understanding the basic mechanics of your toilet’s tank. Inside that porcelain box are a few key parts working together, and when one fails, the whole system can get out of sync. From a worn-out seal to a misaligned float, the problem is almost always located inside the tank. Let’s walk through the five most common culprits behind a running toilet. Identifying the right one is the first step toward a quick fix and a quieter bathroom. If you find the problem is more than you can handle, our team is always ready to help with expert toilet repair.
Check for a Faulty Flapper Seal
Think of the flapper as the drain plug for your toilet tank. It’s the rubber or plastic piece at the bottom that lifts when you flush and then settles back down to create a watertight seal. Over time, these flappers can wear out, warp, or get brittle from minerals in the water. When this happens, the flapper can’t create a perfect seal anymore. A tiny, steady trickle of water seeps from the tank into the bowl. This slow leak causes the water level in the tank to drop, which in turn tells the fill valve to kick on and refill it, starting the cycle all over again.
When Your Fill Valve Won’t Quit
The fill valve is the tall mechanism, usually on the left side of the tank, that’s responsible for refilling the tank with water after you flush. It’s connected to the float, which tells it when to stop filling. If the fill valve is old, clogged with debris, or broken, it might not shut off completely. This means it will continue to send a small stream of water into the tank even after it’s full. The excess water then drains down the overflow tube, and the fill valve just keeps on running, trying to complete a job that never ends.
Is the Flapper Chain Too Long or Too Short?
The small chain that connects the flush handle to the flapper plays a surprisingly important role. If this chain is too short or gets tangled, it will pull up on the flapper, preventing it from sealing completely. This creates a gap that allows water to constantly leak into the bowl. On the other hand, if the chain is too long, it can get caught underneath the flapper, also breaking the seal. It’s a simple part, but getting the length just right is key to making sure your toilet functions properly and doesn’t run when it shouldn’t.
Is the Float Ball Out of Place?
The toilet float is the part that senses the water level in the tank. In older toilets, it’s a large plastic ball, while newer ones often have a more compact cup-style float that moves up and down the fill valve shaft. Its job is to tell the fill valve when to shut off. If the float is set too high or gets stuck, the fill valve won’t get the signal to stop. This causes the tank to overfill, with the excess water spilling into the overflow tube. A float can get caught on other parts in the tank, so checking that it moves freely is an important step.
Is the Water Level in the Tank Too High?
Your toilet tank has a built-in safety feature called the overflow tube. It’s a tall, open pipe that prevents the tank from overflowing onto your bathroom floor if the fill valve fails. The water level in the tank should always be about an inch below the top of this tube. If the water level is too high, it will constantly spill into the tube and drain into the bowl, causing the toilet to run nonstop. This is usually a symptom of a misaligned float or a faulty fill valve, but checking the water level is a quick way to diagnose the problem.
Is Your Refill Tube Siphoning Water?
Inside your toilet tank, you’ll see a small, flexible tube running from the fill valve to the overflow pipe. This is the refill tube, and its job is to send just enough water down the overflow pipe to refill the bowl after a flush. However, if this tube is pushed too far down into the pipe, it can create a siphoning effect, constantly pulling water out of the tank and into the bowl. This slow, silent drain will cause your tank’s water level to drop, triggering the fill valve to turn on and refill it periodically. The fix is usually simple: just pull the tube out of the overflow pipe and use the attached clip to secure it to the top edge of the pipe, ensuring the water flows in from above.
Could a Loose Nut or Cracked Part Be the Problem?
If you’ve checked all the usual suspects and your toilet is still running, the issue might be a bit more hidden. At the base of the flush valve assembly, where the flapper sits, there’s a large nut on the underside of the tank that holds everything in place. If this nut becomes loose, water can slowly seep out. You can try gently tightening it, but be careful not to overtighten and crack the porcelain. A more serious problem is a crack in the flush valve itself or the overflow tube. These hairline fractures can be tough to spot but will cause a persistent leak. When you’re dealing with cracked components or issues that go beyond simple adjustments, it’s often best to call in a professional for a reliable toilet repair to prevent further damage.
The Real Cost of a Running Toilet
That constant trickling sound is more than just a minor annoyance; it’s the sound of money and resources going directly down the drain. While it’s easy to put off fixing a running toilet, the hidden costs can add up surprisingly fast. Beyond the irritation, a constantly running toilet has a real impact on your monthly utility bills and the environment. Understanding the true cost of that leak is often the motivation needed to address the problem head-on. It’s one of the few home repairs where the fix not only restores peace and quiet but also provides an immediate return on your investment by lowering your water bill.
How Much Water Is Going Down the Drain?
It’s shocking how much water a single faulty toilet can waste. A continuously running toilet can send up to 200 gallons of water down the drain every single day. To put that in perspective, that’s enough water for several extra showers or a few loads of laundry. This silent leak can easily double a household’s typical water usage, leading to a significant and unwelcome surprise on your next water bill. It’s a constant, unnecessary expense that you pay for every month until the problem is fixed. Fixing the leak isn’t just about saving water; it’s about stopping a preventable drain on your finances.
Comparing Repair Costs to Water Waste
When you weigh the cost of wasted water against the cost of a repair, the solution becomes clear. Most of the common culprits behind a running toilet, like a worn-out flapper or a misaligned float, can be fixed with parts that cost less than a pizza. You can find simple replacement kits at any hardware store, and many of these fixes are straightforward enough to handle yourself in under an hour. Even if the problem is more complex and requires professional toilet repair, the one-time service cost is a smart investment that pales in comparison to paying for hundreds of gallons of wasted water month after month. Ignoring the issue is always the most expensive choice.
Is a Faulty Flapper the Culprit? Here’s How to Tell
That constant running sound is usually a sign that water is leaking from the tank into the bowl when it shouldn’t be. More often than not, the problem child is a small rubber part called the flapper. Over time, this little seal can wear out, get misaligned, or just stop doing its one job correctly. The good news is that you don’t need to be a plumbing pro to investigate. With a few simple checks, you can quickly determine if the flapper is the source of your toilet troubles.
What to Look For: A Quick Visual Check
First things first, let’s take a look inside the tank. Carefully lift the lid off and set it aside somewhere safe. You’ll see the flapper at the bottom of the tank—it’s the round, rubber stopper covering the drain hole. A healthy flapper should be smooth and flexible, creating a perfect seal. Look closely for any obvious signs of wear and tear. Is it cracked, warped, or brittle? You might also see mineral buildup or gunk around the edge, which can prevent it from closing properly. If the flapper looks anything less than perfect, it’s likely the reason your toilet won’t stop running.
The Black Finger Test
Here’s a surprisingly simple trick to confirm a worn-out flapper. After turning off the water supply to the toilet and flushing to empty the tank, reach in and rub your finger on the surface of the flapper. If your finger comes away with a black, smudgy residue, you’ve found your culprit. That black stuff is the rubber itself, breaking down and deteriorating after years of being submerged in water and exposed to chemicals. A flapper in this condition has lost its flexibility and can no longer create the strong, watertight seal needed to keep water in the tank. This quick, hands-on test is one of the most reliable ways to know for sure that it’s time for a replacement.
Inspect the Flush Valve Seat
While the flapper is often the problem, it’s not the only part of the sealing equation. The flush valve seat—the plastic or brass rim the flapper rests on—must be smooth and clean to create a proper seal. With the flapper lifted out of the way, run your finger around this rim. You’re feeling for any nicks, cracks, or rough patches caused by mineral buildup. Sometimes, simply cleaning this surface with a non-abrasive sponge is all it takes to fix the leak. However, if you feel a crack or a deep gouge, even a brand-new flapper won’t be able to seal the gap. This is a more complex issue, and trying to fix it yourself can sometimes lead to bigger problems. If the valve seat is damaged, it’s best to call a professional for a reliable toilet repair to ensure it’s fixed correctly.
Try the Food Coloring Trick
If a visual check doesn’t give you a clear answer, this next trick is foolproof. Grab some food coloring from your kitchen pantry (any dark color will do). Add a few drops into the water inside the toilet tank, not the bowl. Now, walk away and don’t flush for about 20 to 30 minutes. When you come back, peek into the toilet bowl. If you see any colored water in the bowl, you have a confirmed leak. This means the flapper isn’t sealing tightly, allowing the colored water from the tank to seep through. It’s a simple but effective way to diagnose a silent leak.
Make Sure the Chain Isn’t Snagged
The flapper is connected to the flush handle by a small chain. The length of this chain is surprisingly important. If it’s too short or has no slack, it will constantly pull on the flapper, preventing it from ever fully sealing. On the other hand, if the chain is too long, it can get tangled or caught underneath the flapper, also leaving a gap for water to escape. The ideal length leaves just a tiny bit of slack—about half an inch. If your chain is too tight or dangling excessively, this simple adjustment could be your fix. If you’re not comfortable making these adjustments, our team is always ready to help with any toilet repair.
How to Fix a Running Toilet: A Step-by-Step Guide
That constant hissing or trickling sound from your toilet isn’t just annoying—it’s a sign that water and money are going down the drain. A running toilet can waste hundreds of gallons of water a day, which definitely shows up on your utility bill. The good news is that most of the common causes are surprisingly simple to fix yourself. You don’t need to be a plumbing expert to tackle this project. Usually, the problem lies inside the tank with one of three key parts: the flapper, the fill valve, or the float.
Before you get overwhelmed, just know that these components are designed to be adjusted or replaced with minimal fuss. With a little patience and this guide, you can silence that phantom flushing for good. We’ll walk through each potential fix, from the simplest adjustments to replacing a worn-out part. Taking a few minutes to diagnose the issue can save you a headache and a call for professional toilet repair. So, let’s lift the lid on that tank and figure out what’s going on in there.
First Things First: Shut Off the Water
Before you do anything else, you need to stop the flow of water to the toilet. This is a non-negotiable first step that prevents a simple fix from turning into a messy situation. Look for a small, oval-shaped handle or knob on the wall or floor behind your toilet—this is the shut-off valve. Turn it clockwise until it stops. This will cut off the water supply, allowing you to work inside the tank without it constantly refilling. Once the water is off, flush the toilet to drain most of the water from the tank. You’ll be left with just a small amount at the bottom, which is perfectly fine.
Pro Tip: Locate Your Main Water Shut-Off Valve
While you’re already looking for the toilet’s shut-off valve, take this opportunity to locate the main water shut-off for your entire house. Knowing where this is and how to use it is one of the most important things you can do as a homeowner. In a true plumbing emergency, like a burst pipe, this valve is your first line of defense to prevent catastrophic water damage. You’ll typically find it in the basement, a crawl space, or a utility closet, usually on a wall closest to the street. It will have either a round, wheel-like handle or a lever. Once you find it, make sure everyone in your home knows its location. This simple piece of knowledge can save you thousands of dollars and a massive headache down the road.
How to Adjust the Flapper
The flapper is the rubber seal at the bottom of your tank that lifts when you flush and then drops back down to keep water in the tank. If this seal isn’t perfectly flat and secure, water will slowly leak into the bowl, causing the tank to refill constantly. After turning off the water and flushing, reach into the tank and feel the flapper. Is it aligned correctly over the opening? Sometimes it can get twisted or caught on the chain. Press down on it gently to see if it creates a solid seal. If it seems to sit properly, the issue might be the chain itself.
How to Get the Chain Length Just Right
The chain connects the flush lever to the flapper, and its length is critical. If the chain is too short, it will pull on the flapper, preventing it from sealing completely. If it’s too long, it can get tangled or caught underneath the flapper, also breaking the seal. You’re looking for just a tiny bit of slack in the chain when the flapper is closed. You can easily adjust it by moving the clip to a different link on the chain. It might take a little trial and error to find the perfect length, but this simple adjustment often solves the problem instantly.
How to Replace a Worn-Out Flapper
If you’ve checked the flapper’s position and the chain length, but water is still leaking through, the flapper itself is likely the culprit. Over time, the rubber can warp, crack, or degrade from minerals in the water, losing its ability to create a tight seal. Luckily, replacing a flapper is one of the easiest and cheapest plumbing repairs. You can find a new one at any hardware store for just a few dollars. Simply unhook the old flapper from the sides of the overflow pipe and detach the chain. Then, clip the new one in its place. It’s a quick, tool-free fix that makes a huge difference. If you run into trouble, our team is always ready to help with toilet repair and replacement.
How to Adjust the Toilet Float
The float is the part that senses the water level in the tank and tells the fill valve when to shut off. If the float is set too high, the water level will rise above the overflow tube, and water will constantly drain out. This creates a never-ending cycle of the tank refilling. To fix this, you need to lower the float. Look for an adjustment screw on top of the fill valve where the float arm connects. Turning this screw counterclockwise will lower the float, causing the tank to fill with less water. Adjust it so the water level stops about an inch below the top of the overflow tube.
Adjusting Different Float Types
Toilets come with a couple of different float styles, but adjusting them is straightforward. Older toilets typically have a large ball float attached to a metal arm. To lower the water level, you can often gently bend the arm downward. If there’s an adjustment screw where the arm meets the fill valve, turning it counterclockwise will also lower the float. Newer toilets usually have a more compact float cup that slides up and down the fill valve’s main tube. Look for a long screw or a spring clip. Turning the screw counterclockwise or pinching the clip and sliding the float down the shaft will lower the water level. The goal is the same for both types: get the float to shut off the water sooner.
Using the Water Level Line as a Guide
Your toilet tank gives you a clear target to aim for. Look inside the tank for the tall, open pipe—that’s the overflow tube. Its job is to prevent a flood if the fill valve ever fails, which can quickly turn into an emergency plumbing situation. The water level should always stop about an inch below the top of this tube. Many modern toilets even have a “water line” mark stamped or printed on the inside of the tank wall to show you exactly where the water should stop. If your water level is at or above this line, it’s too high. The excess water is constantly spilling into the overflow tube and draining into the bowl, which is why your toilet keeps running. Adjusting the float is how you bring that water level back down to where it belongs.
How to Clean Grime from the Valves
Sometimes, the problem isn’t a worn-out part but a bit of dirt. Tiny pieces of sediment or debris from the water line can get stuck in the fill valve, preventing it from closing all the way. To check this, turn off the water and flush the toilet. With the tank empty, you can carefully inspect the fill valve for any visible grit. You may need to gently wipe it down with a sponge or cloth. Debris can also get lodged under the main seal of the flush valve (where the flapper sits). Wiping this rim clean ensures the flapper can create a perfect seal. If the problem persists after a good cleaning, it might point to a more complex issue within your pipes.
Listen for a Hissing Fill Valve
After your toilet tank has finished its main refill cycle, lean in close and listen carefully. If you hear a faint but persistent hissing sound, that’s a clear signal that your fill valve is the problem. The fill valve is the tall mechanism that lets water into the tank, and it’s supposed to shut off completely once the float reaches the right height. That hissing noise is the sound of water being forced through a valve that can’t fully close. This is often caused by a worn-out internal seal or a small piece of debris stuck inside. The excess water then trickles down the overflow tube, wasting water and forcing the fill valve into a never-ending cycle. If cleaning doesn’t silence the hiss, the valve likely needs replacing, which is a common and straightforward toilet repair.
Repair or Replace? When to Buy New Toilet Parts
You’ve tried adjusting the chain and checking the float, but the water just keeps running. Now you’re facing the classic DIY dilemma: should you try another quick fix or is it time to buy new parts? Making the right call can save you time, money, and a lot of frustration. Most of the time, a running toilet is caused by a single, inexpensive part that has worn out. But if you’re dealing with an older toilet or multiple issues at once, a simple repair might not be enough.
Before you head to the hardware store, it’s helpful to assess the situation. Think about how old your toilet is, how often you’ve had to fix it, and whether you can see any obvious damage. Answering these questions will help you decide if a simple part replacement will solve the problem for good or if you’re just putting a temporary patch on a bigger issue. A strategic approach now can prevent another weekend spent troubleshooting the same phantom flush. If you’re ever unsure, our team is always ready to provide expert toilet repair and replacement services.
Are You Constantly Fixing the Same Problem?
If your toilet feels like a constant project, it’s probably telling you something. Internal components like the flapper and fill valve aren’t designed to last forever. Over time, rubber and plastic parts degrade from being submerged in water and exposed to cleaning chemicals. If you’re fixing the same problem every few months, you’re likely dealing with a part that has reached the end of its lifespan. Instead of just readjusting it, replacing it is the smarter move. A new flapper or fill valve kit is an affordable investment that can provide a long-term solution and stop the cycle of repetitive repairs.
Look for Obvious Cracks or Wear
Sometimes, the problem is easy to spot. Take a moment to lift the tank lid and carefully inspect the internal parts. Look for visible signs of wear and tear on the flapper, such as warping, discoloration, or brittleness. You might see small cracks in the fill valve tube or notice that the seal at the base of the flush valve is crumbling. As some experts note, flappers can simply break down over time. When you see clear physical damage, there’s no amount of adjusting that will fix it. This is a definite sign that you need to replace the faulty component to get your toilet working properly again.
Does It Cost More to Repair or Replace?
Most running toilet issues can be fixed with parts that cost less than $20. A new flapper or a fill valve repair kit is a very budget-friendly solution. However, if you find that multiple components are failing at once, the costs can start to add up. You might also discover that the problem is more complex, like a cracked overflow pipe. At that point, you should weigh the cost of buying several individual parts against replacing the entire internal mechanism. If your toilet is very old, it may be more economical in the long run to invest in a new, water-efficient model than to continue sinking money into an outdated one.
Common Mistakes to Avoid When Fixing Your Toilet
Feeling empowered to tackle that constantly running toilet is great, but a few common missteps can quickly turn a simple DIY fix into a frustrating ordeal. Sometimes, knowing what not to do is just as important as following the right steps. By sidestepping these frequent blunders, you can save yourself from a soggy bathroom floor, wasted water, and the headache of a repair gone wrong. Let’s walk through the most common mistakes so you can get your toilet working properly without any extra drama.
Don’t Make a Mess: Turn Off the Water First
This is the absolute first step for any plumbing project, big or small. Before you start adjusting anything inside the tank, you must shut off the water supply. Look for a small, oval-shaped valve on the wall or floor behind the toilet and turn it clockwise until it stops. This prevents any new water from entering the tank while you work. Forgetting this step can lead to a continuous flow of water that can easily overflow and flood your bathroom. Once the water is off, flush the toilet to drain the tank, giving you a clean, dry workspace.
Getting the Chain Length Wrong
The small chain that connects the flush handle to the flapper needs to be just the right length. If it’s too short, it will constantly pull the flapper up, preventing it from creating a tight seal. This allows water to leak continuously from the tank into the bowl. If the chain is too long, it can get tangled or caught underneath the flapper, also breaking the seal. You’re looking for the sweet spot: the chain should have just a little bit of slack when the flapper is closed. You can easily test and adjust this by moving the clip to a different link on the chain.
Why a Quick Wipe-Down Isn’t Enough
Over time, mineral deposits, sediment, and grime can build up on the internal parts of your toilet, especially the flapper and the flush valve seat it rests on. This buildup creates a rough, uneven surface that prevents the flapper from sealing properly, leading to a slow but steady leak. Before you rush out to buy new parts, take a moment to clean the components. A quick scrub with a sponge or cloth can often remove the debris that’s causing the problem, restoring a perfect seal and stopping the leak in its tracks.
Blaming the Flapper for Everything
While a faulty flapper is a very common cause of a running toilet, it’s not the only one. Many people replace the flapper only to find the problem persists. The issue could also be a malfunctioning fill valve that doesn’t shut off when the tank is full, causing water to spill into the overflow tube. It could also be that the float is set too high. Taking a moment to observe what’s happening inside the tank before you start replacing parts can help you accurately diagnose the root cause and apply the correct fix the first time.
Could High Water Pressure Be the Real Issue?
This is a less common but important factor to consider, especially if other fixes haven’t worked. If your home’s overall water pressure is too high, it can put excessive strain on your plumbing fixtures, including the fill valve in your toilet. This constant pressure can cause the valve to fail or leak, leading to a running toilet. If you’ve tried everything else and the issue continues, or if you notice water hammering sounds in your pipes, it might be time to consider the water pressure. Addressing this often requires a professional touch, so don’t hesitate to call for expert toilet repair if you suspect this is the case.
Preventing Future Problems: How to Keep Your Toilet from Running
You’ve fixed your running toilet—great job! Now, let’s make sure it stays that way. A little proactive care can save you from future headaches, wasted water, and surprise water bills. By setting up a simple routine and knowing what to look for, you can catch small issues before they turn into bigger, more expensive problems. These preventative steps are easy to follow and will help keep your toilet in top working condition for years to come.
Your Simple Toilet Maintenance Checklist
Think of this as a quick health check for your toilet. Twice a year, lift the tank lid and take a look inside. In most cases of a running toilet, the flapper is the one to blame because it can break down over time. Gently press on it to see if it feels brittle or warped. Check that the chain has just a little bit of slack and isn’t tangled. Wiggle the fill valve and float to ensure they move freely. This simple five-minute inspection can help you spot wear and tear on your toilet’s components before they fail, preventing that constant running sound from returning.
How to Spot Trouble Before It Starts
Your toilet will usually give you hints before a major issue occurs. Listen for “phantom flushes,” where the toilet refills on its own, or any faint hissing sounds coming from the tank. These are signs of a slow leak. A great way to check for a silent leak is to put a few drops of food coloring in the tank. Don’t flush, and wait about 20 minutes. If you see color in the bowl, you have a leak, likely from a worn-out flapper or valve seal. Catching these signs early is key to avoiding a more complex toilet repair down the line.
The Right Way to Clean Your Toilet Tank
Mineral buildup from water can cause toilet parts to stick or fail to seal properly. Every six months, it’s a good idea to clean the inside of your tank. Turn off the water and flush to drain the tank. Use a brush and a gentle cleaner (like vinegar) to scrub away any sediment on the tank walls, flapper, and fill valve. Pay special attention to the rim where the flapper seals. While you’re in there, double-check that the small refill tube is still securely connected to the overflow pipe, as it can sometimes get knocked loose during cleaning or regular use.
Does Hard Water Affect Your Toilet?
Here in Metro Detroit, hard water can be tough on our plumbing. The high mineral content can cause deposits to build up on the sensitive seals and valves inside your toilet tank, leading to leaks. Another factor is your home’s water pressure. If the pressure is too high, it can cause the fill valve to fail and let water constantly seep into the tank. While you can manage mineral buildup with regular cleaning, persistently high water pressure can cause widespread issues and may require professional help to protect all your pipes and appliances from damage.
Still Running? What to Do When DIY Fixes Don’t Work
It’s so frustrating when you’ve followed all the steps, replaced the flapper, and adjusted the float, only to hear that phantom running sound start up again. If your toilet is still acting up after you’ve tried the common fixes, it might be a sign of a slightly more complex issue. Don’t worry, you haven’t failed—some problems just hide a little deeper inside the tank or even within your home’s plumbing system. Before you throw in the towel, there are a couple of advanced things you can look for. Sometimes, the problem isn’t the main component but a smaller, related part that’s causing the trouble. This could be anything from a worn-out valve seal that the flapper rests on, to a toilet handle that gets stuck in the flush position. Even issues outside the toilet, like your home’s water pressure being too high, can force water past the fill valve and cause it to run constantly. Checking these things can sometimes reveal the true culprit.
A Few More Things to Try
If you’re up for one last look, here are a few things to check. First, inspect the toilet handle. Does it move freely, or does it stick when you press it? A sticky handle can prevent the flapper from sealing properly after a flush. Next, take a closer look at the valve seal where the flapper sits. If it’s cracked, warped, or covered in sediment, it won’t create a watertight seal, no matter how new your flapper is. You can also try a simple test: after the tank has filled, gently press down on the flapper with a stick. If the running stops, you’ve likely found your problem—a faulty seal that needs a more thorough cleaning or replacement.
When It’s Time to Call a Professional
If you’ve gone through all the DIY steps and your toilet is still running, it’s time to call in a professional. There’s no shame in it! Some plumbing problems are simply too complex for a DIY fix, and continuing to tinker can sometimes make things worse. A persistent running toilet could signal a disconnected internal tube, a cracked fill valve, or another hidden issue that requires an expert eye. At Mr. Pipey, we handle these kinds of stubborn plumbing puzzles every day. Our team can quickly diagnose the real problem and provide a lasting solution. If you’re in the Metro Detroit area and are tired of the constant running water, our toilet repair and replacement services are just what you need. Don’t let a running toilet run up your water bill—contact us today, and we’ll get it sorted out for you.
Need a Hand? Why Metro Detroit Trusts Mr. Pipey for Toilet Repair
Sometimes, a running toilet just refuses to quit, no matter what you try. When you’ve reached the end of your DIY rope, it’s time to call in a friendly expert. For homeowners and businesses across Metro Detroit, that’s us at Mr. Pipey. We understand that a constantly running toilet is more than just an annoying sound—it’s money and water literally going down the drain. Our team is here to provide a cost-effective solution that lasts.
Many common toilet issues come from small, worn-out parts. A running toilet, for instance, often happens when the toilet flapper or valve seal gets old. Our experienced technicians can spot these problems right away and come prepared to fix them efficiently, saving you the headache of multiple trips to the hardware store.
But what if it’s not the flapper? The root cause could be less obvious, like your home’s water pressure being too high. This is where professional expertise really makes a difference. Instead of guessing, our team performs a thorough diagnosis to find the real problem. As a family-owned business, we treat your home like our own, ensuring we provide a reliable fix, not just a temporary patch. Choosing Mr. Pipey means you’re choosing peace of mind for all your toilet repair needs, all backed by our 100% customer satisfaction guarantee.
Related Articles
- How to Repair an Instant Water Heater: A DIY Guide
- DIY Garbage Disposal Repair: A Step-by-Step Guide
Frequently Asked Questions
How can I tell if the problem is the flapper or something else? The easiest way to know for sure is with the food coloring test. Just add a few drops of food coloring to the water in your toilet tank and wait about 20 minutes without flushing. If you see any of that color seep into the toilet bowl, you have a definite flapper leak. If the bowl water stays clear but you can see water constantly draining into the overflow tube inside the tank, your problem is more likely with the fill valve or the float.
I replaced the flapper, but my toilet is still running. What now? This is a common frustration, so don’t worry! First, double-check that the chain connected to the new flapper has just a tiny bit of slack—if it’s too tight, it will hold the flapper open. Also, make sure the rim that the flapper sits on is completely clean and smooth. If those two things look good, the next step is to check your float. The water level might be set too high, causing water to spill into the overflow tube.
Is it okay to use those blue cleaning tablets in my toilet tank? I strongly advise against using those drop-in chemical tablets. While they might keep your bowl looking clean, the harsh chemicals sit in the tank and can cause the rubber flapper and other plastic parts to break down and become brittle much faster. This will actually cause leaks and lead to more repairs down the road. It’s much better for the health of your toilet to clean the bowl directly with a brush and cleaner.
How much money is a running toilet actually costing me? You’d be surprised how quickly it adds up. A toilet that runs constantly can waste hundreds of gallons of water every single day. Depending on your local water rates, that can easily add a significant amount to your monthly utility bill. Fixing the problem is usually a very inexpensive project that pays for itself quickly by stopping that unnecessary water waste.
My toilet only runs for a few seconds every so often. Does it still need to be fixed? Yes, it definitely does. That sound you’re hearing is often called a “phantom flush,” and it’s a classic sign of a slow leak. What’s happening is that water is gradually seeping from the tank into the bowl. Once the water level in the tank drops low enough, the fill valve kicks on to refill it. Even though it’s intermittent, it’s still wasting water and indicates a part, usually the flapper, is starting to fail.