That tiny drip from a pipe joint? It can have a surprisingly big impact on your wallet. It’s not just the wasted water adding up on your bill; it’s the potential for costly damage to your cabinets, floors, and drywall. A slow, steady leak is a fast track to mold and wood rot if you ignore it. The best way to protect your home and your budget is to fix the leak pipe joint at its source. We’ll explore the most common reasons for these leaks, from corrosion to bad fittings, and give you actionable steps to stop the water before a minor issue becomes a major expense.
Key Takeaways
- Leaks Are Symptoms, Not the Problem: A dripping joint is a sign of something else—like a worn-out gasket, old pipes, or high water pressure. Pinpointing the real cause helps you choose the right fix and prevent the leak from coming back.
- Use Temporary Fixes for Damage Control: Pipe clamps and epoxy putty are fantastic for stopping a drip in its tracks, but they aren’t permanent solutions. Use them to manage the mess and buy yourself time to gather the tools for a proper, long-lasting repair.
- Recognize When a Pro Is Necessary: If a leak keeps returning, is hidden behind a wall, or has already caused significant water damage, it’s time to call an expert. A professional can solve the underlying issue safely and effectively, saving you from a much bigger headache.
Why Is Your Pipe Joint Leaking?
That persistent drip, drip, drip from a pipe joint is more than just an annoying sound—it’s a sign that something isn’t right with your plumbing. Finding the cause is the first step to a real fix, and thankfully, you don’t have to be a master plumber to understand the basics. Most of the time, a leaking pipe joint comes down to one of a few common issues. It could be a simple part that’s worn out, a connection that’s worked its way loose, or even a bigger problem like aging pipes or intense water pressure.
Figuring out why the leak started helps you decide whether you’re looking at a quick DIY fix or if it’s time to call for backup. A small drip might seem harmless, but it can lead to water damage, mold growth, and a surprisingly high water bill if left unchecked. Let’s walk through the most frequent reasons your pipe joints might be leaking and what each one means for your home.
Check for Failing Seals and Gaskets
Inside every pipe joint, there are small but mighty components like rubber seals and gaskets. Their job is to create a watertight barrier that keeps water flowing where it should. But just like anything else, they don’t last forever. Over time, these parts can become brittle, crack, or simply wear out from constant exposure to water and temperature changes. When a seal fails, it creates a tiny gap for water to escape, starting as a slow seep and often growing into a steady drip. Replacing these worn-out parts is a common and essential part of plumbing maintenance.
Are Your Pipe Fittings Loose?
Sometimes, the problem is as simple as a loose connection. Vibrations from water flow, appliances, or even just the house settling can cause threaded fittings to loosen over time. In other cases, the joint may not have been sealed correctly during installation. A proper seal is critical for preventing leaks, and if a fitting was overtightened, cross-threaded, or installed without the right sealant, it’s only a matter of time before water finds a way out. This is why professional installation for any plumbing service is so important for long-term peace of mind.
Is Corrosion the Culprit?
If you live in an older home, your pipes themselves could be the source of the problem. Materials like galvanized steel or cast iron are prone to corrosion over the years. As rust builds up inside, it eats away at the pipe walls, weakening them—especially at the joints where fittings connect. You might notice signs like rusty-colored water or a strange metallic smell. This internal decay can eventually lead to pinhole leaks or cracks at the joint, a clear signal that your pipes are nearing the end of their lifespan and may need professional repair.
Could High Water Pressure Be the Problem?
Your home’s plumbing is designed to handle a specific range of water pressure. When the pressure gets too high—often anything over 80-85 PSI—it puts a huge amount of stress on the entire system. Your pipe joints are the weakest points, and they bear the brunt of that force. This constant strain can cause fittings to fail, seals to blow out, and joints to leak or even burst suddenly. If you hear a loud banging sound when you turn off a faucet, you might have a water pressure problem that needs immediate attention from an emergency plumber.
Was the Joint Installed Incorrectly?
It’s frustrating to think about, but sometimes a leak is the result of a job that wasn’t done right the first time. A proper seal is critical for preventing leaks, and if a fitting was overtightened, cross-threaded, or installed without the right sealant, it’s only a matter of time before water finds a way out. Even something as simple as a loose connection can be the culprit. Over time, vibrations from water flow or even the house settling can cause threaded fittings to loosen. This is why ensuring you have reliable, long-lasting workmanship for any plumbing service is so important for your home’s long-term health and your peace of mind.
Could Environmental Factors Be to Blame?
Even perfectly installed pipes aren’t immune to their surroundings. Your plumbing system is constantly interacting with its environment, and factors like dramatic temperature swings or accidental physical stress can take a toll. Over the years, these external pressures can weaken joints, degrade seals, and create the perfect conditions for a leak to start. Understanding how the environment inside and outside your walls affects your pipes can help you spot potential problems before they turn into a watery mess. Let’s look at a couple of the most common environmental culprits.
Temperature Changes
You might not see it, but your pipes are constantly expanding and contracting as hot and cold water flows through them. This movement, known as thermal expansion, puts continuous stress on the joints and the seals within them. Over many cycles, this can cause fittings to loosen or gaskets to wear out prematurely. This effect is even more pronounced in unheated spaces like basements or crawl spaces, where pipes are exposed to bigger temperature swings. Proper pipe insulation can help moderate these temperature changes, protecting your joints from the constant strain and extending the life of your plumbing system.
Physical Damage or Freezing
Sometimes a leak is caused by something more direct. An accidental bump to an exposed pipe under a sink or a sudden jolt can be enough to damage a joint and start a drip. However, one of the most serious threats, especially here in Metro Detroit, is freezing. When water freezes, it expands with incredible force, putting immense pressure on your pipes and fittings. The joints are often the weakest points, making them highly susceptible to cracking or bursting. If you suspect a frozen pipe, it’s crucial to act fast to prevent a major flood, and calling for professional help is the safest way to handle it.
How to Find the Source of the Leak
Finding the source of a leak can feel like a bit of detective work, but you don’t need a magnifying glass to get started—just your own senses. Some leaks are obvious, like a steady drip-drip-drip from a faucet. Others are much sneakier, hiding behind walls or under floors where they can cause serious damage before you even know they’re there. The key is to pay attention to the subtle clues your home might be giving you.
By using your eyes, ears, and a little bit of logic, you can often pinpoint the general area of the problem. Acting quickly is crucial. A small leak left unchecked can lead to warped floorboards, damaged drywall, and even mold growth, turning a minor annoyance into a major headache. Think of this as a preliminary investigation. The following steps will help you gather the evidence you need to either tackle a small fix yourself or give a professional plumber a clear idea of what’s going on. If the signs point to a serious issue, don’t hesitate to call for emergency plumbing services.
Spot the Telltale Signs of Water Damage
Your first clues are often visual. Keep an eye out for things that just don’t look right. This includes mysterious water stains on ceilings or walls, which might look like yellowish or brownish rings. You might also notice bubbling or peeling paint or wallpaper. If you have wood floors, they might start to warp or buckle in a specific area.
Don’t forget to use your nose, too. A persistent musty or earthy smell is a classic sign of hidden moisture and potential mold or mildew growth. These aren’t just cosmetic issues; they’re clear signals that water is escaping somewhere it shouldn’t be. Ignoring them can lead to significant structural damage over time.
Use Your Ears: Listen for Drips and Hisses
Sometimes, the best tool for finding a leak is a moment of silence. When your house is quiet (turn off the TV, music, and other noisy appliances), listen carefully for any unusual sounds. A faint dripping, hissing, or even a slight rushing sound when all the taps are off is a major red flag.
These sounds can be especially helpful for locating leaks hidden within walls or under cabinets. If you’ve also noticed a drop in water pressure at your faucets or showerheads, it’s even more likely that a hidden pipe is the culprit. Try to follow the sound to its source to narrow down the location of the problem.
How to Check Your Water Meter for Leaks
If you suspect a leak but can’t see or hear it, your water meter is your best friend. It provides definitive proof of a hidden leak. First, make sure every single water-using appliance in your home is turned off—no dishwashers running, no laundry, no flushing toilets. Then, head outside to your water meter and take a picture of the reading.
Wait for an hour or two without using any water, then go back and check the meter again. If the numbers have moved, even a little, you have a leak somewhere in your system. This is also why an unexplained spike in your water bill is such a strong indicator of a problem.
Common Leak Hotspots to Check First
Leaks love to happen at connection points where pipes join fixtures or appliances. These spots are often the weakest link in your plumbing system. Start your physical inspection by checking these common problem areas. Look under sinks for drips from the faucet connections or drainpipes. Check behind your washing machine and refrigerator (if it has an ice maker) for moisture around the supply hoses.
Other frequent offenders include water heaters, dishwashers, and shut-off valves. And don’t forget the toilet; a leak at the base can damage your floor, so check for any pooling water. If you find an issue with your toilet, you may need a professional toilet repair. A systematic check of these areas will often lead you right to the source.
Quick Fixes to Stop the Drip (For Now)
That steady drip, drip, drip can be maddening, but don’t panic. While a leaking pipe joint needs a permanent solution, there are a few things you can do right now to manage the mess and prevent further water damage. These temporary fixes can buy you some time before you call in a professional for a lasting repair. Think of them as plumbing first aid—they’ll stop the bleeding, but you still need to see the doctor. If you’re dealing with a major leak, your first call should be for emergency plumbing services to get an expert on-site as soon as possible.
Try a Pipe Clamp and Rubber Patch
A pipe clamp is one of the most reliable temporary fixes you can find at a hardware store. It’s a simple hinged clamp that fits around the pipe, and you use it with a small piece of rubber to act as a patch. Just place the rubber snugly over the source of the leak and then fasten the clamp over it. Tighten the screws until the dripping stops. This method is especially effective for leaks on straight runs of pipe with lower water pressure. These special clamps are designed to create a strong seal that can hold for a while, giving you a solid temporary solution until you can schedule a proper repair.
How to Use Epoxy Putty for a Temporary Seal
For smaller drips and pinhole leaks, plumbing epoxy putty is your best friend. This stuff is like clay for your pipes—you knead two different substances together to activate it, and then it hardens into a waterproof seal. First, make sure to shut off the water and completely clean and dry the area around the joint. Then, apply the activated putty firmly over the leak, molding it around the pipe. It dries quickly and bonds to most pipe materials, from copper to PVC. It’s a fantastic temporary fix, but remember it won’t hold up forever against constant water pressure.
Wrap It Up with Self-Fusing Tape
This isn’t your average duct tape. We’re talking about specialty products like self-fusing silicone tape or other waterproof plumbing tapes. This tape is designed to fuse to itself when stretched, creating a seamless, watertight seal around the pipe joint. To use it, start wrapping a few inches away from the leak and stretch the tape tightly as you overlap each layer. For threaded pipe connections, a few wraps of Teflon tape before reassembling can sometimes do the trick. While it’s a great tool to have in your kit, it’s best for minor drips, not gushing leaks.
Tighten the Fitting (Carefully!)
Sometimes, the simplest solution is the right one. A pipe joint might be dripping simply because a fitting has come slightly loose over time. Before you try anything else, grab two wrenches (a pipe wrench or adjustable wrench will do). Use one to hold the pipe steady to prevent it from turning, and use the other to gently tighten the fitting. The key word here is gently. Over-tightening can crack the fitting or strip the threads, turning a small drip into a huge problem. As some plumbing experts suggest, a slight turn is often all that’s needed. Give it a quarter-turn and see if the drip stops.
Your Supply List for a Permanent Fix
A quick fix is great, but for a repair that lasts, you need to be prepared. Gathering the right tools and materials before you start will save you from making multiple trips to the hardware store and ensure the job gets done right the first time. Having these items on hand means you’re ready to tackle that leaky joint with confidence and create a seal that will hold up for years to come.
Essential Plumbing Tools for the Job
You don’t need a professional-grade workshop, but a few key tools are non-negotiable. Having the right equipment is crucial for an effective repair. At a minimum, you’ll want two pipe wrenches (one to hold the pipe, one to turn the fitting), a pair of slip-joint pliers, and a pipe cutter if you need to replace a section of pipe. A wire brush is also handy for cleaning threads before you apply sealant. These basic tools will help you get a secure grip and make clean cuts, which are essential for a leak-proof connection. If the job starts to feel like it requires more specialized equipment, remember that our team is always ready with a full range of expert plumbing solutions.
Choosing the Right Sealants and Parts
The secret to a lasting seal is using the right material. For threaded joints, always have plumber’s tape or a quality thread sealant on hand. These create a watertight barrier that prevents leaks. For more serious situations or different types of pipes, professionals often recommend using a strong plumbing epoxy or a silicone-based sealant for a durable, long-lasting repair that can handle water pressure. If a fitting is cracked or corroded, you’ll need an exact replacement. Take the old part with you to the store to guarantee you get a perfect match. A proper seal is especially critical for pipes in unheated areas, where a small leak can lead to a major frozen pipe repair down the line.
The Best Sealing Method: Tape and Compound
When you want a seal that’s truly watertight, it’s best to do what the pros do. For threaded pipe joints, professional plumbers rely on two key materials: thread seal tape (often called Teflon tape) and pipe joint compound (or “pipe dope”). While you can use either one on its own, the best practice for an extra-secure, leak-proof connection is to use them together. Start by applying a thin layer of the pipe joint compound directly onto the male threads of the fitting. Then, wrap the threads with the tape three or four times in the same direction you’ll be tightening the fitting. This combination creates a double-layer seal that fills every tiny gap and provides a durable, long-lasting barrier against leaks.
What Not to Use: Plumber’s Putty
Here’s a common mistake that can lead to a frustrating, recurring leak: using plumber’s putty to seal threaded joints. While the name sounds right, plumber’s putty is not designed for this job. Its purpose is to create a watertight seal under the flange of a sink drain or at the base of a faucet—it’s a setting compound, not a thread sealant. It remains soft and pliable and simply cannot withstand the water pressure inside a pipe, which means it will eventually wash out and fail. Using the wrong material can turn a simple repair into a much bigger problem. If you’re ever unsure about which product to use for your specific repair, it’s always a good idea to get professional advice.
Don’t Forget Safety Gear and Workspace Prep
Before you even think about touching a wrench, your first step is always to turn off the main water supply to the area you’re working on. This prevents a small drip from turning into a major flood. Next, protect yourself by wearing safety goggles and gloves. You never know when a rusty pipe might crumble or water might spray unexpectedly. It’s also a good idea to place a bucket and some old towels under the leak to catch any residual water and keep your space clean. Addressing leaks quickly is smart, but doing it safely is even smarter. If the water won’t shut off or the leak is getting worse, don’t hesitate to call for emergency plumbing help.
How to Permanently Fix a Leaking Pipe Joint
Tired of that constant drip, drip, drip? While temporary patches have their place, a permanent fix is the only way to get real peace of mind. If you’re ready to roll up your sleeves and solve that leaky pipe joint for good, this guide will walk you through the essential steps for a secure, lasting repair. Following these instructions carefully will help you create a seal that stands the test of time.
Repairing Threaded Joints
Threaded joints, where pipes screw together, are one of the most common spots for slow drips to develop. The good news is that fixing them is usually straightforward. The process involves taking the joint apart, cleaning it up, applying a fresh sealant, and putting it back together securely. It’s a methodical process that, when done correctly, creates a durable, leak-free connection. Let’s walk through the four key steps to get it done right.
Step 1: Turn Off Water and Disconnect the Joint
Before you do anything else, your first move is always to shut off the water supply to the pipe you’re working on. If there isn’t a local shut-off valve nearby, you’ll need to turn off the main water supply to your house. Once the water is off, open a nearby faucet to drain any remaining water from the line. Then, use two pipe wrenches to disconnect the joint—one to hold the pipe or fitting steady and the other to unscrew the leaking connection. This prevents you from putting stress on other parts of your plumbing.
Step 2: Thoroughly Clean the Threads
Once the joint is apart, you’ll likely see old, flaky sealant or tape on the threads. This all needs to go. For a new seal to work, the threads must be perfectly clean. Use a wire brush to scrub both the male threads (the ones on the outside of the pipe) and the female threads (the ones on the inside of the fitting). Getting rid of all the old gunk and any corrosion is a critical step for ensuring the new sealant can create a completely watertight bond.
Step 3: Apply New Sealant Correctly
Now it’s time to apply a fresh sealant. You have two main choices: plumber’s tape (also called thread seal tape) or pipe joint compound (pipe dope). If you’re using tape, wrap it clockwise around the male threads three or four times, keeping it taut. If you’re using compound, apply a generous layer to the male threads only. Applying sealant to the female threads can cause it to get pushed into the pipe, potentially causing a blockage. Many plumbers actually use both for an extra layer of protection.
Step 4: Reconnect and Test
With the new sealant applied, carefully screw the joint back together by hand to avoid cross-threading. Once it’s hand-tight, use your wrenches to tighten it until it feels snug. Then, give it an extra quarter- to half-turn—and no more. Over-tightening is a common mistake that can crack the fitting. Now for the moment of truth: slowly turn the water back on and watch the joint closely for any signs of dripping. If it’s dry, you’ve successfully made the repair.
Fixing Compression Joints
Compression joints are often found connecting shut-off valves to fixtures like sinks and toilets. They create a seal by using a nut to squeeze a small brass or plastic ring, called a ferrule, onto the pipe. If one of these joints is leaking, the fix is usually simple. After shutting off the water, use two wrenches to loosen the compression nut. Slide the nut back and inspect the ferrule. If it looks damaged or cracked, it needs to be replaced. If it looks okay, try applying a light coat of pipe joint compound to the ferrule and threads before you reassemble it. This can help create a better seal. Tighten the nut until it’s snug, then give it another half-turn.
Sealing Slip Joints
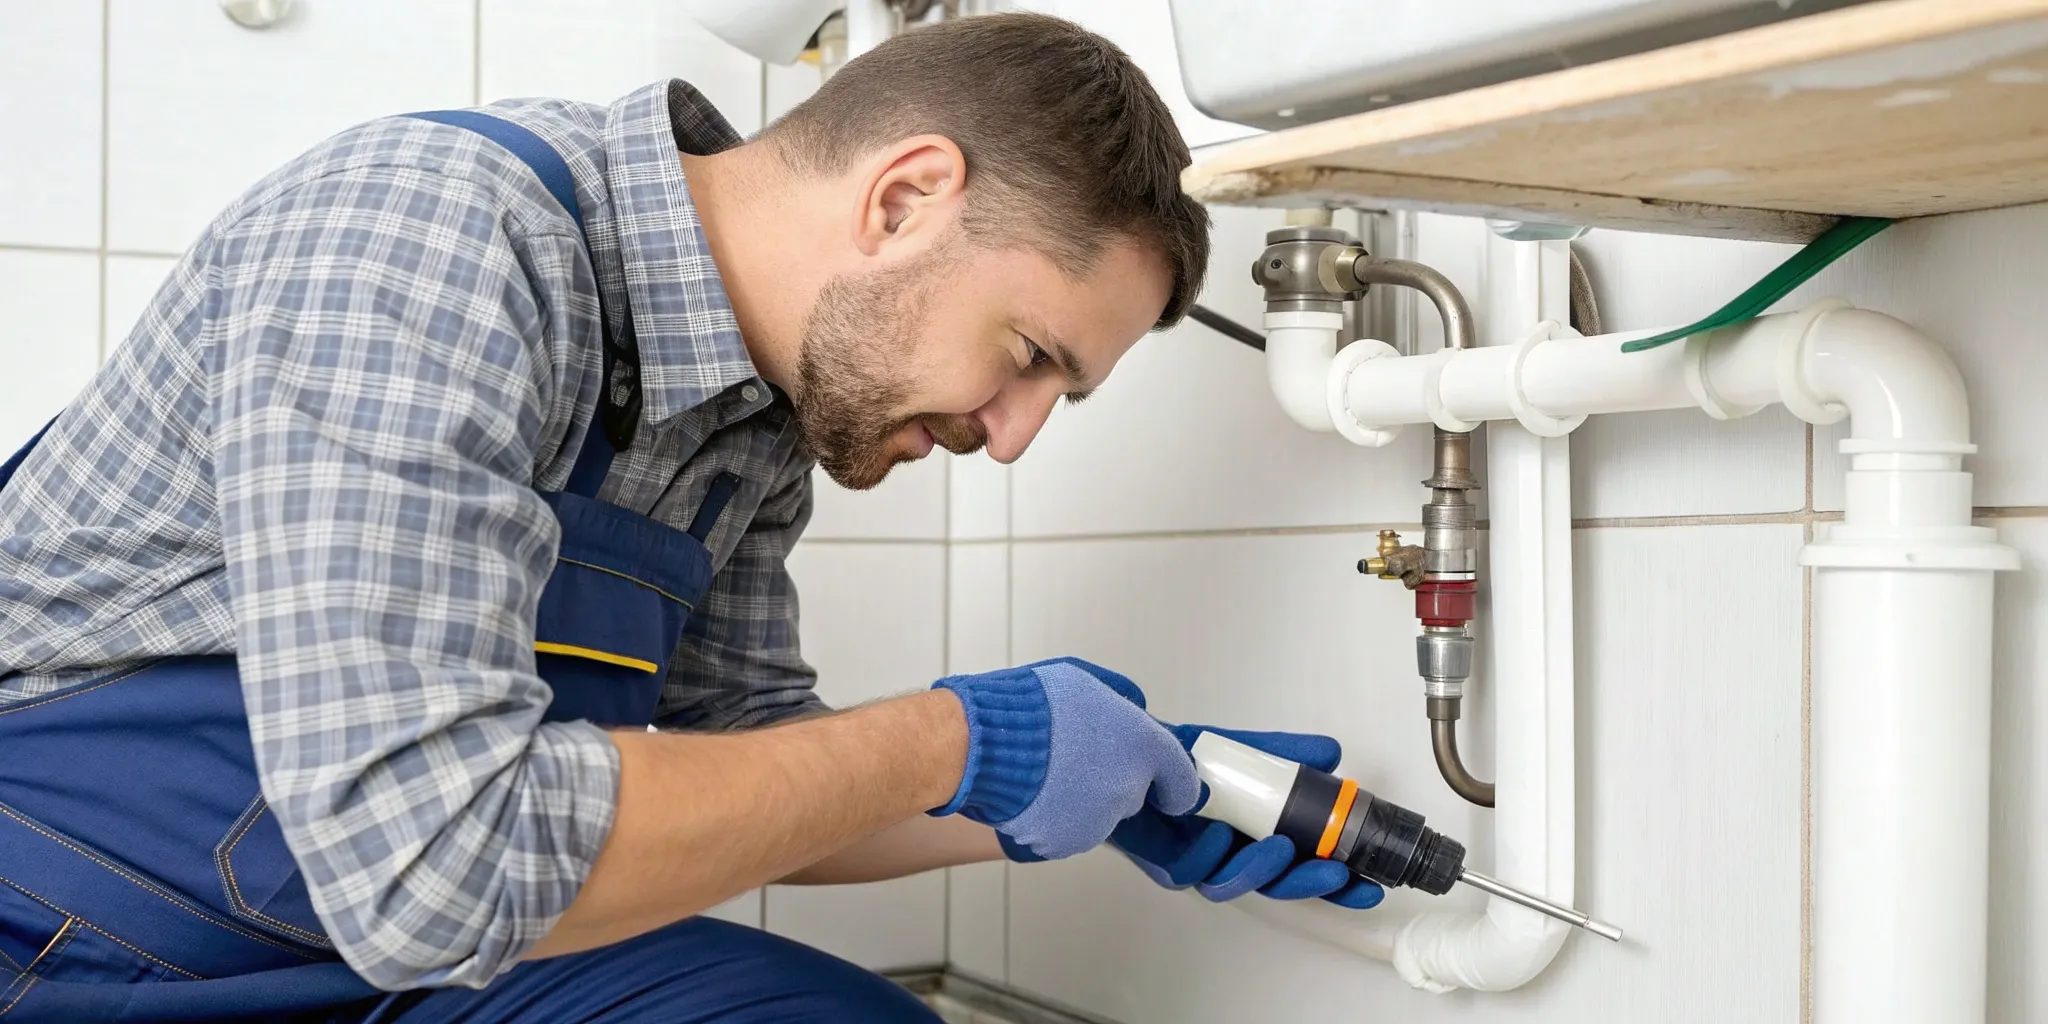
If the leak is under your kitchen or bathroom sink, you’re likely dealing with a slip joint. These are the large, threaded connections on the P-trap drainpipe. They use a rubber or plastic washer to create a seal, and these washers are the most common point of failure. The fix is as simple as replacing them. Unscrew the slip nuts (they should be hand-tight, but you might need pliers if they’re stuck), pull the pipes apart, and remove the old washer. Always install a new washer when you put the joint back together—they’re inexpensive and crucial for a leak-free drain. Make sure the tapered side of the washer faces the direction it will be compressed.
Working with Different Pipe Materials
The right repair method depends entirely on the type of pipes you have. Plastic and copper pipes are the most common in modern homes, and each requires a completely different approach to create a permanent, leak-proof seal. Using the wrong technique won’t just fail to stop the leak; it could make the problem much worse. If you’re ever unsure about the material or the proper technique, it’s always safest to consult a professional. Our team at Mr. Pipey has experience with all types of plumbing systems and can provide the right expert plumbing solutions for your home.
PVC and CPVC Pipes
Plastic pipes like PVC and CPVC are joined together with a solvent-welding process that chemically fuses the pieces. To fix a leak, you’ll need to cut out the bad joint. Then, clean the outside of the pipe ends and the inside of a new coupling with a PVC primer. This step is crucial as it softens the plastic. Immediately after, apply a liberal amount of PVC cement to both surfaces and push the pipe and fitting together with a slight twist. Hold them firmly for about 30 seconds to allow the cement to set and create a permanent bond.
Copper Pipes
Fixing a leaking joint on a copper pipe requires soldering, which is a more advanced skill. The process involves cleaning the outside of the pipe and the inside of the fitting with sandpaper or a wire brush until they are shiny. Then, you apply a thin layer of flux to both parts, which helps the solder flow evenly. After fitting the pieces together, you heat the joint with a propane torch and touch the solder to the seam. The heat will draw the solder into the joint, creating a strong, permanent seal. Due to the open flame, this is a repair many homeowners prefer to leave to a professional.
A Warning for Plastic Fittings
Here’s a crucial tip when working with any plastic threaded fittings: do not over-tighten them. Unlike metal, plastic threads are tapered, and cranking down too hard with a wrench can easily cause the female fitting to stretch and crack. This is a very common mistake that turns a simple repair into a replacement job. Tighten plastic fittings until they are hand-tight, and then use a wrench for just another quarter- or half-turn. The thread sealant or tape should do the work of sealing the joint, not brute force.
A Note on Flexible Supply Lines
When you’re connecting a faucet or a toilet, consider swapping out the old, rigid supply tubes for modern, flexible supply lines. These are typically made of braided stainless steel and are far more forgiving and easier to install. They are less likely to kink or leak over time, and their built-in rubber gaskets mean you don’t need to worry about applying extra pipe dope or tape to the threads. They make connecting fixtures much faster and more reliable, which is why they are the standard choice for most professional plumbers today.
Step 1: Seal the Pipe Threads Correctly
The secret to a leak-proof connection often comes down to the threads. Before you connect any fittings, grab some Teflon tape (also called plumber’s tape). You’ll want to wrap the tape clockwise around the male threads three to five times. Why clockwise? This ensures the tape tightens as you screw the fitting on, rather than unraveling and compromising the seal. A proper seal is your first line of defense against leaks, especially in vulnerable areas that might be prone to issues like frozen pipes. Taking a few extra seconds to do this right can save you from a major headache down the road.
Step 2: Replace Any Damaged Fittings
While you’re working on the joint, take a moment to play detective. Inspect the fittings closely for any signs of trouble—cracks, corrosion, or threads that look worn down. It’s tempting to just reseal the old parts, but putting a new seal on a damaged fitting is like putting a bandage on a broken bone. It simply won’t hold. Replacing any compromised components is non-negotiable for a permanent fix. Neglecting this step can quickly turn a small drip into a full-blown crisis, which is when you’d need emergency plumbing services. Be thorough now to protect your home later.
Step 3: Test Your Work (and Check for Leaks!)
You’ve sealed the threads and replaced the parts—now for the moment of truth. Before you put your tools away, you have to test your work. Turn the water supply back on slowly and keep a close eye on the joint you just repaired. Watch for even the tiniest bead of water. It’s much easier to make a small adjustment now than to deal with water damage later. A successful test means you’ve saved yourself money and protected your property. If you’ve double-checked everything and the joint still weeps, don’t get discouraged. It might just mean it’s time to contact a professional to take a look.
Preventative Maintenance to Avoid Future Leaks
Fixing a leak is great, but never having one in the first place is even better. A little bit of regular attention to your plumbing can save you from the stress and expense of water damage and emergency repairs. Think of it as a routine health check-up for your home’s pipes. Remember, a dripping joint is often just a symptom of a bigger issue, like a worn-out gasket, aging pipes, or water pressure that’s too high. By catching these problems early, you can address the root cause before it turns into a full-blown crisis that requires an emergency call-out.
So, what should you be looking for? A few simple checks can make a huge difference. Periodically look under your sinks and around appliances for any signs of moisture or corrosion. Gently check if any visible pipe fittings feel loose. If you live in an older home, pay special attention to the condition of your pipes for signs of rust. It’s also a great idea to check your home’s water pressure; if it’s too high, it puts unnecessary stress on your entire system. These small steps are your best defense against unexpected leaks. For a more thorough check-up, a professional can perform a full inspection of your plumbing system to spot potential issues you might miss.
Clean Drains and Gutters Regularly
It might seem unrelated, but keeping your drains and gutters clear is a crucial part of preventative plumbing care. When your drains are clogged with hair, soap scum, and debris, water can’t flow freely. This backup creates pressure inside your pipes, which can strain joints and eventually cause leaks or even bursts. Regularly cleaning your sink and shower drains can prevent these damaging blockages from forming and keep water moving as it should.
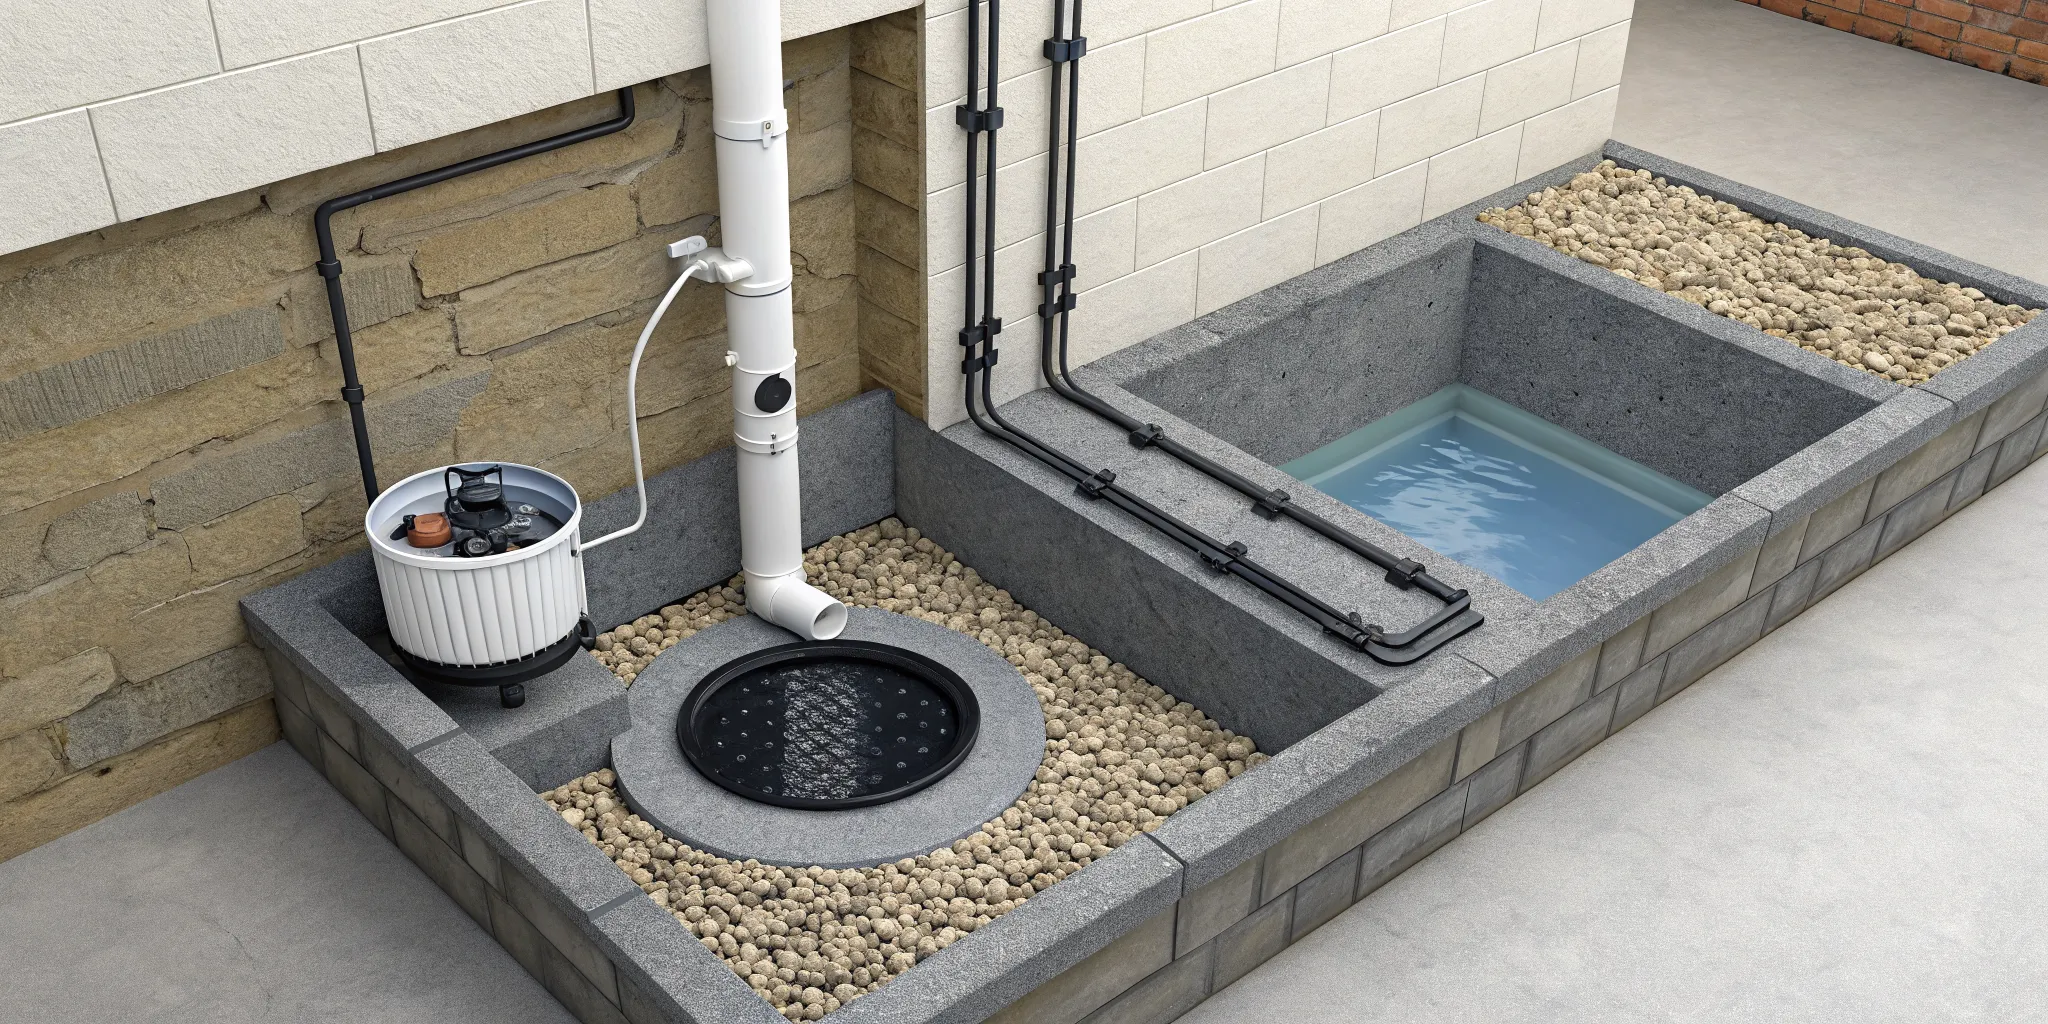
The same principle applies outside your home. Clogged gutters cause rainwater to overflow and pool around your foundation. This can lead to a flooded basement and put a massive strain on your sump pump, causing it to fail when you need it most. Making sure your gutters are clear, especially in the spring and fall, is a simple chore that protects your home from water damage and ensures your sump pump can do its job effectively.
Know When It’s Time to Call a Plumber
While it’s incredibly satisfying to fix a leaky pipe joint on your own, it’s just as important to know when a problem is beyond a DIY repair. Calling a professional plumber isn’t admitting defeat—it’s making a smart, strategic decision to protect your home and your wallet. A pro has the experience and tools to diagnose the root cause of the leak, ensuring the fix is permanent and not just a temporary patch. This can save you from the much bigger headache of water damage, mold growth, or even structural issues down the line.
Think of it this way: a temporary fix might stop the drip for now, but a professional repair provides peace of mind. When you’re dealing with your home’s plumbing, you want confidence that the job is done right. If you find yourself feeling uncertain, facing a recurring issue, or seeing signs of a major problem, it’s always best to get an expert opinion. At Mr. Pipey, we’ve seen it all, and we’re here to provide a reliable, long-lasting solution so you don’t have to worry every time you hear a drip.
Warning Signs That You Need an Expert
Some plumbing issues are clear emergencies that need immediate professional attention. If you discover a major leak from a burst pipe, your first step should be to shut off your home’s main water valve, then pick up the phone. Unexplained puddles of water appearing on your floor or strange water stains on ceilings and walls are also serious red flags. These are signs that water is escaping somewhere it shouldn’t be, and the longer you wait, the more damage it can cause. Don’t hesitate—these situations require emergency plumbing services right away.
Is This Repair Too Big for a DIY Fix?
A small, slow drip from an exposed pipe under the sink is one thing, but a leak that’s hidden behind a wall, under the floor, or requires you to cut into drywall is a different story. These jobs can quickly become complex and are best left to experts who can handle the problem without causing unnecessary damage to your home. Most of the water damage homeowners face comes from leaks that could have been managed with proper maintenance and professional care. If the leak seems complicated or has already caused significant water damage, calling a professional ensures all aspects of the problem are addressed correctly.
Handling Advanced or Difficult Repairs
If you’ve tried a fix and the leak comes back, it’s a sign that the real problem lies deeper. A recurring leak, one that’s hidden behind a wall, or a drip that has already caused significant water damage are all situations that call for an expert. A professional has the right tools and experience to locate a hidden leak without unnecessary destruction and can safely solve the underlying issue for good. Trying to tackle these advanced repairs on your own can quickly turn a manageable problem into a costly disaster, which is why knowing your limits is one of the smartest things a homeowner can do.
When to Replace vs. Repair
Sometimes, a repair just isn’t enough. As you work, inspect every component of the joint for signs of trouble like cracks, corrosion, or worn-out threads. It might be tempting to just apply a new seal and call it a day, but putting a new seal on a damaged fitting is a temporary fix at best. For a permanent solution, you must replace any compromised parts. If you notice widespread corrosion or that your pipes are generally in poor condition, it might be a sign that a larger section of your plumbing needs an expert assessment to prevent future failures.
What to Do If the Leak Returns
Did you fix a leak only for it to return a few weeks or months later? A recurring leak is a classic sign of a deeper issue that a simple patch can’t solve. It could be caused by consistently high water pressure, corrosion throughout your pipes, or fittings that are simply worn out. Ignoring these persistent symptoms can lead to expensive repairs and serious problems like mold. Similarly, if you notice a sudden or gradual drop in your home’s water pressure, it could indicate a hidden leak somewhere in your system. A professional can diagnose the underlying cause and provide a permanent solution.
Related Articles
- Using PVC Pipe Leak Sealant: A Complete Guide
- Repair a Copper Pipe Leak: A Step-by-Step Guide
- DIY Pipe Leak Repair: Your Step-by-Step Guide
Frequently Asked Questions
Is it really a big deal if the leak is just a tiny drip? It’s so easy to dismiss a small drip, but it’s one of the sneakiest ways your home can suffer serious damage. That tiny amount of water adds up, leading to a higher water bill, but the real trouble is what happens to the area around the pipe. Constant moisture can rot wood, ruin drywall, and create the perfect environment for mold to grow. Addressing a small leak now is always easier and less expensive than dealing with major water damage repairs later.
How can I prevent pipe joints from leaking in the first place? A little proactive care goes a long way in preventing leaks. Make it a habit to visually inspect the pipes under your sinks and around your appliances every few months. You can also help your plumbing system by not using harsh, chemical drain cleaners, which can corrode pipes over time. If you live in an area with cold winters, insulating your pipes is one of the best preventative steps you can take to avoid the stress and damage that leads to leaks.
How do I know if my home has high water pressure? High water pressure is a common but often overlooked cause of leaks. A simple way to check is by using a water pressure gauge, which you can find at most hardware stores for a low price. You just screw it onto an outdoor hose spigot or your washing machine’s cold water connection and turn on the faucet. A reading above 80 PSI is generally considered too high and puts unnecessary strain on your entire plumbing system, making your pipe joints prime candidates for a leak.
Does the type of pipe I have change how I should fix a leak? Absolutely. The material of your pipes—whether they’re copper, PVC, galvanized steel, or something else—dictates the right tools and techniques for a repair. For example, fixing a copper pipe often involves soldering, while PVC requires special primers and cements. Using the wrong method can make the leak worse or cause the repair to fail quickly. If you’re not completely sure what you’re working with, it’s always safest to consult a professional.
What’s the first thing I should do if I discover a major leak? If you’re facing a burst pipe or a leak that’s spraying a lot of water, your immediate priority is to stop the flow. Before you even think about repairs, you need to locate and turn off your home’s main water shut-off valve. This will prevent catastrophic water damage while you figure out your next steps. Once the water is off, your very next move should be to call an emergency plumber for help.