That constant hissing from the bathroom? It’s more than just annoying. It’s the sound of money and water literally going down the drain. As a family-owned plumbing company, this is one of the most frequent calls we get. While we’re always happy to help, we also want to empower our neighbors with the knowledge for simple fixes. The truth is, when your toilet keeps running, it’s often a straightforward issue you can solve yourself. This guide will give you the confidence to diagnose the problem and show you exactly how to fix it quickly and efficiently.
Key Takeaways
- The fix is likely inside the tank: A running toilet is almost always caused by a simple mechanical issue. Before you worry, lift the lid and check for a worn-out flapper, a tangled chain, or a water level that’s too high.
- Use food coloring to find silent leaks: If you suspect a leak but can’t see it, add a few drops of food coloring to the tank. If color appears in the bowl within 20 minutes without flushing, you’ve confirmed the flapper isn’t sealing properly.
- Know when to call for backup: While many fixes are simple, don’t hesitate to contact a professional if the problem continues or you see cracked parts. A small, persistent leak can lead to significant water damage if not handled correctly.
The Hidden Costs of a Running Toilet
That constant hissing or trickling sound from your bathroom isn’t just an annoyance—it’s the sound of money and resources going down the drain. While it’s easy to tune out the noise and put off the repair, a running toilet has significant hidden costs that affect your wallet and the environment. Understanding these impacts often provides the motivation needed to either grab your tools or call for professional help. Ignoring the problem can turn a simple, inexpensive fix into a major expense. Let’s look at what’s really at stake when your toilet won’t stop running.
Wasted Water and Your Utility Bill
A running toilet can waste an astonishing amount of water, sometimes up to 200 gallons every single day. To put that in perspective, that’s like flushing your toilet more than 100 extra times. This constant water flow has a direct and often shocking impact on your utility bill. Some homeowners have reported their water bills skyrocketing to as high as $2,000 after letting a running toilet go unfixed for just a few months. What starts as a minor leak can quickly become a major financial drain. Addressing the issue promptly with a DIY fix or a professional toilet repair is the most cost-effective way to protect your budget from unexpected and unnecessary expenses.
Environmental Impact
Beyond your bank account, a running toilet takes a toll on the environment. Toilets are typically the biggest water consumers in a home, accounting for nearly 30% of all indoor water use. When a single toilet runs continuously, it can waste over 73,000 gallons of water in just one year. This puts a significant strain on our local water supplies and treatment facilities here in Metro Detroit. By fixing a running toilet, you’re not just saving money; you’re also taking a meaningful step toward conserving a vital natural resource. It’s one of the simplest and most effective ways to reduce your household’s environmental footprint and contribute to community-wide water conservation efforts.
Why Does My Toilet Keep Running?
That constant hissing or trickling sound from your toilet isn’t just annoying; it’s a sign that water is being wasted, which can drive up your utility bills. A running toilet is one of the most common household plumbing issues, and thankfully, it’s often caused by a simple problem inside the tank. Most of the time, a quick look under the lid is all you need to figure out what’s going on. The inner workings of a toilet tank might seem complicated, but they operate on a pretty straightforward system of gravity and basic mechanics. When you flush, a part called the flapper lifts, letting water rush into the bowl. Then, a fill valve refills the tank, and a float rises with the water to signal the valve when to shut off.
When a toilet keeps running, it means this cycle has been interrupted. Water is leaking from the tank into the bowl, forcing the fill valve to constantly turn on to replace it. Before you start worrying about a major toilet repair or replacement, let’s walk through the four most likely culprits. Understanding these common issues will help you pinpoint the problem and get your bathroom back to being a peaceful, quiet space.
Could It Be a Worn-Out Flapper?
Think of the flapper as the plug for your toilet tank. It’s the rubber or plastic seal at the bottom that lifts when you flush and then drops back down to stop water from flowing into the bowl. Over time, this little part can get old, brittle, or warped from minerals in the water. When that happens, it can no longer create a watertight seal. Even a tiny gap will allow water to continuously leak from the tank into the bowl. This leak triggers the fill valve to keep refilling the tank, causing that constant running sound you hear. A worn-out flapper is one of the most frequent causes of a running toilet, but it’s also one of the easiest and cheapest to fix.
Is Your Fill Valve Faulty?
The fill valve is the tall mechanism that refills the tank with water after you flush. It’s designed to shut off automatically once the water reaches a certain level, which is controlled by a component called a float. If the fill valve is broken or the float is set too high, it won’t get the signal to stop filling. The water level will rise above the overflow tube (that open pipe in the middle of the tank), and the excess water will spill down it and into the bowl. This creates a non-stop cycle of filling and draining. If you hear the toilet running and also see water trickling down the overflow tube, a faulty fill valve is very likely the problem.
Improper Refill Tube Length
Another sneaky culprit behind a running toilet is the refill tube. This is the small, flexible hose running from the fill valve to the overflow pipe (the open-ended vertical pipe in your tank). Its job is to direct water down the overflow to refill the bowl after a flush. However, if this tube is pushed too far down into the overflow pipe, it can create a siphoning effect, constantly pulling water from the tank into the bowl. Your fill valve senses the dropping water level and kicks on to refill it, creating that endless cycle. The fix is often simple: lift the tank lid and ensure the tube is clipped to the top of the overflow pipe, not dangling inside it. If adjusting it doesn’t help, and you’ve already checked the flapper and fill valve, it might be time for a professional toilet repair to diagnose the issue.
Is the Float or Chain Misaligned?
Sometimes, the problem is as simple as a tangled chain. The chain connects the flush handle to the flapper, lifting it when you flush. If this chain is too long, it can get caught underneath the flapper, preventing it from sealing properly. If it’s too short, it will hold the flapper slightly open all the time. In either case, water will constantly leak into the bowl. Similarly, the float arm connected to the fill valve can get stuck or obstructed, preventing it from signaling the valve to shut off. A quick check to ensure these parts can move freely is often all it takes to solve the problem and stop the running water.
Is the Water Level in the Tank Too High?
Even if your fill valve and flapper are working perfectly, the water level in your tank might just be set too high. Inside the tank, you’ll see an overflow tube, which acts as a safety drain to prevent the tank from overflowing onto your floor. If the water level is adjusted to be higher than the top of this tube, water will constantly spill into it and run down into the bowl. This is a frequent issue that can often be fixed with a simple adjustment to the fill valve’s float, which lowers the point at which the water stops filling. It’s a quick fix that can save a surprising amount of water.
Debris or Mineral Buildup
Sometimes the problem is caused by something as small as a grain of sand. Over time, tiny particles of sediment, rust, or minerals from your water supply can accumulate inside the toilet tank. As one homeowner on a forum aptly put it, “small bits of dirt or rocks can get stuck in the toilet parts, stopping them from working correctly.” This buildup can get lodged in the fill valve, preventing it from closing completely, or it can settle on the rim of the flapper, creating a tiny gap that allows water to leak into the bowl. This is especially common in areas with hard water. A simple inspection and gentle cleaning with a sponge or cloth can often remove the debris and solve the problem, restoring a proper seal and stopping the constant running.
High Water Pressure in Your Home
While less common, the issue might not be with your toilet at all, but with your home’s overall water pressure. A faulty pressure-reducing valve (PRV) for your main water line can lead to excessively high pressure throughout your house. This high pressure can overwhelm the toilet’s fill valve, forcing it to leak water past its seals and into the overflow tube, even when it’s supposed to be closed. If you notice that your toilet runs intermittently and you also hear banging pipes or have other dripping faucets, high water pressure could be the culprit. This is a more complex issue that affects your entire plumbing system, and it’s best to have a professional assess the situation and check your home’s PRV.
Cracked or Damaged Parts
The internal components of your toilet are mostly plastic and rubber, and they don’t last forever. Constant exposure to water and cleaning chemicals can cause them to become brittle and crack over time. A hairline crack in the fill valve, a split in the overflow tube, or a damaged flapper can all lead to persistent leaks that cause your toilet to run. As one popular manufacturer, Fluidmaster, points out, if a part like the flapper is damaged, it needs to be replaced. While swapping out a flapper is a simple DIY job, replacing a full fill valve assembly can be more involved. If you inspect the tank and find cracked components, it might be time to call for a professional toilet repair to ensure it’s fixed correctly.
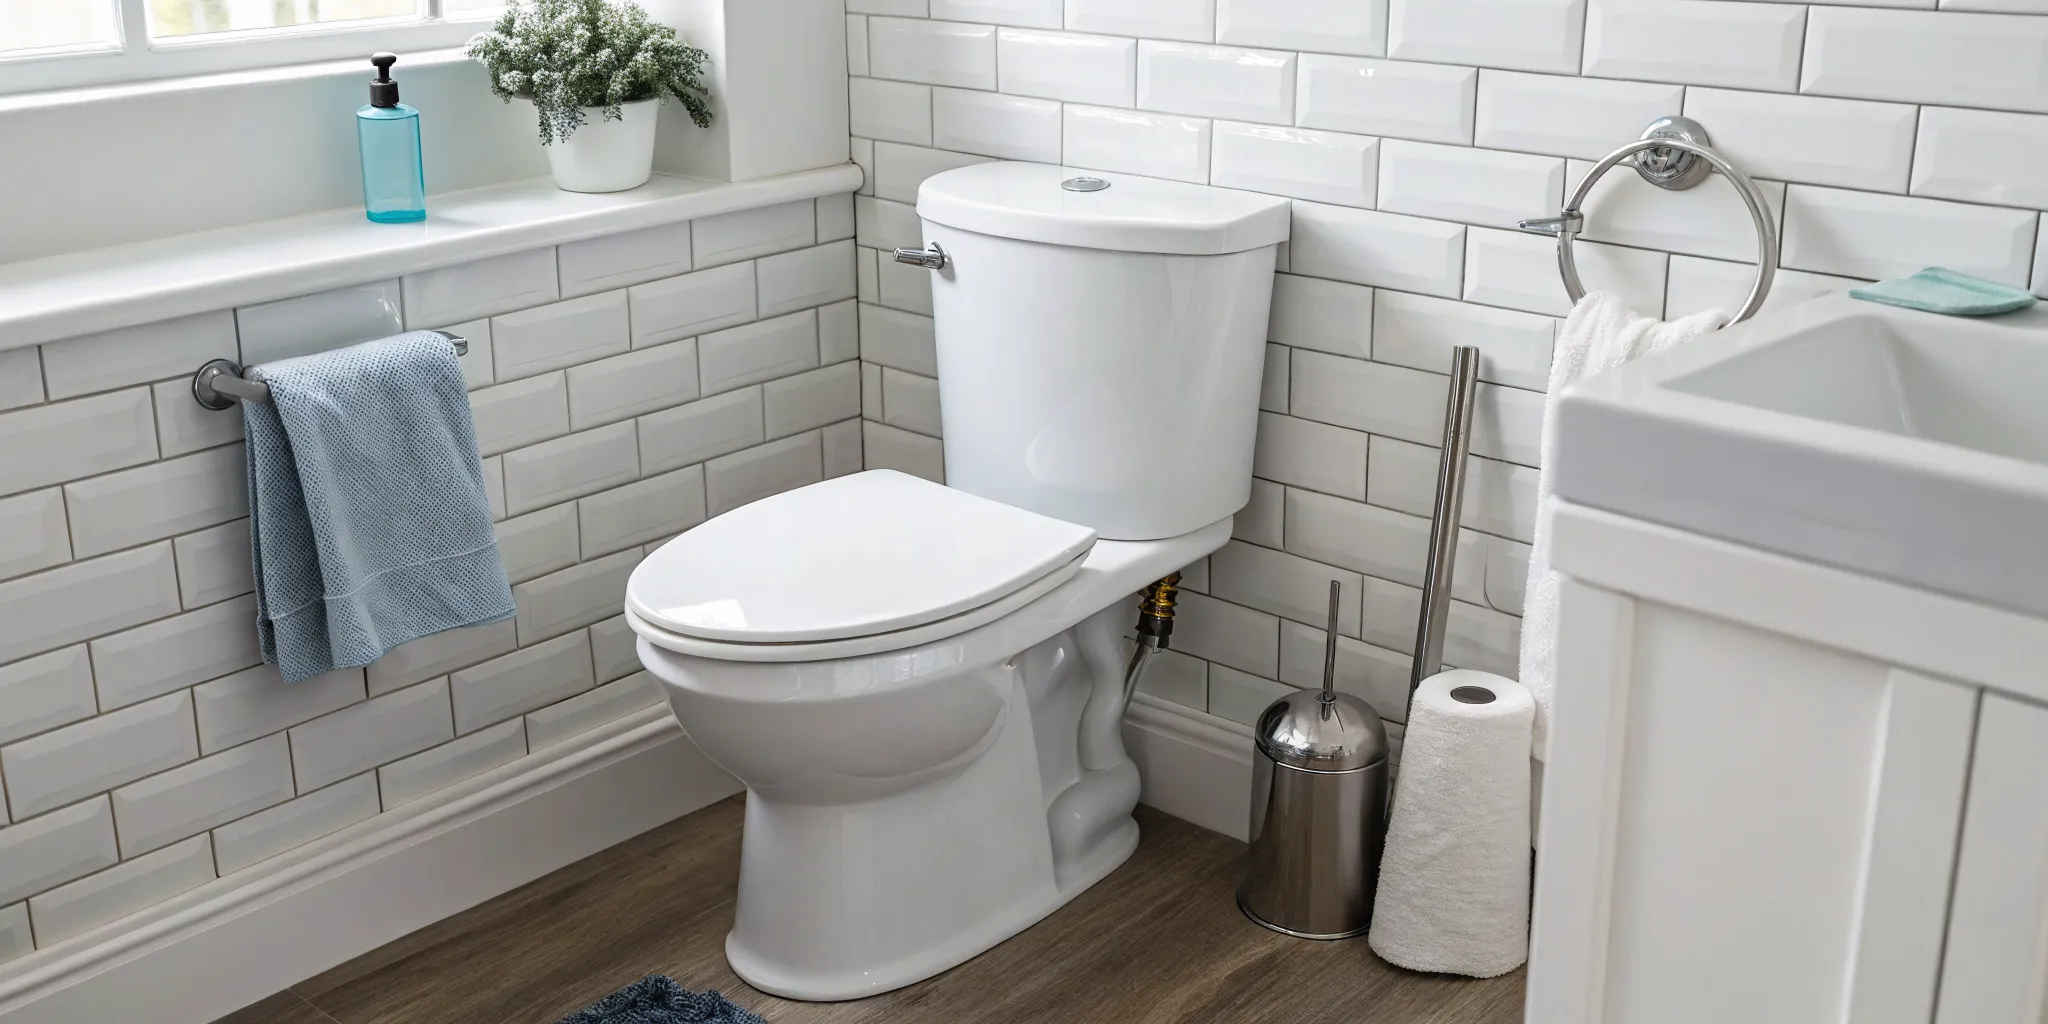
How to Pinpoint the Problem
Before you can fix your running toilet, you need to play detective. Luckily, you don’t need any special equipment for this part, just your eyes and ears. The constant sound of running water is your first clue, and the source is almost always inside the toilet tank. When you lift the lid, you’ll see a few key parts: the flapper, the fill valve, and the float. One of these is usually the culprit behind the constant hissing or trickling sound.
Most of the time, the problem is a simple mechanical issue that’s easy to spot once you know what you’re looking for. By performing a few quick checks, you can pinpoint exactly what’s causing the leak from the tank into the bowl. This process will help you figure out if it’s a simple adjustment you can handle yourself or if it’s time to call in a professional for a toilet repair. Let’s walk through how to identify the source of the problem step by step.
Inspect the Flapper Seal
The flapper is the rubber or plastic seal at the bottom of your tank that lifts when you flush. Think of it as the drain plug. Over time, this little part can get old, brittle, or warped from water and cleaning chemicals. When that happens, it can’t create a watertight seal, allowing water to constantly trickle from the tank into the bowl. This forces the fill valve to keep turning on to refill the tank. You can check it by gently running your finger along the rim of the flapper. If it feels warped or you see mineral deposits, it’s likely time for a replacement.
Perform a Quick Fill Valve Test
The fill valve is the tall assembly, usually on the left side of the tank, that refills the tank with water after you flush. It’s connected to a float that rises with the water level and tells the valve when to shut off. If the fill valve is broken or clogged, it might not stop filling the tank, causing water to run continuously down the overflow tube. To test it, flush the toilet and wait for the tank to start refilling. Then, gently lift the float arm. If the water stops, the valve is working, but your float probably needs an adjustment. If the water keeps running, you’ve found your problem: a faulty fill valve.
Examine the Float and Lift Chain
Sometimes, the issue is as simple as a tangled or improperly sized chain. The chain connects the flush handle to the flapper, and it needs to have just the right amount of slack. If it’s too short or tight, it will hold the flapper slightly open, causing a constant leak. If it’s too long, it can get caught underneath the flapper, preventing it from sealing properly. Check the chain to make sure it has just a little bit of looseness. While you’re there, make sure the float can move up and down freely without getting stuck on any other parts inside the tank.
Use the Food Coloring Test to Find Leaks
If you suspect a leak but can’t see it, the food coloring test is a foolproof way to find out. It’s a simple and effective method for confirming a bad flapper seal. Just add a few drops of dark food coloring into the toilet tank and wait about 20 minutes. The key is not to flush the toilet during this time. After waiting, check the water in the toilet bowl. If you see any colored water in the bowl, you have a leak coming from the tank. This almost always confirms that your flapper isn’t sealing correctly and needs to be replaced. If the test reveals a leak you can’t fix, our team is always ready to help with any toilet repair and replacement needs.
Try an Alternative Leak Test
Sometimes a leak is so quiet you can barely hear it, but it’s still wasting water and money. If you suspect your toilet is leaking but can’t find the source, the food coloring test is a simple and surprisingly effective trick. Just add a few drops of dark food coloring into the toilet tank—not the bowl—and wait about 20 minutes. The key is not to flush during this time. When you come back, take a look inside the toilet bowl. If you see any color has seeped in, you’ve found your leak. This is a clear sign that water is escaping from the tank, which almost always means the flapper isn’t sealing properly and needs to be replaced. While it’s a common issue, if you’re not comfortable making the fix yourself, our team is always ready to help with any toilet repair and replacement needs.
How to Fix a Toilet That Keeps Running
Ready to get your hands dirty? Fixing a running toilet is one of the most common DIY home repairs, and it’s usually simpler than you think. With a little patience, you can solve the problem and stop wasting water. Just follow these steps to identify the cause and get your toilet back in working order.
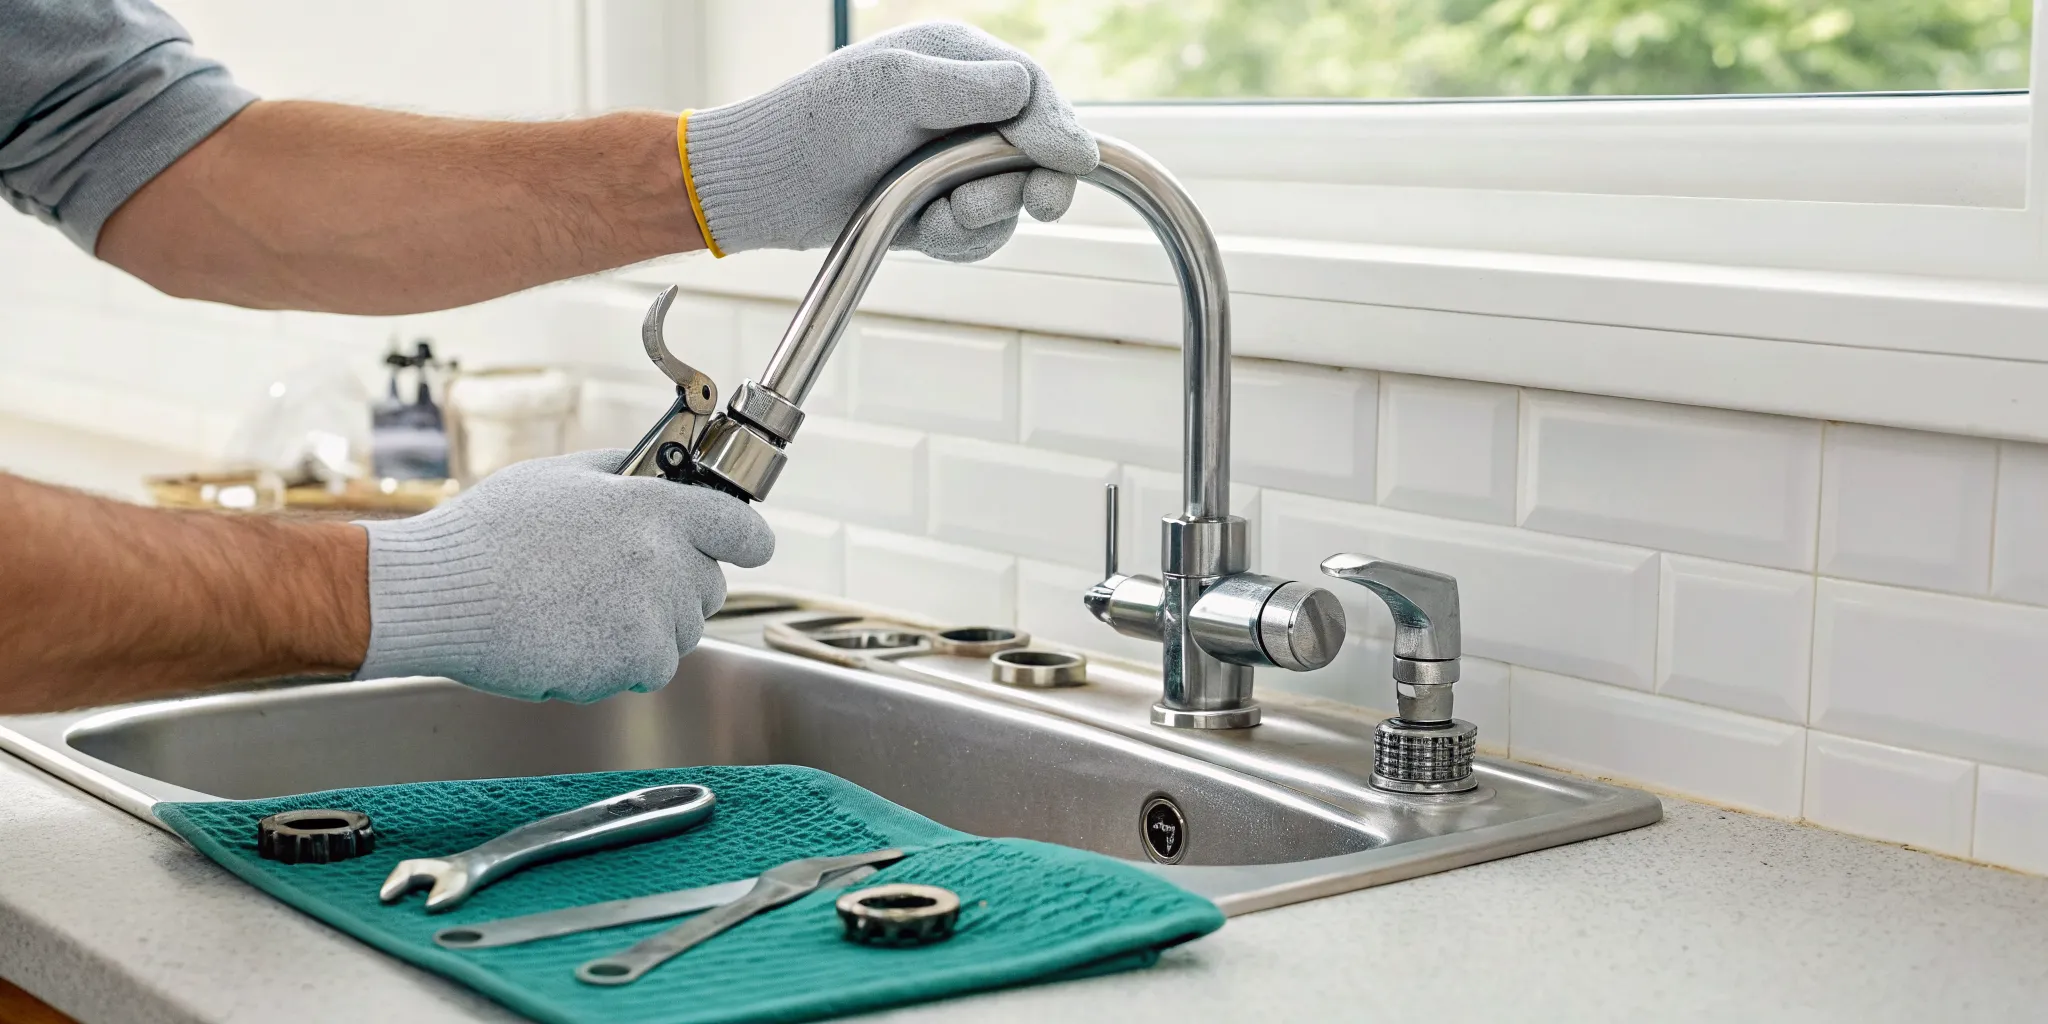
Gather These Tools and Supplies First
You don’t need a full toolbox for this project. Before you begin, gather a few basic tools to make the job go smoothly. You’ll likely only need a pair of wire cutters or snips, a flathead screwdriver, and a Phillips head screwdriver. It’s also a good idea to have an old towel on hand to place on the floor, just in case of any small spills when you’re working inside the tank. That’s it! With these simple items, you’re prepared to tackle the most common causes of a running toilet.
How to Fix or Replace the Flapper
Start with the easiest fix first: the flapper. This is the rubber seal at the bottom of your tank that lifts when you flush. Over time, flappers can get worn out, brittle, or corroded, which prevents them from creating a tight seal. To check it, simply reach into the (clean) tank water and feel the flapper. If it feels warped or you see mineral buildup on it, it’s time for a replacement. To replace it, unhook the old flapper from the overflow tube and the chain, then put the new one in its place.
How to Adjust or Replace the Fill Valve
If a new flapper doesn’t solve the problem, your fill valve is the next part to inspect. This is the assembly that refills the tank with water after you flush. If the fill valve is broken, clogged with sediment, or just worn out, it might not shut off the water flow completely, causing the tank to overfill and the toilet to run. You can often find replacement fill valves at any hardware store. If you’re not comfortable replacing this part yourself, our expert toilet repair services can get the job done quickly and correctly.
How to Clean the Fill Valve
Sometimes, the fill valve isn’t broken, just dirty. Over time, sediment and mineral buildup from the water can clog the internal mechanism, preventing it from shutting off correctly. Cleaning it out is a great step to try before replacing the whole part. Start by turning off the water supply valve behind the toilet, then flush to empty the tank. To get inside the fill valve, you’ll need to remove its cap. Hold the main stem of the valve steady with one hand, and with the other, twist the cap about an eighth of a turn counterclockwise and lift it off. Now for the clever part: place a cup upside down over the open valve to prevent splashing, and turn the water supply back on for about 15 seconds. This will blast out any gunk. Turn the water off, put the cap back on, turn the water supply on for good, and let the tank fill. If cleaning doesn’t solve the running, or if you notice any cracked parts, it might be time for a replacement, a task our team can handle with our expert toilet repair services.
How to Realign the Chain and Float
The chain that connects the flush handle to the flapper can also be the source of the issue. If the chain is too tight, it will hold the flapper slightly open, allowing water to leak continuously from the tank into the bowl. If it’s too long, it can get caught underneath the flapper, also preventing a proper seal. The chain should have just a little bit of slack. If you have too much excess, you can easily trim it with your wire cutters to the perfect length.
How to Adjust the Water Level
Your toilet tank is designed to hold a specific amount of water. If the water level is too high, it will constantly spill into the overflow tube, and the fill valve will keep running to replace it. This is controlled by the float mechanism. On older toilets, this is a ball that floats on the water. On newer models, it’s a float cup that slides up and down the fill valve tube. Adjusting the float so the water level stops about an inch below the top of the overflow tube will often solve the problem.
Adjusting Different Float Types
To adjust the water level, you first need to identify which type of float your toilet has. Older toilets often have a ball float attached to a long metal arm. To lower the water level with this type, you can gently bend the arm downward. Some models have a screw on top of the fill valve where the arm connects; turning this screw will also adjust the float height. Newer toilets typically use a float cup that slides up and down the fill valve tube. Look for a spring clip you can pinch or a plastic screw on the side. Squeezing the clip and sliding the float down or turning the adjustment screw will lower the shut-off point for the water. The goal for both types is to set the water level to stop about one inch below the top of the overflow tube. If these adjustments don’t work, the fill valve may be the issue, and it might be time to consider a professional toilet repair.
Common Mistakes to Avoid When Fixing Your Toilet
While fixing a running toilet is a manageable DIY task, a few common mistakes can cause more trouble. First, always make sure the water supply line is connected tightly underneath the tank after you’ve finished your work. A loose connection can lead to a serious leak. If you’ve tried all these fixes and the toilet is still running, or if you notice a bigger problem like a cracked overflow tube, it’s best to stop and call a professional. Trying to fix a major issue without the right experience can lead to water damage. When in doubt, contact us for help.
Proactive Toilet Maintenance Tips
The best way to deal with a running toilet is to prevent it from happening in the first place. A little proactive maintenance goes a long way in keeping your plumbing in top shape and helping you avoid the stress of unexpected repairs. Think of it as an annual check-up for one of the hardest-working fixtures in your home. By spending just a few minutes each year inspecting the internal parts, you can catch small issues before they turn into water-wasting headaches. These simple tips will help you stay ahead of potential problems, save money on your water bill, and extend the life of your toilet. While many of these tasks are simple, remember that if you ever find a problem that seems too complex, our team is always here to provide expert toilet repair and replacement services.
Perform Annual Inspections
Set a calendar reminder to give your toilet an annual inspection. It only takes a few minutes and can save you a lot of money. Simply lift the tank lid and take a look inside. Check the flapper for any signs of warping, discoloration, or brittleness. Gently press on it to see if it still feels pliable. Look at the lift chain to ensure it’s not tangled, rusted, or too long. You should also check the water level to make sure it’s sitting about an inch below the overflow tube. A yearly check helps you spot worn-out parts before they fail completely, preventing the kind of silent leak that can waste hundreds of gallons of water and drive up your utility bill.
Consider a Full Toilet Repair Kit
If you notice that one part, like the flapper, is starting to wear out, it’s a safe bet that the other components aren’t far behind. Instead of replacing parts one by one, consider buying a full toilet repair kit from your local hardware store. These kits are often called “toilet innards” and typically include a new fill valve, flapper, and all the necessary gaskets and hardware. Replacing everything at once is a cost-effective way to refresh the entire mechanism, ensuring all parts work together seamlessly. This can prevent a frustrating cycle of fixing one problem only to have another one pop up a few months later.
Know Where Your Shut-Off Valve Is
Before you ever attempt a repair, the most important thing you can do is locate the toilet’s shut-off valve. This is typically a small, oval-shaped handle on the wall or floor behind the toilet, connected to a water supply line. Turning this valve clockwise will stop the flow of water to the tank, which is essential for preventing a flood while you work. If your toilet doesn’t have its own shut-off valve, you’ll need to find the main water shut-off for your entire house. Make sure you and everyone in your home knows where this is. If the valve is stuck or you can’t find it, it’s a good time to call for professional plumbing services to avoid any mishaps.
When to Call a Professional Plumber
You’ve given it your best shot, and sometimes, even the most determined DIYer meets their match. Knowing when to hand the tools over to a professional isn’t admitting defeat; it’s making a smart move to protect your home and your wallet. If your toilet is still giving you trouble after you’ve tried the common fixes, it might be signaling a deeper issue that needs an expert eye. Certain problems can quickly go from a small annoyance to a costly repair, and a professional plumber has the tools and experience to diagnose and fix the root cause correctly the first time.
Signs You Need an Expert
Sometimes the signs are subtle, and other times they’re crystal clear. If you’ve worked through the DIY steps and your toilet is still running, it’s time to call for backup. Pay close attention if you notice a cracked overflow tube or any other visibly broken parts inside the tank, as these require specific replacements. Persistent problems often point to a more complex fix that a simple adjustment won’t solve. If you’re not comfortable with the repair or the issue just won’t quit, getting a professional involved ensures the job is done right. A quick and reliable toilet repair from an expert can save you from a much larger problem.
Leave These Toilet Problems to the Pros
Certain toilet troubles are best left to a professional from the start. If you feel unsure about any part of the repair process, it’s always better to be safe than sorry. Tasks like replacing the entire fill valve assembly or diagnosing issues that might stem from your main water line require specialized knowledge. A small, persistent leak can lead to significant water damage to your floor and subfloor over time, turning a minor issue into a major expense. When you’re facing a complex repair or a potential emergency plumbing situation, it’s time to call in an expert for a fast and reliable solution.
Related Articles
- Toilet Button Flush Running? Here’s How to Fix It
- How to Fix a Toilet Running When Not in Use
- Toilet Keeps Running After Flush? 5 Easy DIY Fixes
Frequently Asked Questions
How much water does a running toilet actually waste? A constantly running toilet can waste a surprising amount of water, often up to 200 gallons every single day. To put that in perspective, that’s more water than the average person uses for all their daily activities combined. Over a month, this can lead to thousands of gallons wasted, which will definitely make a noticeable impact on your utility bill.
I replaced the flapper, but my toilet is still running. What should I check next? If a new flapper didn’t do the trick, the next logical step is to inspect the fill valve and the water level. Look inside the tank to see if water is continuously spilling into the tall overflow tube. If it is, your water level is too high and the float needs to be adjusted downward. If the water level is correct, the fill valve itself is likely the problem and may need to be replaced.
Is it safe to turn off the water to my toilet while I work on it? Yes, and you absolutely should. Before you start any repair inside the tank, look for the small shut-off valve on the wall or floor behind the toilet, connected to a supply line. Turn the handle clockwise until it stops. This cuts off the water supply, allowing you to work without causing a flood. When you’re finished, simply turn it counter-clockwise to restore the water flow.
How do I know if I need a simple repair or a whole new toilet? Most running toilets can be fixed with a simple, inexpensive part. However, if you find yourself making repairs frequently, notice any cracks in the porcelain tank or bowl, or if the toilet wobbles, it might be time for a replacement. A new toilet can be more cost-effective in the long run, especially since modern models are much more water-efficient.
Are those drop-in bleach tablets bad for my toilet? While they promise a clean bowl with no effort, I generally recommend avoiding them. The strong chemicals in those tablets can corrode the plastic and rubber components inside your tank, particularly the flapper and fill valve seals. Over time, this damage can cause leaks and lead to the exact running toilet problem you’re trying to prevent.
Water on the Floor Around the Toilet
Finding a puddle of water at the base of your toilet is a different and more serious issue than a simple running toilet. While a running toilet involves water leaking from the tank into the bowl, water on your floor indicates a leak from the toilet’s seal, a crack in the porcelain, or a loose water supply connection. This is a clear sign to stop any DIY work and call for professional help. Water seeping under the toilet can cause serious damage to your flooring, subfloor, and even the ceiling of the room below. Trying to fix this without the right experience can quickly turn a small problem into a major, expensive repair. Our team is equipped to handle these urgent toilet repair issues and protect your home from water damage.
Persistent Leaks After DIY Repairs
You’ve replaced the flapper, adjusted the float, and untangled the chain, but the toilet is still running. It’s frustrating, but it’s also a sign that the problem is more complex than the usual suspects. If you’ve tried the common fixes and the leak persists, it’s time to call a professional. The issue could be a hairline crack in the overflow tube, a warped flush valve seat that a new flapper can’t seal against, or even an issue with your home’s water pressure. Continuing to let the toilet run wastes hundreds of gallons of water, and ignoring a deeper problem can lead to more significant damage. When your best efforts don’t solve the issue, our experts can diagnose the root cause and provide a lasting solution.