Is your electricity bill creeping up for no apparent reason? Before you blame the kids for leaving the lights on, your water heater might be the real culprit. When a water heater element starts to fail, it works overtime just to heat your water, causing a quiet but costly spike in your energy use. This silent money drain is a sneaky sign of a bigger problem. If you’re tired of lukewarm showers and high utility bills, it’s time to investigate. We’ll show you exactly how to tell if your water heater element is bad so you can stop wasting money.
Key Takeaways
- Listen to the Warning Signs: Inconsistent temperatures, a sudden lack of hot water, and strange popping sounds from the tank are clear indicators that a heating element may be failing and needs attention.
- Factor in Age Before You Fix: Replacing an element is a smart repair for a water heater under 10 years old. However, if your unit is older, shows signs of rust, or is leaking, a full replacement is the more reliable long-term investment.
- A Little Maintenance Goes a Long Way: You can prevent premature element failure with simple habits. Flushing your tank annually to clear out sediment and keeping the thermostat at 120°F are two of the best ways to extend the life of your water heater.
How to Tell if Your Water Heater Element Is Bad
Nothing ruins a morning faster than a shower that suddenly turns ice-cold. If your hot water is becoming less reliable, a failing heating element could be the culprit. In an electric water heater, these elements are the submerged workhorses responsible for heating your water. When one starts to go bad, it can cause a chain reaction of problems, from lukewarm showers to strange noises coming from your basement. It’s one of those household issues that’s easy to ignore at first—maybe you blame a long shower or running the dishwasher—but it rarely gets better on its own. Before you’re left with a tank full of cold water, it’s helpful to know what to look for. These signs often start small but can point to a bigger issue that impacts your comfort and your utility bills. Recognizing the warning signs early can save you from a no-hot-water emergency and help you decide if it’s time for a repair. Let’s walk through the key symptoms that tell you an element is on its last legs, so you can catch the problem before it leaves you completely in the cold.
A Note on Gas vs. Electric Water Heaters
Before you start troubleshooting, it’s helpful to know that this advice applies specifically to electric water heaters. Most electric models rely on two heating elements—one at the top of the tank and one at the bottom—which use electricity to heat your water. In contrast, gas water heaters don’t have these electric parts at all; they use a gas burner at the base of the tank to do the heating. So, if you have a gas unit, a bad element won’t be the source of your hot water problems, but you could be facing another issue like a faulty thermocouple or a pilot light that’s gone out.
Because a failed heating element is a common issue exclusive to electric models, proper care is essential. When an element gives out, your water heater can’t do its job effectively, leaving you with lukewarm or cold showers. You can prevent premature failure with some simple habits. Flushing your tank annually to clear out mineral sediment and keeping the thermostat at 120°F are two of the best ways to extend the life of your water heater and keep it running efficiently, saving you from unexpected cold-water surprises and costly repairs.
Running Out of Hot Water Too Quickly?
Does your shower go from relaxing to frigid in what feels like minutes? If you can’t seem to get enough hot water to finish your shower or wash a load of dishes, a faulty lower heating element is often the cause. Most electric water heaters have two elements: one at the top and one at the bottom. The bottom element does most of the heavy lifting to heat the entire tank. When it fails, only the top element is working, heating just a small amount of water at the top of the tank. This gives you a brief blast of hot water before it quickly runs out, leaving you in the cold.
From Hot to Cold: Unpredictable Water Temps
If your tap water plays games with you—going from lukewarm to scalding and back to cool—a failing element is a likely suspect. A healthy water heater should provide a steady, consistent temperature. When an element is damaged or covered in sediment, it can’t heat the water evenly. This results in frustrating temperature fluctuations that make even simple tasks like washing your hands unpredictable. You might find that the water never gets truly hot, or that it can’t maintain its heat for long. This inconsistency is a clear signal that your water heater’s internal components are struggling to keep up with demand.
What’s That Rumbling or Hissing Sound?
Your water heater should operate pretty quietly. If you start hearing unusual sounds like hissing, popping, or sizzling from the tank, it’s time to pay attention. These noises are often caused by a layer of sediment and mineral buildup that has coated the heating element. As the element heats up, the water trapped beneath this crust boils and steams, creating those strange sounds. This not only puts a huge amount of stress on the element, causing it to fail prematurely, but it also reduces your heater’s efficiency. Think of it as your water heater’s way of crying out for help.
Your Circuit Breaker Trips Constantly
A circuit breaker that repeatedly trips is more than just an annoyance—it’s a serious electrical warning sign. Your water heater is on a dedicated circuit for a reason. If the breaker for your water heater keeps tripping, it often means a heating element is shorting out. This happens when the element’s protective casing cracks, allowing water to reach the electrical wiring inside. This creates a surge of electricity that trips the breaker to prevent a fire. Don’t just keep resetting it; this is a clear sign you need to address the underlying problem with our emergency plumbing services.
Noticing a Higher-Than-Usual Energy Bill
Have you noticed your electricity bill creeping up for no apparent reason? Before you blame the kids for leaving the lights on, check your water heater. When one of the two heating elements fails, the remaining one has to work overtime to heat the entire tank. This means it runs longer and draws significantly more power to do the same job, causing a noticeable jump in your energy consumption. You might still have hot water, so this sign can be easy to miss. But if your utility costs are climbing, a struggling water heater element is a prime suspect.
How to Test a Water Heater Element (The Safe Way)
If you’re dealing with lukewarm showers or no hot water at all, a faulty heating element is a likely suspect. The good news is that testing it is a straightforward job you can often handle yourself, as long as you prioritize safety. Before you start taking things apart, it’s important to understand the process and gather the right equipment. This guide will walk you through the exact steps to test your water heater element with a multimeter, so you can figure out if a simple replacement is all you need to get your hot water flowing again.
First Things First: Turn Off the Power
Before you even think about touching your water heater, your absolute first step is to shut off the power. This isn’t a suggestion—it’s a critical safety measure to prevent serious electrical shock. Go to your home’s circuit breaker box and find the breaker that controls your water heater. It’s usually a double-pole breaker and should be clearly labeled. Flip it to the “OFF” position. If you’re ever unsure about working with your home’s electrical system or feel uncomfortable, it’s always best to call for professional emergency plumbing services. Your safety is always the top priority.
Gather Your Tools
You don’t need a full workshop for this test, but you do need a few specific items. Having everything ready beforehand makes the process much smoother.
Here’s what to gather:
- A digital multimeter: This is the key tool for the job. It measures electrical resistance and will tell you if your element is working.
- Screwdrivers: You’ll likely need both a Phillips head and a flathead screwdriver to remove the element’s access panel.
- Safety gear: Always wear insulated gloves and safety goggles to protect yourself.
Having these tools on hand will help you perform the test safely and efficiently.
How to Use a Multimeter to Test the Element
With the power off and your tools ready, you can begin the test. Follow these steps carefully to get an accurate reading from your heating element.
- Remove the access panel. Use your screwdriver to take off the metal cover on the side of the tank that protects the heating element. You’ll also need to move the insulation out of the way.
- Disconnect the wires. Carefully disconnect the two wires attached to the element’s terminal screws.
- Set your multimeter. Turn the dial on your multimeter to the lowest setting for ohms (Ω), which measures resistance.
- Test the element. Touch one of the multimeter’s probes to each of the two terminal screws on the element. It doesn’t matter which probe touches which screw.
What Do the Multimeter Readings Mean?
The number on your multimeter’s screen will tell you everything you need to know. A healthy, functioning heating element should have a specific resistance reading. You’re looking for a reading somewhere between 10 and 30 ohms. If your multimeter shows a number in this range, the element is likely in good shape.
If the reading is “OL” (which stands for “open line”) or shows no reading at all, it means the element is broken and has no continuity. On the other hand, a very low reading, like zero, indicates a short. In either of these cases, the element has failed and needs to be replaced. If the results are confusing or you’re not confident in the next steps, it’s a great time to contact a professional for an expert diagnosis.
Why Do Water Heater Elements Fail?
It’s frustrating when you’re expecting a hot shower and get a blast of cold water instead. More often than not, a faulty heating element is the culprit. These components work hard, and they don’t last forever. Understanding why they fail can help you catch problems early and even prevent them from happening in the first place. From mineral buildup to simple old age, several factors can cause a heating element to burn out.
Think of your water heater element like the filament in a lightbulb—it heats up to do its job, but that process causes wear over time. Sometimes, the failure is gradual, giving you warning signs like lukewarm water or strange noises. Other times, it can happen suddenly due to an electrical issue. Knowing what to look for is the first step in diagnosing the problem. Below, we’ll walk through the most common reasons your water heater element might be on the fritz, so you can better understand what’s happening inside your tank and what your next steps should be. If you ever feel unsure, remember that professional plumbing solutions are just a call away.
The Problem with Sediment Buildup
If you live in an area with hard water, your water heater is constantly dealing with minerals like calcium and magnesium. Over time, these minerals settle at the bottom of the tank, creating a thick layer of sediment. This buildup can be a major problem for your lower heating element. The sediment essentially buries the element, insulating it from the water it’s supposed to be heating. This forces the element to work much harder and overheat, leading to a burnout. Regular tank flushing is the best way to prevent this common issue and keep your elements working efficiently.
Normal Wear and Tear Over Time
Just like any other hardworking appliance part, water heater elements have a limited lifespan. Most water heaters are designed to last between 10 and 15 years, and their elements are on a similar timeline. The constant cycle of heating up and cooling down puts stress on the element’s metal casing, causing it to wear out over time. If your water heater is getting older, there’s a good chance that age is the simple reason for the failure. It’s a normal part of the appliance’s life cycle, and replacing the element can often give an older heater a new lease on life.
Damage from Power Surges
Sometimes, the problem isn’t inside the tank but comes from your home’s electrical system. A sudden power surge can send a jolt of electricity through your water heater, damaging the delicate internal wiring of the heating elements and the thermostat. This can cause an element to fail instantly. Other issues, like loose wiring or a faulty circuit breaker, can also lead to premature failure. If your breaker keeps tripping, it’s a clear sign that there’s an electrical problem that needs immediate attention. For these situations, it’s often best to call for emergency plumbing services to ensure a safe and accurate diagnosis.
Hard Water and Corrosion
While sediment buildup smothers an element, poor water quality can eat it away from the outside in. If your water is acidic or has a high mineral content, it can be highly corrosive. This corrosive action can break down the protective outer layer of the heating element, exposing the metal to rust. Once corrosion starts, it can quickly cause the element to crack, short out, and fail completely. This issue can also damage other parts of your tank, like the anode rod, which is designed to prevent this very problem. Keeping an eye on your water quality can protect your entire plumbing system.
What Is “Dry Firing” and Why Is It Bad?
“Dry firing” is one of the fastest ways to destroy a brand-new heating element, and it’s completely avoidable. The elements are designed to be fully submerged in water, which absorbs the intense heat they produce. If the power to the water heater is turned on while the tank is empty—for instance, right after an installation or a major repair—the element will heat up with nowhere for that energy to go. It can burn out in a matter of seconds. This is why it’s so important to ensure the tank is completely full before restoring power. If you’re ever in doubt, it’s always safest to contact a professional to handle the job.
Types of Water Heater Elements
When you discover a bad heating element, you might think a replacement is as simple as grabbing a new one from the hardware store. However, not all elements are created equal. They come in various shapes, sizes, and materials, and choosing the wrong one can lead to poor performance or even damage your water heater. Understanding the different types will help you find the perfect match for your unit, ensuring it runs efficiently and safely. From the way they attach to the tank to the material they’re made from, each detail matters. Let’s break down the key differences so you can confidently identify what your water heater needs to get back to providing reliable hot water for your home.
Attachment Style: Screw-In vs. Flange
The first thing you’ll need to figure out is how the element attaches to your water heater tank. The vast majority of modern residential water heaters use a screw-in style element, which, as the name suggests, screws directly into a threaded opening in the tank. This is the most common type you’ll encounter. The other style is a flange or bolt-in element, which is secured to the tank with a gasket and several bolts. These are typically found in older or commercial-grade water heaters. It’s essential to get this right, as the two types are not interchangeable. A quick look at your current element will tell you which one you need.
Shape and Design: Straight vs. Foldback
Heating elements also come in two primary shapes: straight and foldback. A straight element is a simple, U-shaped rod. A foldback element, on the other hand, is bent back on itself, creating a more compact “W” shape. The main difference is how they distribute heat. Foldback elements have a larger surface area packed into a smaller space, which can sometimes heat water more efficiently. The design you need depends entirely on the original specifications of your water heater. You should always replace your element with one that has the same shape to ensure it fits properly inside the tank and functions as intended.
Watt Density: Low vs. High
Watt density refers to how much heat the element produces per square inch of its surface. High-watt-density (HWD) elements get very hot very quickly, which is great for heating water fast. However, this intense heat can cause minerals in hard water to “bake” onto the element, leading to faster sediment buildup and a shorter lifespan. Low-watt-density (LWD) elements don’t get as intensely hot, so they are more resistant to mineral buildup and tend to last longer, especially in areas with hard water. If you’re constantly fighting sediment, switching to an LWD element (with the same wattage and voltage) could be a smart move.
Element Materials and Coatings
The material an element is made from plays a big role in its durability. Most standard elements are made of copper, which is an excellent heat conductor. However, in water with a high mineral content or an unusual pH balance, copper can corrode over time. For more demanding conditions, you can find elements made from stainless steel or with special coatings designed to resist corrosion and mineral buildup. These premium options often last longer and can be a worthwhile investment if you’ve had to replace your elements frequently due to poor water quality. Choosing the right material can extend the life of your element significantly.
How to Choose the Correct Replacement Element
Once you’ve identified that your heating element is the problem, the next step is finding the right replacement. This is where precision is key. Grabbing the wrong part won’t just leave you with lukewarm water—it could be inefficient, ineffective, or even dangerous. Your water heater is designed to work with very specific components, and deviating from the manufacturer’s specifications can cause electrical problems or damage the unit. To avoid a frustrating trip back to the store or a call for an emergency plumbing repair, you need to make sure the new element is an exact match. We’ll guide you through what to look for to ensure you purchase the correct part the first time.
Match the Specifications Exactly
When selecting a new element, you need to match three critical details from your old one: voltage, wattage, and attachment style. You can usually find this information printed or stamped on the base of the old element itself or in your water heater’s manual. The voltage (typically 120V or 240V) and wattage must match the original specifications perfectly. Using an element with the wrong voltage can cause it to burn out immediately or fail to heat the water at all. Similarly, the attachment style—whether it’s a screw-in or flange type—must be identical to ensure a proper, leak-proof fit in your tank.
Why You Should Never Use a Higher Wattage
It might seem tempting to install an element with a higher wattage, thinking it will give you hotter water faster. This is a dangerous mistake. Your water heater’s wiring, thermostat, and other components are all designed to handle a specific electrical load. Installing a higher-wattage element can overload the circuit, creating a serious fire hazard. It can also damage the thermostat and other internal parts that aren’t built to manage that much power. Always stick to the wattage specified by the manufacturer. If you want faster hot water recovery, it’s better to look into a different water heater model rather than modifying your current one.
Find the Correct Part Number
The most reliable way to ensure you get the right replacement is to find the correct part number. This information is usually located on a sticker on the side of your water heater tank, along with the model and serial number. You can also find it in the owner’s manual. Once you have the part number, you can easily search for it online or take it to your local hardware store to find an exact match. Using the manufacturer-specified part number removes all the guesswork and guarantees that the new element will be compatible with your unit, ensuring a safe and effective repair.
Consider a Tune-Up Kit
If you’re already going through the trouble of replacing a heating element, it might be a good time to perform a little extra maintenance. Many manufacturers offer water heater “tune-up” kits that bundle new heating elements with other essential components, like a new anode rod and thermostats. The anode rod is a crucial part that protects your tank from rust, and replacing it every few years can significantly extend the life of your water heater. A kit can be a convenient and cost-effective way to handle multiple maintenance tasks at once, keeping your unit running efficiently for years to come.
The Replacement Process: A Step-by-Step Guide
With the correct replacement element in hand, you’re ready to tackle the installation. This process involves working with both water and electricity, so it’s extremely important to follow each step carefully and prioritize safety above all else. While it can be a manageable DIY project for those with some experience, never hesitate to call a professional if you feel unsure at any point. A small mistake can lead to a big leak or a dangerous electrical situation. This guide will walk you through the essential steps for a safe replacement. But remember, if you run into trouble, the team at Mr. Pipey is always here to help get the job done right.
Step 1: Drain the Tank
Before you can access the heating element, you need to completely drain the water heater tank. First, shut off the power at the circuit breaker. Next, turn off the cold water supply valve that feeds into the tank. Then, connect a garden hose to the drain valve at the bottom of the water heater and run the other end to a floor drain or outside. Open the drain valve and a hot water faucet somewhere in your house to allow air to enter the tank, which helps it drain faster. This process can take a while, so be patient and wait until the tank is completely empty.
Step 2: Use the Right Tools
Having the right tools makes this job much easier and safer. The most important tool you’ll need is a 1 1/2-inch socket or, even better, a special element wrench. This tool is designed specifically to grip the element without stripping it. You’ll also need a Phillips head or flathead screwdriver to remove the access panel and disconnect the wires. Keep a bucket and some old towels handy to catch any residual water that spills out when you remove the old element. Using the proper equipment helps prevent damage to the new element and the tank itself.
The Essential Element Wrench
While you might be able to use a standard socket wrench, an element wrench is highly recommended. This simple, inexpensive tool is designed to fit perfectly over the hexagonal base of the heating element. Its shape gives you the leverage you need to break the old element free, especially if it’s been in place for years and is sealed tight with sediment. Using the wrong tool can easily damage the element or the threaded fitting on the tank, turning a simple repair into a much more complicated and expensive problem. It’s a small investment that can save you a major headache.
Step 3: Install the New Element
Once the old element is out, clean the threads on the tank opening to ensure a good seal. Your new element should come with a rubber gasket or O-ring. Make sure it’s seated properly before you begin screwing the new element in. Hand-tighten it first, then use your element wrench to give it a final quarter-turn to ensure it’s snug. Don’t overtighten, as this can damage the gasket and cause a leak. Once the element is secure, reattach the electrical wires to the same terminal screws they came from.
Installation Tips for a Secure Fit
A secure, leak-free fit is critical. When tightening the new element, make sure it feels firm but avoid using excessive force. The rubber gasket is what creates the waterproof seal, and over-cranking it can cause the gasket to split or deform. After you refill the tank, you’ll want to double-check for any drips around the new element before you restore power. If you see any moisture, you may need to tighten it just a little more. A slow leak can cause significant water damage over time, so it’s worth taking a moment to ensure everything is perfectly sealed.
Step 4: Refill the Tank Before Restoring Power
This is the most important step in the entire process. After installing the new element and closing the drain valve, turn the cold water supply back on to refill the tank. Keep a hot water faucet open somewhere in your house. When you get a steady stream of water without any sputtering air, you’ll know the tank is full. Only after the tank is completely full should you go back to the circuit breaker and restore power. Turning the power on before the tank is full will cause the element to “dry fire” and burn out instantly.
Pro Tip: Replace Both Elements at Once
If your water heater has two elements and one has failed, it’s a smart idea to replace both at the same time. The elements have been working for the same amount of time under the same conditions, so if one has burned out, the other is likely not far behind. Replacing both simultaneously saves you from having to drain the tank and repeat the entire process again in a few months. It’s a simple preventative measure that ensures your water heater will continue to work reliably and efficiently, giving you peace of mind and consistent hot water.
Replace the Element or the Whole Heater?
Once you’ve confirmed a bad heating element is the culprit, you face a big question: should you just replace the faulty part or is it time to invest in a whole new water heater? The right answer depends on a few key factors, including cost, the age of your current unit, and its overall condition. Thinking through these points will help you make a smart decision for your home and your budget, saving you from future headaches and surprise cold showers.
Repair vs. Replace: A Cost Breakdown
From a purely financial standpoint, replacing a heating element is the more affordable option in the short term. A new element is a relatively inexpensive part, and even with professional labor, the repair typically costs a couple of hundred dollars. In contrast, purchasing and installing a brand-new water heater is a much larger investment, often running into the thousands. If your water heater is still in good shape and your budget is tight, a simple element replacement is a practical and cost-effective fix to get your hot water running again. It solves the immediate problem without requiring a major financial outlay.
Professional Replacement Costs
Hiring a professional to replace your water heater element is a smart move that typically costs between $150 and $300. This price usually includes the new element itself, the labor involved, and the peace of mind that comes with knowing the job was done safely and correctly. While it might be tempting to save a few dollars with a DIY approach, working with electricity and water requires expertise. A professional plumber ensures the correct element is installed, all connections are secure, and your system is running efficiently without any risks. At Mr. Pipey, we provide transparent, cost-effective solutions for these kinds of repairs, so you know exactly what to expect. If you’re weighing your options, feel free to contact us for a straightforward quote and expert advice.
Factor in Your Heater’s Age and Efficiency
The age of your water heater is one of the most important things to consider. Most traditional tank water heaters have a lifespan of about 10 to 15 years. If your unit is relatively new—say, under eight years old—and this is its first major issue, replacing the element makes a lot of sense. However, if your heater is creeping past the 10-year mark, you might be putting a new part into a system that’s nearing the end of its life. It’s worth weighing the cost of the repair against how many more years you can realistically expect the unit to last before another component fails.
Signs It’s Time to Replace the Entire Unit
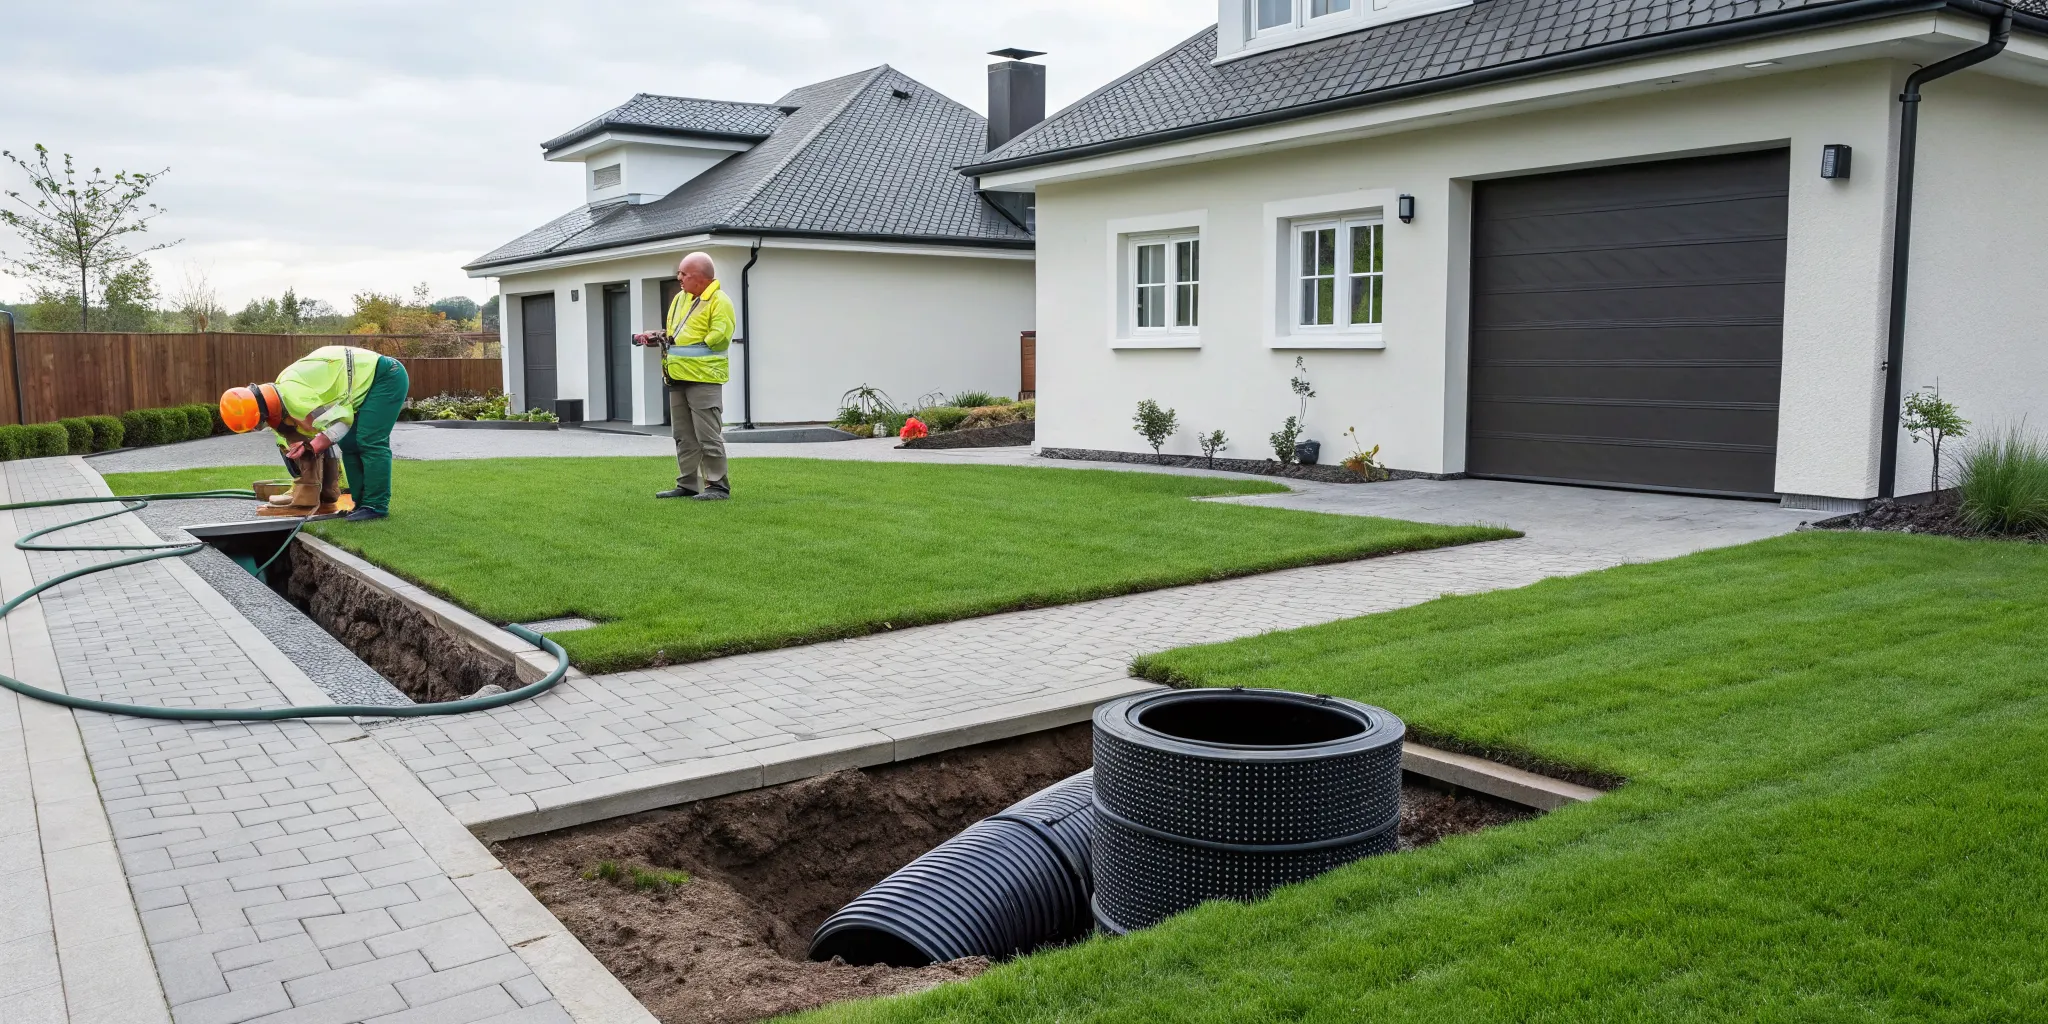
Sometimes, the decision is made for you. If both heating elements have failed, leaving you with no hot water at all, it can be a sign of a larger electrical problem or advanced age. Other red flags include recurring needs for repairs, visible rust and corrosion on the tank itself, or any signs of a leak from the body of the heater. A leaking tank can’t be repaired and is a clear signal that you need a replacement immediately. If you notice water pooling around your heater, it’s time to call for emergency plumbing services to prevent significant water damage to your home.
How a New Water Heater Saves You Money
While the upfront cost of a new water heater is higher, it can be a wise long-term investment. Newer models are significantly more energy-efficient than those from a decade ago, which means you could see a noticeable drop in your monthly utility bills. Over several years, these energy savings can help offset the initial purchase price. Upgrading also gives you a fresh start with a new warranty and the peace of mind that comes with a reliable, modern unit. If your old heater was inefficient or constantly needed fixing, a new one provides both better performance and future savings.
Keeping Your Water Heater Element Healthy
Once you’ve dealt with a faulty heating element, the last thing you want is a repeat performance. The good news is that a little proactive care can go a long way in extending the life of your water heater and its components. These simple maintenance steps will help you avoid future headaches and keep the hot water flowing reliably.
Don’t Skip Regular Maintenance
Think of your water heater like your car—it runs best with regular tune-ups. An annual professional inspection can catch small issues before they become big, expensive problems. During a check-up, a plumber can inspect the heating elements, check the anode rod (which prevents corrosion), and make sure everything is working efficiently. Most water heaters last between 10 and 15 years, and consistent maintenance is key to reaching that lifespan. Investing in a yearly visit is much more affordable than dealing with a sudden breakdown and an emergency plumbing call. It’s a simple way to get peace of mind and protect your investment.
Find the Optimal Temperature Setting
Your water heater’s thermostat setting has a bigger impact than you might think. If it’s set too high, it not only increases your energy bill but also accelerates mineral buildup on the heating elements, causing them to work harder and fail sooner. For most households, a temperature of 120°F is the sweet spot. This is hot enough for all your needs—from washing dishes to showering—without posing a scalding risk or putting unnecessary strain on the unit. You can usually adjust this setting yourself on the thermostat dial located behind the element access panel. It’s a small change that makes a big difference in efficiency and longevity.
Flush Your Tank Annually
Over time, minerals like calcium and magnesium naturally present in your water supply settle at the bottom of your water heater tank, creating a layer of sediment. This buildup is especially tough on the lower heating element, as it can bury the element and cause it to overheat and burn out. To prevent this, you should flush your tank at least once a year. The process involves connecting a garden hose to the drain valve and letting the water run until it’s clear, washing the sediment out with it. If you live in an area with hard water, you may need to do this more frequently.
Consider a Water Softener
If you find yourself dealing with sediment buildup and failing elements over and over, the root cause might be your water itself. Hard water is packed with minerals that create scale, which is tough on your entire plumbing system, not just your water heater. Installing a whole-home water softener can be a game-changer. It works by removing these excess minerals from your water before they ever reach your appliances. This not only protects your water heater elements from damaging scale but also helps your pipes, faucets, and other water-using appliances last longer. It’s a fantastic long-term solution for protecting your home’s plumbing systems.
When Should You Call a Plumber?
While tackling a DIY project can be incredibly satisfying, some jobs are best left to the experts. Knowing your limits is key, especially when dealing with major appliances like your water heater. A simple mistake can lead to bigger, more expensive problems, or even create a safety hazard in your home. If you find yourself feeling unsure or the issue seems more complicated than a simple element swap, it’s always a smart move to call in a professional. It gives you peace of mind knowing the job is done right.
Leave Complex Electrical Work to the Experts
When it comes to your water heater, you’re dealing with a combination of water and high-voltage electricity—a duo you don’t want to mess with. Your safety should always be the top priority. Before you even think about touching the appliance, you must shut off the power at the circuit breaker. If you have any hesitation or lack experience with electrical wiring, please don’t risk it. A licensed plumber has the training and tools to handle the electrical components safely. They can ensure everything is wired correctly and grounded properly to prevent dangerous shocks or electrical fires, keeping your home and family safe.
Don’t Accidentally Void Your Warranty
Your water heater is a significant investment, and it likely came with a manufacturer’s warranty. Many warranties have specific terms that state repairs must be performed by a qualified professional. If you attempt a DIY repair and something goes wrong, you could accidentally void your warranty entirely. That means if a more serious issue pops up later, you’ll be on the hook for the full cost of the repair or replacement. Calling a trusted professional for plumbing services helps protect your investment and keeps your warranty intact, ensuring you’re covered for the long haul.
When You Have a Plumbing Emergency
Some situations go beyond a simple repair and become a full-blown emergency. If you notice a significant leak, see water pooling around the base of your tank, or hear loud popping or banging noises, it’s time to call for help immediately. These can be signs of a serious malfunction that could lead to major water damage in your home. Trying to fix an active, large-scale leak on your own can quickly make the situation worse. A professional can respond quickly to your emergency plumbing needs, contain the problem, and prevent further damage to your floors, walls, and belongings.
When You’re Not Sure What’s Wrong
If you’ve tested the elements and are still stumped about what’s causing your hot water problems, a professional can provide a definitive answer. Persistent issues, like water that never gets hot enough or a circuit breaker that keeps tripping, often point to a deeper problem that isn’t just a bad element. A skilled plumber can perform a thorough diagnostic check to pinpoint the exact cause. They have the experience to identify issues with thermostats, wiring, or the tank itself. This ensures you’re making the right call without guessing, whether that means a simple part replacement or considering a new water heater.
Related Articles
- 6 Signs You Need Water Heater Repair Now
- When to Call a Plumber for Water Heater Repair
- How to Repair an Instant Water Heater: A DIY Guide
Frequently Asked Questions
My hot water isn’t completely cold, just lukewarm. Could it still be a bad element? Yes, that’s actually one of the most common signs. Most electric water heaters have two heating elements, an upper and a lower one. The lower element does the bulk of the work. When it fails, the upper element is left to heat only the water at the top of the tank. This gives you a small amount of hot water that quickly runs out, leaving you with lukewarm water for the rest of your shower.
How long do water heater elements typically last? Generally, a heating element’s lifespan is tied to the water heater itself, which is usually around 10 to 15 years. However, this can change depending on your water quality. If you have hard water with a high mineral content, sediment can build up and cause the element to fail much sooner. Consistent maintenance is the best way to help it last as long as possible.
Is flushing my water heater tank really that important? Absolutely. Flushing your tank annually is the single most effective thing you can do to prevent element failure. Over time, mineral sediment settles at the bottom of the tank and can completely cover the lower element. This forces the element to work much harder to heat the water, causing it to overheat and burn out. Regular flushing clears out this damaging buildup.
I replaced an element a year ago and it failed again. What could be the problem? A repeat failure often points to a deeper issue that a simple part swap won’t fix. The most likely cause is severe sediment buildup from hard water, which is very common in our area. It could also be an underlying electrical issue with the thermostat or wiring. In this situation, it’s best to get a professional diagnosis to identify and fix the root cause for good.
If my circuit breaker trips, can I just reset it and see what happens? You should never repeatedly reset a breaker that controls a major appliance. A tripping breaker is a critical safety warning that the heating element is likely shorting out, meaning water may have reached its internal wiring. Continuing to send power to it creates a serious fire hazard. This is a clear sign to turn off the breaker and call for professional help right away.