That growing puddle at the base of your water heater is a serious warning sign. It’s not just a mess to clean up; it’s a direct threat to your home, with the potential to damage your floors, drywall, and even your foundation. A water tank leak, especially from the bottom, is one of the most urgent plumbing issues you can face. It often means the entire unit is about to fail. Acting fast can save you thousands in repairs. This guide is your first line of defense, walking you through the immediate steps to protect your property and make the right call for your home.
Key Takeaways
- Prioritize Safety with Immediate Shut-Offs: Before inspecting the leak, your first move should always be to cut the power to the unit at your breaker box and turn off the water supply valve. This prevents further water damage and eliminates the risk of electrical shock.
- The Leak’s Location Reveals Its Seriousness: A drip from the top connections or the drain valve can sometimes be a simple fix. However, water pooling directly at the base of the tank is a major red flag for internal rust or a crack, which typically means a replacement is necessary.
- Proactive Maintenance Is the Best Prevention: You can avoid most surprise leaks with routine care. Annually flushing the tank to clear out sediment and having the anode rod checked every few years are the most effective ways to protect your water heater from corrosion and extend its life.
Why Is My Hot Water Tank Leaking from the Bottom?
Discovering a puddle of water around the base of your hot water tank can definitely send you into a bit of a panic. But before you assume the worst, it’s helpful to know what might be going on. A leak from the bottom of the tank can point to a few different issues, ranging from a simple fix to a sign that it’s time for a replacement. Understanding the potential causes is the first step to figuring out your next move. Let’s look at the most common culprits behind that unwelcome pool of water.
Is It the Temperature and Pressure (T&P) Relief Valve?
A common culprit behind a water heater leak is the temperature and pressure (T&P) relief valve. You’ll usually find this critical safety component on the top or side of the tank, with a pipe running down towards the floor. Its job is to automatically release water if the pressure or temperature inside gets dangerously high. If you notice water dripping from the end of this pipe, the valve is your likely source. This could mean one of two things: the valve is doing its job because of excessive pressure—a serious issue—or the valve itself is faulty and needs replacing.
Figuring out which problem you have is key. While replacing a faulty valve might seem straightforward, it won’t fix an underlying pressure problem, which can be hazardous if ignored. Because this is such a vital safety feature, diagnosing the issue is a job best left to a professional. If you suspect the T&P valve is the source of the leak, our team can determine whether it’s a simple part failure or a sign of a bigger problem. We’re always ready to handle any emergency plumbing needs to keep your Metro Detroit home safe.
Is the Drain Valve Loose?
At the bottom of your water heater, you’ll find a small spigot—that’s the drain valve. It’s used by plumbers to empty the tank for maintenance or replacement. Sometimes, the solution to your leak is as simple as this valve not being completely closed. It might have been left slightly open after a recent service, or the washer inside could have worn out over time, causing a slow drip. Before you do anything else, take a close look at the valve. If you see water coming directly from it, you may have found your problem. While you can try gently tightening it with a wrench, be careful not to apply too much force.
Look for Signs of Corrosion and Rust
Your water heater spends its entire life holding water, so rust is an ever-present threat. To fight this, tanks are equipped with a part called an anode rod, which is designed to corrode so the tank itself doesn’t. Over years of service, this rod gets completely used up. Once it’s gone, the water starts eating away at the steel tank lining. This internal corrosion eventually creates tiny cracks or pinhole leaks, which often show up at the bottom of the tank. Unfortunately, if rust is the cause of the leak, it’s a clear sign that the tank’s structural integrity is gone. This isn’t a repairable issue; it means a full replacement is needed.
Is Sediment Buildup the Culprit?
If you live in an area with hard water, minerals like calcium and magnesium can build up inside your water heater over time. This layer of sediment settles at the bottom of the tank, right where the burner or heating element does its work. The sediment acts as an insulator, forcing the heating system to work harder and overheat the bottom of the tank. This constant stress can weaken the metal, eventually causing it to crack and leak. Regular flushing can help prevent this problem, but if the damage is already done, the leak is a sign of significant internal wear. This is another situation where the tank itself is likely compromised beyond repair.
Could High Water Pressure Be the Cause?
It might not be the first thing you think of, but your home’s water pressure can be a silent culprit behind a leaking water heater. Most residential plumbing systems are designed to operate within a specific pressure range, typically between 40 and 80 PSI. When the pressure is too high, it puts every pipe, fixture, and appliance—especially your water heater—under constant, excessive strain. This relentless force can weaken the tank’s inner lining and seams over time. Eventually, this stress can cause the metal to fatigue and crack, leading to a leak that often appears at the bottom. If you’ve also noticed other signs like banging pipes or faucets that spit water when first turned on, high pressure could be the root of your problem. This is a serious issue that can affect your entire home, and it’s often best to get a professional opinion from an emergency plumbing service to prevent a sudden burst.
Could There Be a Crack Inside the Tank?
A crack in the inner tank is the most serious cause of a leak. These fractures can happen for a few reasons, including advanced corrosion, excessive water pressure, or damage from sediment buildup. Because the inner tank is constantly under pressure, even a small crack will release water. This water then fills the space between the inner tank and the outer shell, eventually dripping out from the bottom. If your tank is cracked, there’s no safe or effective way to patch it. This is a critical failure that requires immediate attention and a full water heater replacement. A major leak like this is a true plumbing emergency, so it’s important to call for professional help right away.
How Cold Weather Can Affect Your Water Heater
Here in Metro Detroit, we know that winter puts extra stress on every part of our homes, and your water heater is no exception. When the temperature plummets, the groundwater entering your house is significantly colder, forcing your water heater to work overtime just to bring it up to your desired temperature. This increased workload not only leads to higher energy bills but also accelerates wear and tear on the unit. If your tank is older or has existing weaknesses from corrosion or sediment, this constant strain can be the final straw that causes a crack or leak. Furthermore, the cold and hot water lines connected to your tank are vulnerable, especially if they run through unheated spaces like a basement or garage. A frozen pipe can burst and cause catastrophic water damage, turning a manageable issue into a full-blown plumbing emergency. Ensuring your tank and pipes have proper insulation is a key step in preventing these cold-weather failures.
Found a Water Tank Leak? Here’s What to Do First
Discovering a puddle of water around your hot water tank can send anyone into a panic. But before you start worrying about the damage, take a deep breath. By following a few immediate steps, you can control the situation, prevent further damage, and keep everyone safe. Acting quickly is key to turning a potential disaster into a manageable problem.
These first actions are all about safety and containment. You’ll want to shut off the power and water to the unit before doing anything else. Once the immediate risks are handled, you can figure out how serious the leak is and start cleaning up. Taking these steps will not only protect your home but also give you a clearer picture of the problem, which will be helpful when you call for professional help. If the leak is severe and you feel overwhelmed, don’t hesitate to call for emergency plumbing services right away. Your safety is the top priority.
Is a Leaking Water Heater a Plumbing Emergency?
Yes, in most cases, a leaking water heater is absolutely a plumbing emergency. The problem isn’t just the puddle you can see; it’s the potential for what could happen next. A leak from the bottom of the tank often signals a critical internal failure, meaning the entire unit could be on the verge of bursting. This would release 40 to 80 gallons of water into your home almost instantly, causing catastrophic damage to floors, drywall, and even your home’s structure. Beyond the risk of flooding, there’s a significant safety hazard. Water mixing with the electrical components or gas burner assembly creates a dangerous situation. For these reasons, it’s best to treat any tank leak with urgency and call for professional emergency plumbing help to assess the situation safely.
Step 1: Shut Off the Power
This is the most critical first step. Water and electricity are a dangerous mix, so you need to eliminate the risk of electric shock immediately. If you have an electric water heater, go to your home’s breaker box and flip the switch that controls the water heater. It should be clearly labeled. If you have a gas water heater, you’ll need to turn off the gas supply. Look for a shut-off valve on the gas pipe leading to the tank’s thermostat. Turn the valve so it’s perpendicular to the pipe to stop the flow of gas. Taking this step first ensures you can safely work around the unit without any danger.
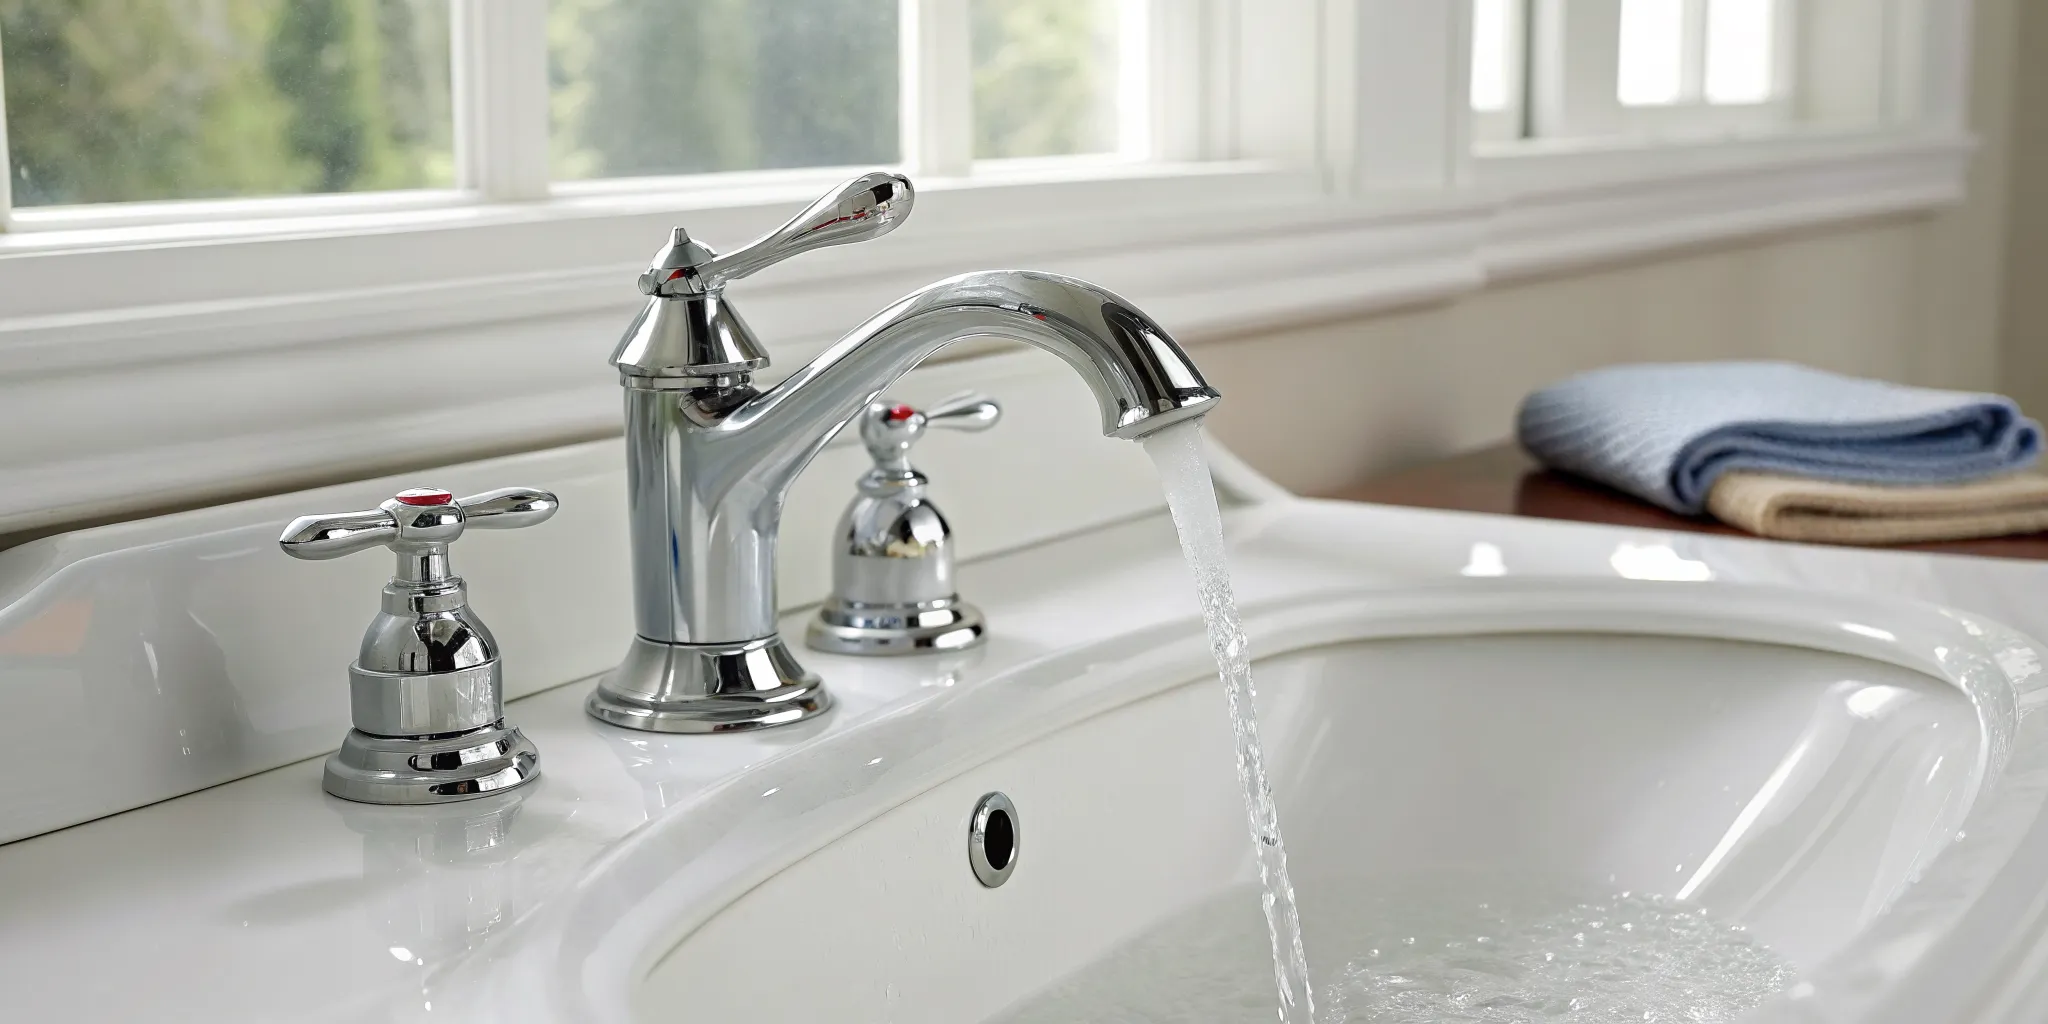
Step 2: Turn Off the Water Supply
Next, you need to stop more water from flowing into the leaking tank. Find the cold water inlet pipe, which is usually at the top of the water heater. There will be a valve on this pipe—it might be a knob or a lever. Turn the valve clockwise until it stops. This will shut off the water supply to the tank and prevent the leak from getting worse. If you can’t find or turn the valve for the water heater, you can always shut off the main water supply to your entire house as a temporary measure. This will give you the time you need to handle the immediate issue without a constant flow of water adding to the mess.
Step 3: Assess the Situation
With the power and water off, you can now safely take a closer look at the situation. Try to determine where the leak is coming from and how severe it is. Is it a slow, steady drip or a constant stream of water? Check the floor, walls, and any surrounding items for water damage. Knowing the extent of the leak will help you decide if it’s a minor issue you might be able to handle or a major problem that requires a professional plumber. This information will also be incredibly useful when you describe the problem to our team at Mr. Pipey.
Step 4: Contain the Leaking Water
Now it’s time for damage control. Grab some old towels, buckets, or a wet/dry vac to start removing the water from the floor. The faster you can dry the area, the less likely you are to have long-term problems like water damage to your flooring or mold growth. If you’re having trouble spotting the exact source of a slow drip, try wiping the tank and the floor completely dry, then place a dry paper towel down. The first drop will be easy to spot. Once you have the water cleaned up, you’ll be in a much better position to contact a professional for a permanent fix.
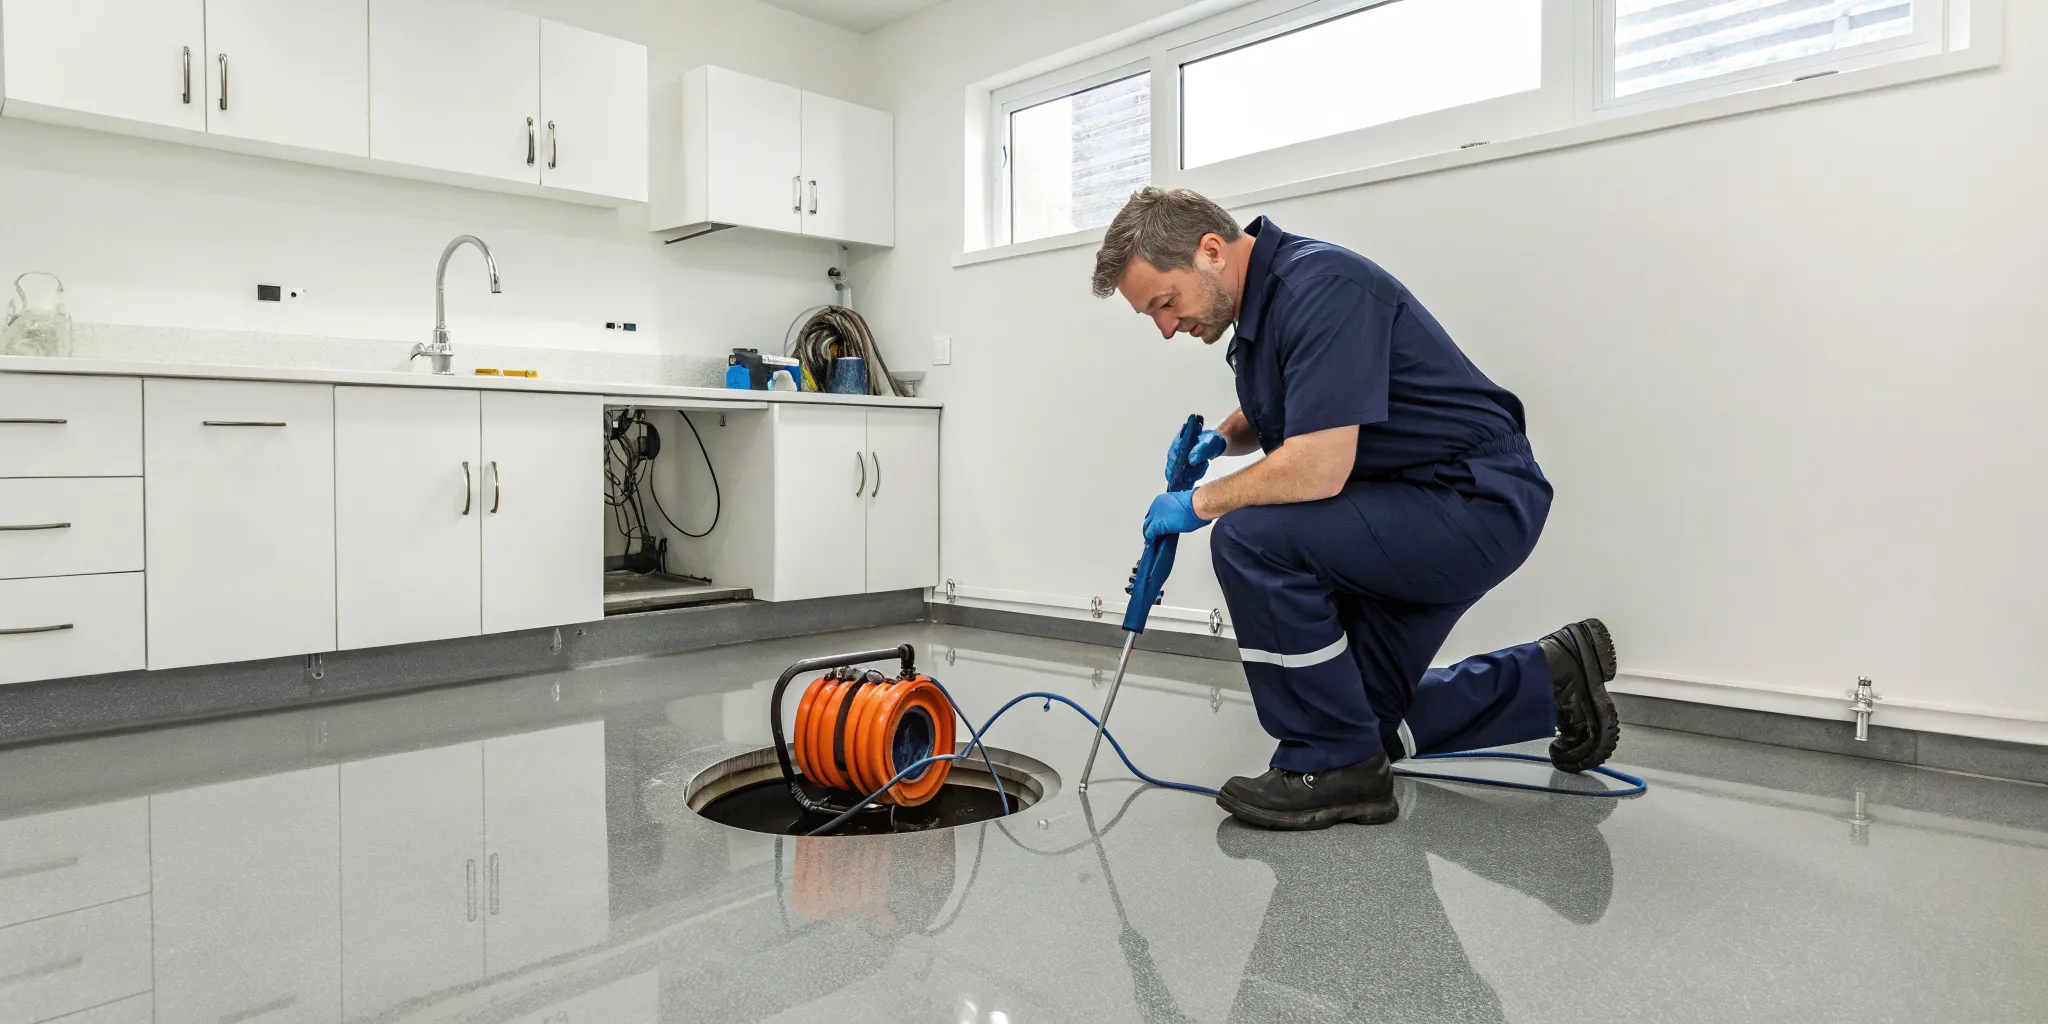
Step 5: Drain the Tank Safely
If you’ve determined the leak is coming from the tank itself and not just a loose connection, draining the tank is your next move to prevent extensive water damage. This step removes the remaining 40 or 50 gallons of water, stopping the leak at its source and protecting your floors and subfloors from saturation. You’ll need a standard garden hose and a place for the water to go, like a floor drain, utility sink, or an area outside your home. This process can take a while, so be patient, but it’s a crucial step in managing a serious leak and preparing for a professional repair or replacement.
A Quick Safety Warning Before Draining
Before you even think about attaching a hose, let’s double-check the most important safety measures. As we covered in the first steps, you must ensure the power to the unit is completely off at the breaker box. You also need to confirm that the cold water supply valve is fully closed. Skipping these actions puts you at risk for electrical shock and will only allow more water to enter the tank as you try to drain it. Your safety and preventing further damage are the top priorities here, especially when dealing with a true plumbing emergency.
Once you’re certain the power and water are off, you can safely proceed. Attach a garden hose to the drain valve located at the bottom of the tank. Run the other end of the hose to a floor drain or outside, making sure it’s downhill from the tank. To help the water flow smoothly, open a hot water faucet somewhere in your house, like a kitchen or bathroom sink. This allows air to enter the tank, preventing a vacuum from forming and speeding up the draining process. Once the tank is empty, you’ve done everything you can to secure your home before a professional arrives.
How to Find the Source of the Leak
Once you’ve safely shut off the power and water, it’s time to play detective. Finding the leak’s source will tell you if you’re dealing with a simple fix or a major problem. Grab a flashlight and get ready for a closer look. A small drip can be just as serious as a steady stream, so be thorough. Start with the most common culprits and work your way through the possibilities.
Is It Condensation or a Real Leak?
Before you panic, make sure you’re actually dealing with a leak. Sometimes, what looks like a leak is just condensation, especially in humid places like a basement. This is common during Michigan’s muggy summers when the cool tank meets warm, moist air. To check, wipe the water off the tank and floor with a dry towel. Wait an hour and check again. If the area is wet, you have a leak. If it stays dry, it was probably just condensation, and you can breathe a sigh of relief.
Check the Drain Valve for Drips
Look at the very bottom of your water heater for a spigot-like valve—that’s the drain valve. It’s used to empty the tank for maintenance. The valve used to drain the tank can become loose or faulty over time, causing a slow drip. Check if water is coming from the valve’s opening or from where it screws into the tank. Sometimes, a simple tightening with a wrench can solve the problem. If it’s still dripping after you’ve tightened it, the valve itself is likely worn out and needs to be replaced.
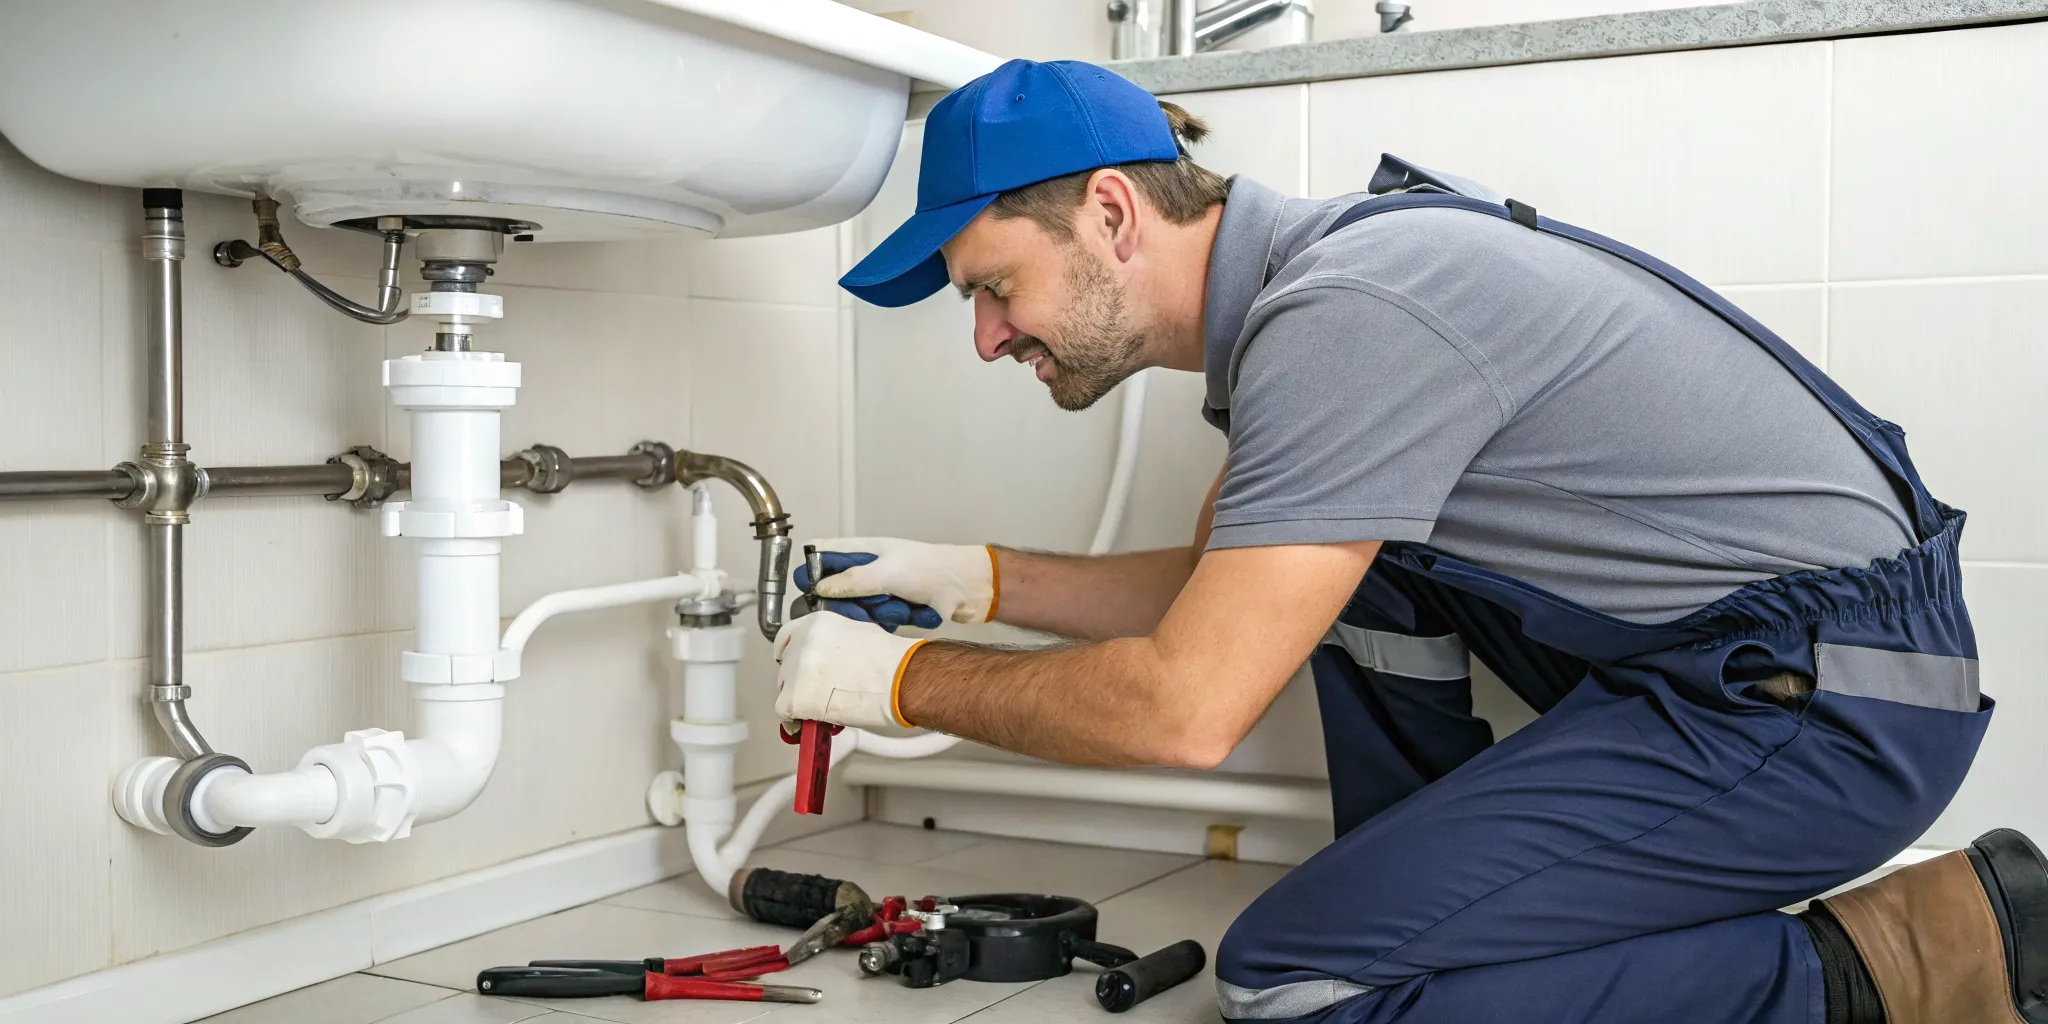
Inspect All Water Line Connections
Your water heater has pipes connected at the top: a cold water inlet and a hot water outlet. Over time, vibrations and temperature changes can cause these connections to loosen. As a result, pipes can loosen over time and start to drip. Carefully run your hand along these pipes and fittings to feel for moisture. A drip from the top can run down the side of the tank and pool at the bottom, making it look like the tank itself is leaking. If you find a leak here, our team is always ready to handle emergency plumbing situations.
Rusty Connections as a Warning Sign
While you’re inspecting the pipes at the top of the tank, pay close attention to their condition. If you see rust or corrosion forming around the cold-water inlet or hot-water outlet, it’s a significant warning sign. These rusty connections indicate that the fittings are breaking down and are a common source of slow leaks. Water can seep out from these weakened points, run down the side of the tank, and create a puddle at the bottom. This can easily trick you into thinking the tank itself has failed. While a rusty connection is a serious issue that needs attention, it’s often a more straightforward repair than a full tank replacement.
Examine the T&P Relief Valve
On the side or top of your water heater, you’ll find a T&P (temperature and pressure) relief valve. This is a critical safety feature with a pipe that usually runs down toward the floor. Its job is to release water if the temperature or pressure inside the tank gets too high. If you see water dripping from the end of this pipe, the valve might be doing its job due to excessive pressure, or the valve itself could be faulty. A constantly leaking T&P valve is not something to ignore. It could signal a dangerous pressure buildup in your tank, so it’s best to have a professional diagnose the problem. This isn’t a DIY fix, as it involves your home’s safety systems.
Check the Expansion Tank
If your setup includes a smaller, separate tank located above or near your water heater, that’s the expansion tank. It’s designed to absorb excess water pressure created when water heats up and expands. Just like the main tank, this smaller tank can also fail. Check for any drips coming from the expansion tank itself or from the pipe fitting that connects it to your plumbing. If the leak is coming from the fitting, it might just need to be tightened. However, if the tank itself is leaking, it has likely failed internally and will need to be replaced by a professional to protect your system from pressure damage.
Look for Leaks at the Tank Seams
Take a close look at the seams on the outer shell of your water heater—specifically where the top and bottom domes are joined to the cylindrical body. If you notice water seeping from these seams, it’s unfortunately a sign of a critical failure. This type of leak indicates that the inner tank has corroded and cracked, and water is now escaping through the outer shell. There is no way to repair a leak at the tank’s seams. This is a clear signal that the water heater’s structural integrity is gone, and you will need a full replacement as soon as possible to prevent a major flood.
Inspect the Gas Control Valve Connection
For those with a gas water heater, another potential leak source is the gas control valve—that’s the box on the side of the tank with the temperature dial. Water shouldn’t be anywhere near this component. Carefully inspect the area where the valve assembly screws into the tank. If you see water weeping or dripping from this connection, it typically means the internal seals have failed. This is another issue that points to a compromised inner tank. Because this involves both water and your gas line, it’s a problem that requires immediate professional attention from a team experienced in comprehensive plumbing solutions.
Examine the Tank for Rust
Rust is a major red flag. As water heaters get older, rust can eat through the tank, especially if the anode rod (which fights rust) is worn out. Look for rusty spots on the tank or rust-colored water on the floor. A leak with rust almost always means the inner tank has corroded and is failing. Unfortunately, this isn’t something you can repair. A corroded tank is a clear sign your water heater needs to be replaced immediately to avoid a major flood. If you see rust, it’s best to contact us right away.
Should You DIY the Fix or Call a Pro?
So, you’ve found the leak. Now comes the big question: can you fix this yourself, or is it time to call in the pros? Some water heater leaks are simple enough for a confident DIYer to handle, while others are clear signs that you need to step away and call for backup. Knowing the difference can save you from a minor headache turning into a major, flood-sized catastrophe. Before you grab your toolbox, let’s walk through what you might be able to tackle and when it’s absolutely time to call a professional plumber. Your safety and your home’s integrity are the top priorities here.
Can You Fix the Drain Valve Yourself?
The drain valve at the bottom of your tank is a common source of leaks. Over time, it can become loose or simply wear out. If you notice water dripping from this valve, you might be in luck with a straightforward fix. First, check if it’s just loose. Sometimes, a simple tightening is all it takes. If it’s still dripping, the valve itself might be faulty and need replacing. This is a task a handy homeowner can often manage, but it involves draining the tank completely. If you’re not comfortable with that process, it’s always best to get professional help.
How to Tighten Loose Connections
Another potential DIY fix involves the connections where water enters and leaves your tank. The cold water inlet and hot water outlet pipes can loosen over time, causing slow drips. Take a close look at these fittings. If you see moisture or a steady drip, you can try tightening them with a pipe wrench. Just be gentle—overtightening can crack the pipes and create a much bigger problem. A slight turn is often enough to reseal the connection and stop the leak. If the dripping continues after you’ve tightened the fittings, the issue might be with the pipe or connector itself.
Using Plumber’s Tape for a Better Seal
If you’ve identified a leak at the cold or hot water connections, plumber’s tape can be your best friend. This thin, white tape helps create a more secure, watertight seal on threaded pipe joints. Before you tighten a loose connection, it’s a good idea to shut off the water, unscrew the fitting, and wrap the male threads with a few layers of plumber’s tape in a clockwise direction. Once you re-tighten the connection, the tape will fill any tiny gaps and prevent drips. However, this is only a solution for leaky pipe threads. If the pipe itself is cracked or the leak is coming from somewhere else, tape won’t solve the problem. It’s a great tool for a specific job, but it’s not a cure-all for every leak.
Are Temporary Fixes for a Leaking Tank Safe?
Whether a temporary fix is safe depends entirely on the source of the leak. If the problem is a loose drain valve or a leaky connection at the top of the tank, a simple tightening can be a safe and effective solution. These are external issues that don’t involve the tank’s internal structure. However, if water is seeping from the bottom of the tank itself, this indicates internal corrosion or a crack. There is no safe temporary fix for this. Attempting to patch a failing tank with epoxy or sealant is extremely dangerous, as the tank is under constant pressure and could burst, causing a major flood. After you shut off the power and water, your next step should be to assess the leak’s origin. For anything beyond a simple loose fitting, the safest move is to call for professional emergency plumbing services immediately.
When to Put the Tools Down
Knowing your limits is key. If the leak is coming from a crack in the tank itself, put the tools down immediately. A cracked tank cannot be repaired and means you need a new water heater, period. Attempting to patch it is not only ineffective but also dangerous, as the tank is under immense pressure. Similarly, if you suspect the leak is from a bad anode rod or another internal component, it’s best to call for emergency plumbing services. Messing with the internal workings of a water heater without proper training can lead to further damage or personal injury.
Gas vs. Electric: Safety Precautions for Leaks
Before you attempt any fix, your first step is always to make the situation safe. If you have an electric water heater, head to your breaker box and shut off the power to the unit. For a gas heater, find the shutoff valve on the gas line leading to the heater and turn it to the “off” position. The next step for both is to turn off the water supply. You can usually find a valve on the cold water pipe that feeds into the tank. Turning these off prevents further water damage and eliminates the risk of electrical shock or a gas leak while you work.
Is It Time to Call a Plumber?
You’ve done the initial troubleshooting, but the water is still pooling around your heater. While it’s great to have a DIY spirit, some jobs are best left to the professionals, especially when they involve potential water damage or the combination of water and electricity (or gas). A leaking water heater, particularly one leaking from the bottom, often falls into this category. Recognizing when to put down the wrench and pick up the phone can save you time, money, and a massive headache. If you’re facing any of the following situations, it’s a clear sign that you need an expert’s help.
Should You Call for Emergency Service Right Away?
Some plumbing issues can wait until morning, but a water heater leaking from the bottom rarely falls into that category. If you’re seeing more than a slow drip—like a steady stream of water—or if the tank itself looks rusted and compromised, it’s time to act fast. A crack in the inner tank is a critical failure that requires immediate attention. Your safety is the number one priority, and if you feel overwhelmed or the water is spreading quickly, don’t hesitate. This is precisely the kind of situation that requires emergency plumbing services. A professional can assess the situation safely, prevent catastrophic damage to your home, and get the problem under control right away. It’s always better to make the call than to risk a flooded basement.
How to Tell if Your Tank Is Failing
A puddle of water directly under your water heater is one of the most serious red flags you can encounter. If your water heater is leaking from the bottom, it usually means the inside tank has rusted through. The inner tank is protected by a sacrificial anode rod, but over time, that rod depletes, and corrosion begins to eat away at the tank walls. Once a leak starts, it’s not a matter of patching a hole; the structural integrity of the entire tank is compromised. This is a critical situation that requires immediate attention to prevent extensive water damage. This kind of leak is a clear signal that you need emergency plumbing services.
How to Spot a Cracked Water Tank
Similar to a rusted-out tank, a cracked internal tank is a fatal diagnosis for your water heater. These cracks are typically caused by the expansion and contraction of the metal over thousands of heating cycles, often made worse by sediment buildup that creates hot spots. You won’t see the crack itself since it’s on the inner tank, but the symptom is the same: water pooling at the base of the unit. A cracked tank almost always means you need a new water heater, as there is no safe or reliable way to repair it. Trying to patch it is a temporary fix at best and a flood risk at worst.
Does Your Water Heater’s Age Matter?
How old is your water heater? Most conventional tank-style heaters last between 8 and 12 years. If your unit is approaching or has passed the decade mark, a leak is often a sign that it’s at the end of its service life. Older water heaters are far more likely to leak, and investing in a significant repair might not be the most cost-effective choice. Pouring money into an aging appliance could mean you’ll just face another issue in a few months. When an older heater starts to fail, replacement is usually the smarter long-term financial decision. You can always contact us for an honest assessment.
Know When a Repair Is Too Complex
Even if the leak seems to come from a fitting, you might find the repair is beyond your comfort zone. Corroded nuts, stubborn valves, or uncertainty about the source of the leak are all valid reasons to call a professional. For most leaks, especially those from the bottom, it’s best to get expert help. A licensed plumber has the tools and experience to diagnose the problem accurately and perform the repair safely. They can also spot underlying issues you might miss, preventing a small drip from turning into a major flood. When in doubt, prioritize your safety and the protection of your home.
Repair or Replace? Making the Right Choice
When your water heater starts leaking, you face a big decision: repair or replace? The right answer depends on the cost, your unit’s age, and the best long-term value for your home. Let’s walk through the key factors to help you make a choice you feel confident about.
Repair vs. Replace: A Cost Comparison
A repair might seem cheaper, but that’s not always true. While a simple fix is inexpensive, a major leak repair can cost as much as a new unit. If a key part fails or the tank is compromised, the bill can be substantial. It’s smart to weigh the repair quote against the price of a new water heater to find the most cost-effective solution. A professional can provide clear pricing for both options to help you make an informed financial decision.
How Age Affects the Repair vs. Replace Decision
Your water heater’s age is a major clue. Most tank-style heaters last about 8 to 12 years. If your unit is still young and the repair is minor, fixing it makes sense. But if it’s nearing the 10-year mark or older, sinking more money into repairs is often a losing battle. An older tank is prone to recurring problems, meaning you could pay for multiple fixes before needing a replacement.
How Long Should a Water Heater Last?
If your water heater is over a decade old or needs frequent repairs, it’s likely time for a replacement. While the upfront cost is higher, a new unit offers benefits an old one can’t. Modern water heaters are significantly more energy-efficient, saving you money on utility bills. They also come with updated safety features and a fresh warranty, giving you peace of mind for years to come.
Which Option Offers Better Long-Term Value?
This decision is an investment in your home. A new water heater offers reliability and efficiency that an older, repaired model can’t match. You’ll save on energy costs and avoid the stress of unexpected breakdowns. Whether you repair or replace, committing to preventive maintenance is key. Regularly flushing the tank and checking its parts helps extend its lifespan and prevent costly leaks, protecting your investment.
Preparing for Your New Water Heater Installation
Once you’ve decided that a replacement is the right move, a little preparation can make the installation process go smoothly. Before the professionals arrive, take some time to think about your household’s needs. Is your family growing, or are you hoping to lower your utility bills? This is the perfect opportunity to consider different types of water heaters, such as a high-efficiency tank model or even a tankless water heater that provides hot water on demand. You should also clear a path to your current unit and make sure the surrounding area is clean and accessible. This simple step helps our technicians work safely and efficiently, getting your hot water back up and running as quickly as possible.
How to Prevent Future Water Heater Leaks
Dealing with a leaking water heater is a headache no one wants. The good news is that you can significantly reduce the risk of future leaks with a little proactive care. Staying on top of a few key maintenance tasks will not only keep your floors dry but also help your water heater run more efficiently and last longer. Think of it as a small investment of time that pays off big by preventing costly emergencies down the road. By being proactive, you can avoid the stress and expense of a sudden breakdown.
Create a Simple Maintenance Schedule
Just like your car, your water heater performs best with regular check-ups. A consistent maintenance schedule helps catch small issues before they turn into major, floor-soaking problems. Regular maintenance also helps your unit run more efficiently, which can save you money on energy bills and extend its overall lifespan. Setting an annual reminder to have a professional inspect your system is one of the smartest things you can do as a homeowner. A plumber can check for early signs of wear, test safety components, and ensure everything is in top shape, giving you peace of mind. Our team offers a range of expert plumbing solutions to keep your system running smoothly.
Flush Out Sediment Annually
Over time, minerals and sediment from your water supply can settle at the bottom of your water heater tank. This buildup can cause a lot of problems, from strange rumbling noises to reduced efficiency and even corrosion that leads to leaks. To prevent this, you should flush your water heater once a year to clear out all that gunk. This simple step helps protect the tank’s interior and prevents the kind of damage that can lead to costly repairs or a full replacement. While it’s a task some homeowners tackle themselves, having a professional handle it ensures it’s done correctly and safely.
Don’t Forget to Test the Pressure Relief Valve
Your water heater’s temperature and pressure (T&P) relief valve is a critical safety feature. It’s designed to automatically open and release pressure if it gets too high inside the tank, preventing a potential explosion. Because it’s so important, you should test this valve regularly to make sure it’s working properly. A stuck or faulty valve is a serious hazard. If you notice it leaking or it doesn’t release water when tested, it needs immediate attention. A malfunctioning T&P valve can quickly become a plumbing emergency, so don’t hesitate to call for emergency plumbing services if you suspect a problem.
Know When to Replace the Anode Rod
Inside your water heater tank is a component called an anode rod, and it has one job: to rust so your tank doesn’t. This “sacrificial” rod attracts corrosive elements in the water, slowly dissolving over time. Once it’s gone, the tank itself starts to corrode. You should have the anode rod inspected every few years and replaced when it’s worn down, typically every 3 to 5 years depending on your water quality. This relatively inexpensive replacement can double the life of your water heater. It’s a key part of long-term maintenance that protects your investment and prevents rust-related leaks. If you’re not sure about your anode rod’s condition, you can always contact us to schedule an inspection.
Check Your Home’s Main Water Shut-Off Valve
Sometimes, the shut-off valve on the water heater itself is stuck from years of not being used, or it’s in a spot that’s nearly impossible to reach. This is where knowing the location of your home’s main water shut-off valve becomes a game-changer. This single valve controls the water supply to your entire house, and turning it off will stop the flow to your leaking tank immediately. You can usually find it in your basement, crawl space, or utility closet, often near where the main water line enters your home. If you’ve never located it before, take a few minutes to find it now—it’s one of the most important things you can know as a homeowner. In a serious leak situation, shutting off the main water supply buys you precious time to prevent catastrophic damage while you wait for professional help. It’s the ultimate safety net when you’re facing a true plumbing emergency.
Need Help with Your Water Heater in Metro Detroit?
Dealing with a leaking water heater is stressful enough without having to find a plumber you can trust. If you’re in the Metro Detroit area, you don’t have to handle it alone. At Mr. Pipey, we treat every client like family, offering honest advice and reliable solutions to get your hot water running again. A puddle in your basement or utility closet is more than just an inconvenience—it’s a problem that needs immediate attention to protect your home from water damage and ensure your family’s comfort. Whether you’re facing an emergency puddle or thinking about a long-term fix, our team is here to help with straightforward, effective service.
Emergency Repair for Your Water Tank Leak
A puddle forming at the base of your water heater is a clear sign you need help, fast. If your water heater is leaking from the bottom, it often means the internal tank has rusted through, and a replacement is unavoidable. This isn’t just a minor drip; it’s a major failure that can lead to significant water damage if not addressed immediately. Our team offers prompt and professional emergency plumbing services across Metro Detroit. We’ll arrive quickly to diagnose the problem, stop the leak, and protect your home from further damage, giving you peace of mind when you need it most.
Professional Water Heater Replacement and Installation
When a repair just won’t cut it, replacement is the smartest move. If your tank is cracked or severely rusted, installing a new water heater is usually the most cost-effective solution. Water heaters typically last between 8 and 20 years, and older units are far more likely to fail. Instead of spending money on a temporary fix for an aging system, investing in a new, efficient model can save you from future headaches and high energy bills. Our experts can help you choose the right unit for your home and budget and handle the entire installation process seamlessly. When you’re ready to discuss your options, get in touch with our team.
Stay Ahead of Leaks with Preventive Maintenance
The best way to deal with a water heater leak is to prevent it from ever happening. Regular maintenance is key to extending the life of your unit and keeping it running efficiently. We recommend flushing your water heater once a year to clear out sediment and mineral buildup, which can cause corrosion and lead to costly leaks. This simple step not only prevents damage but also helps your heater use less energy. A well-maintained system is a safe system. We can help you set up a preventive maintenance plan to keep your plumbing in top shape, so you can avoid unexpected emergencies down the road.
Frequently Asked Questions
My water heater is leaking from the bottom. Does this automatically mean I need a new one? A leak from the bottom is one of the most serious signs, and it often does point to a necessary replacement. This usually indicates that the inner tank has rusted through or cracked from years of use and pressure. Unfortunately, a compromised inner tank isn’t something that can be safely or effectively repaired. While a loose drain valve could be a simpler cause, water pooling directly under the unit is a strong signal that the tank’s structural integrity has failed.
Is a very small, slow drip still a serious problem? Yes, even a tiny drip should be taken seriously. What looks like a minor issue can be a symptom of a much larger problem, like internal corrosion that is about to get much worse. Water can also seep into your subfloor and walls over time, causing hidden damage and mold growth. It’s always better to address a small leak immediately before it has the chance to become a sudden, costly flood.
How long does a typical water heater last, and how do I know how old mine is? Most conventional tank-style water heaters have a lifespan of about 8 to 12 years. If you’re not sure how old your unit is, you can find out by looking at the manufacturer’s sticker on the side of the tank. The serial number usually contains the date of production. The format varies by brand, but often the first few numbers will represent the year and week it was made. For example, a serial number starting with “1520” might mean it was manufactured in the 20th week of 2015.
What’s the difference between a leak and condensation? Condensation can sometimes form on the outside of the tank or its pipes, especially in humid basements during the summer, making it look like a leak. To check, completely dry the tank and the floor around it with a towel. If the moisture returns after an hour or so, you have an active leak. If the area stays dry, it was likely just condensation.
If I call a plumber, what should I expect them to do first? When a professional plumber arrives, their first priority is safety. They will confirm that the power or gas supply to the water heater is turned off, as well as the main water inlet. Next, they will perform a thorough inspection to accurately diagnose the source of the leak. This allows them to determine if a simple repair is possible or if a full replacement is the necessary and most cost-effective solution for your home.
Related Articles
- How to Repair an Instant Water Heater: A DIY Guide
- Plumbing Maintenance & Prevention
- Repair & Emergency Solutions