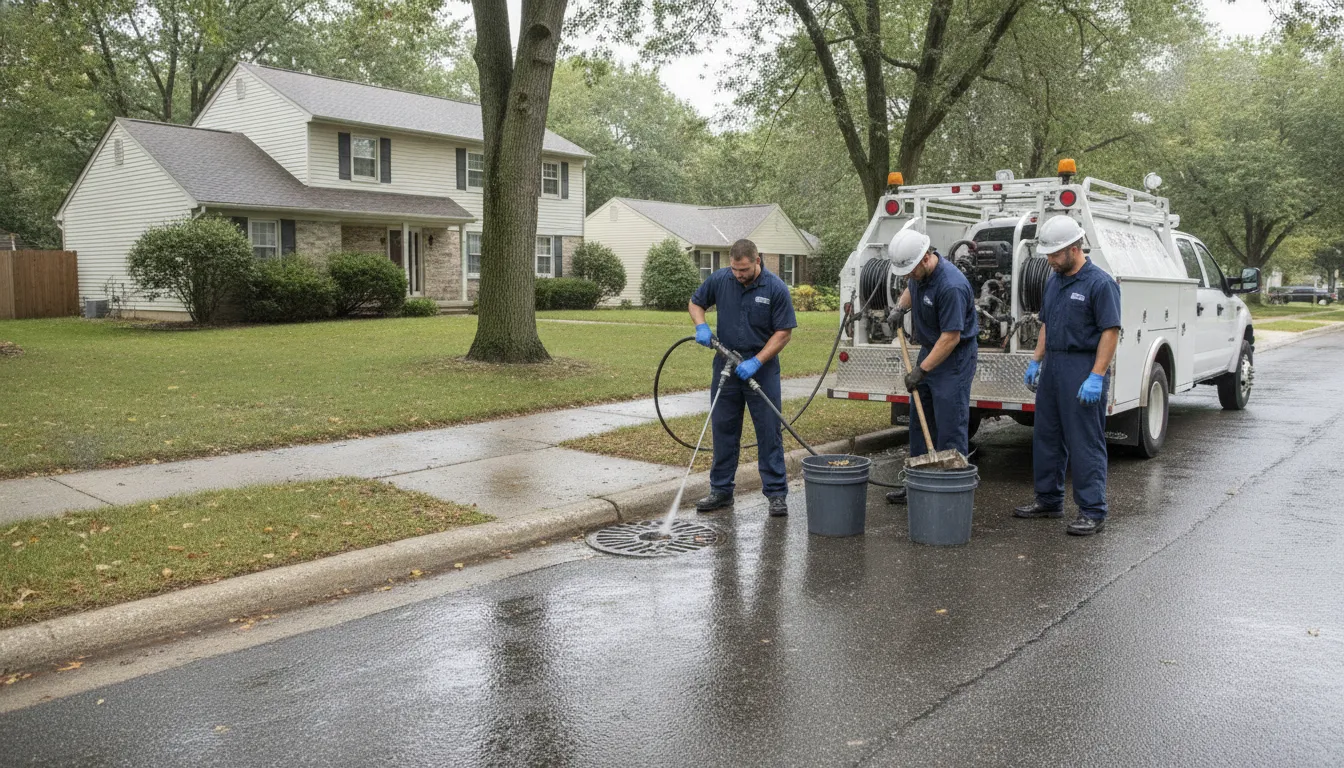
That constant hissing from the bathroom? A toilet running randomly is more than just an annoyance—it’s a constant drain on your water bill and your sanity. But you don’t have to live with it. The good news is this is a problem you can absolutely fix yourself, no plumber required. Honestly, the hardest part is just figuring out what’s causing it. We’ll show you exactly how to look inside the tank, pinpoint the issue, and make the simple repair that will finally restore peace and quiet to your home.
Key Takeaways
- Pinpoint the problem with simple checks: Most running toilets are caused by a faulty flapper, an incorrect chain length, or an improper water level. Use a few drops of food coloring in the tank to quickly diagnose a leaky flapper, which is the most frequent culprit.
- Start with simple, low-cost adjustments: Before replacing parts, try adjusting the flapper chain to have about a half-inch of slack or lowering the float to set the water level one inch below the overflow tube. These quick fixes often solve the problem.
- Recognize when to call for professional help: If your DIY attempts don’t work or you notice signs of water damage like a soft floor or wobbly toilet, it’s time to contact a plumber. A professional can handle complex issues and prevent further damage.
Why Is My Toilet Running Randomly?
That phantom flushing sound, the one that makes you think a ghost is using your bathroom, is more than just a little annoying. A constantly running toilet can waste a surprising amount of water, leading to a higher water bill. The good news is that the problem is almost always caused by a faulty part inside the toilet tank. These parts are relatively simple, and figuring out which one is causing the issue is usually straightforward.
Most of the time, the culprit is a worn-out flapper, an improperly set float, a tangled chain, or a failing fill valve. Before you start worrying about a major plumbing disaster, take a peek inside the tank. Understanding these four common issues will help you pinpoint the source of the problem and get your toilet back to running only when it’s supposed to.
Could a Worn-Out Flapper Be the Culprit?
If your toilet runs intermittently, the most likely cause is a worn-out flapper. The flapper is the rubber seal at the bottom of your tank that lifts when you flush and then drops back down to keep water in the tank. Over time, this rubber can get old, stiff, or warped from mineral deposits and cleaning chemicals. When this happens, it no longer creates a perfect seal. Water slowly leaks from the tank into the bowl, and once the water level in the tank drops, the fill valve kicks on to refill it. This cycle repeats, causing that random running sound. It’s a common issue, but one that needs a prompt toilet repair to avoid wasting water.
Is Your Flapper Chain the Wrong Length?
The flapper is connected to the flush handle by a small chain. The length of this chain is surprisingly important. If the chain is too short, it will pull on the flapper, preventing it from sealing completely after a flush. This creates a constant, slow leak from the tank into the bowl. On the other hand, if the chain is too long, it can get tangled or caught underneath the flapper itself. This also stops the flapper from creating a tight seal, leading to the same leaky result. It’s a simple but crucial detail that can be the root cause of your toilet troubles.
Is the Water Level in Your Tank Too High?
Take a look inside your toilet tank and you’ll see a tall, open pipe. This is the overflow tube, and its job is to prevent a tank overflow by directing excess water into the bowl. The water level in the tank is controlled by a float mechanism. If the float is set too high, the tank will fill with too much water, which then constantly spills into the overflow tube. This forces the fill valve to run nonstop to replace the water that’s draining away. Your toilet isn’t technically leaking, but it’s wasting a huge amount of water in a constant cycle.
Is a Failing Fill Valve to Blame?
The fill valve is the component that refills the tank with water after you flush. It’s designed to shut off automatically once the float reaches a preset level. Like any mechanical part, the fill valve can wear out or get clogged with sediment over time. When it fails, it may not shut off completely. Instead, it will continue to let a small stream of water into the tank, even after it’s full. This excess water then drains down the overflow tube, causing the valve to run continuously. If you’ve checked the flapper and the float, a faulty fill valve is the next part to investigate for your running toilet.
Is the Refill Tube Siphoning Water?
Here’s a sneaky one that’s easy to overlook. Inside your tank, you’ll see a small, flexible tube running from the fill valve to the overflow pipe. This is the refill tube, and its job is to send a little water down into the bowl to refill it after a flush. For it to work correctly, this tube should be clipped to the top of the overflow pipe, ending just above the water line. Sometimes, however, the tube gets pushed too far down inside the pipe. When this happens, it can create a siphoning effect, slowly pulling water out of the tank and down into the bowl, long after the flush is complete. This causes the tank’s water level to drop and triggers the fill valve to run again. It’s a simple fix—just pull the tube out and re-clip it to the top of the overflow pipe.
Could It Be a Cracked Flush Valve?
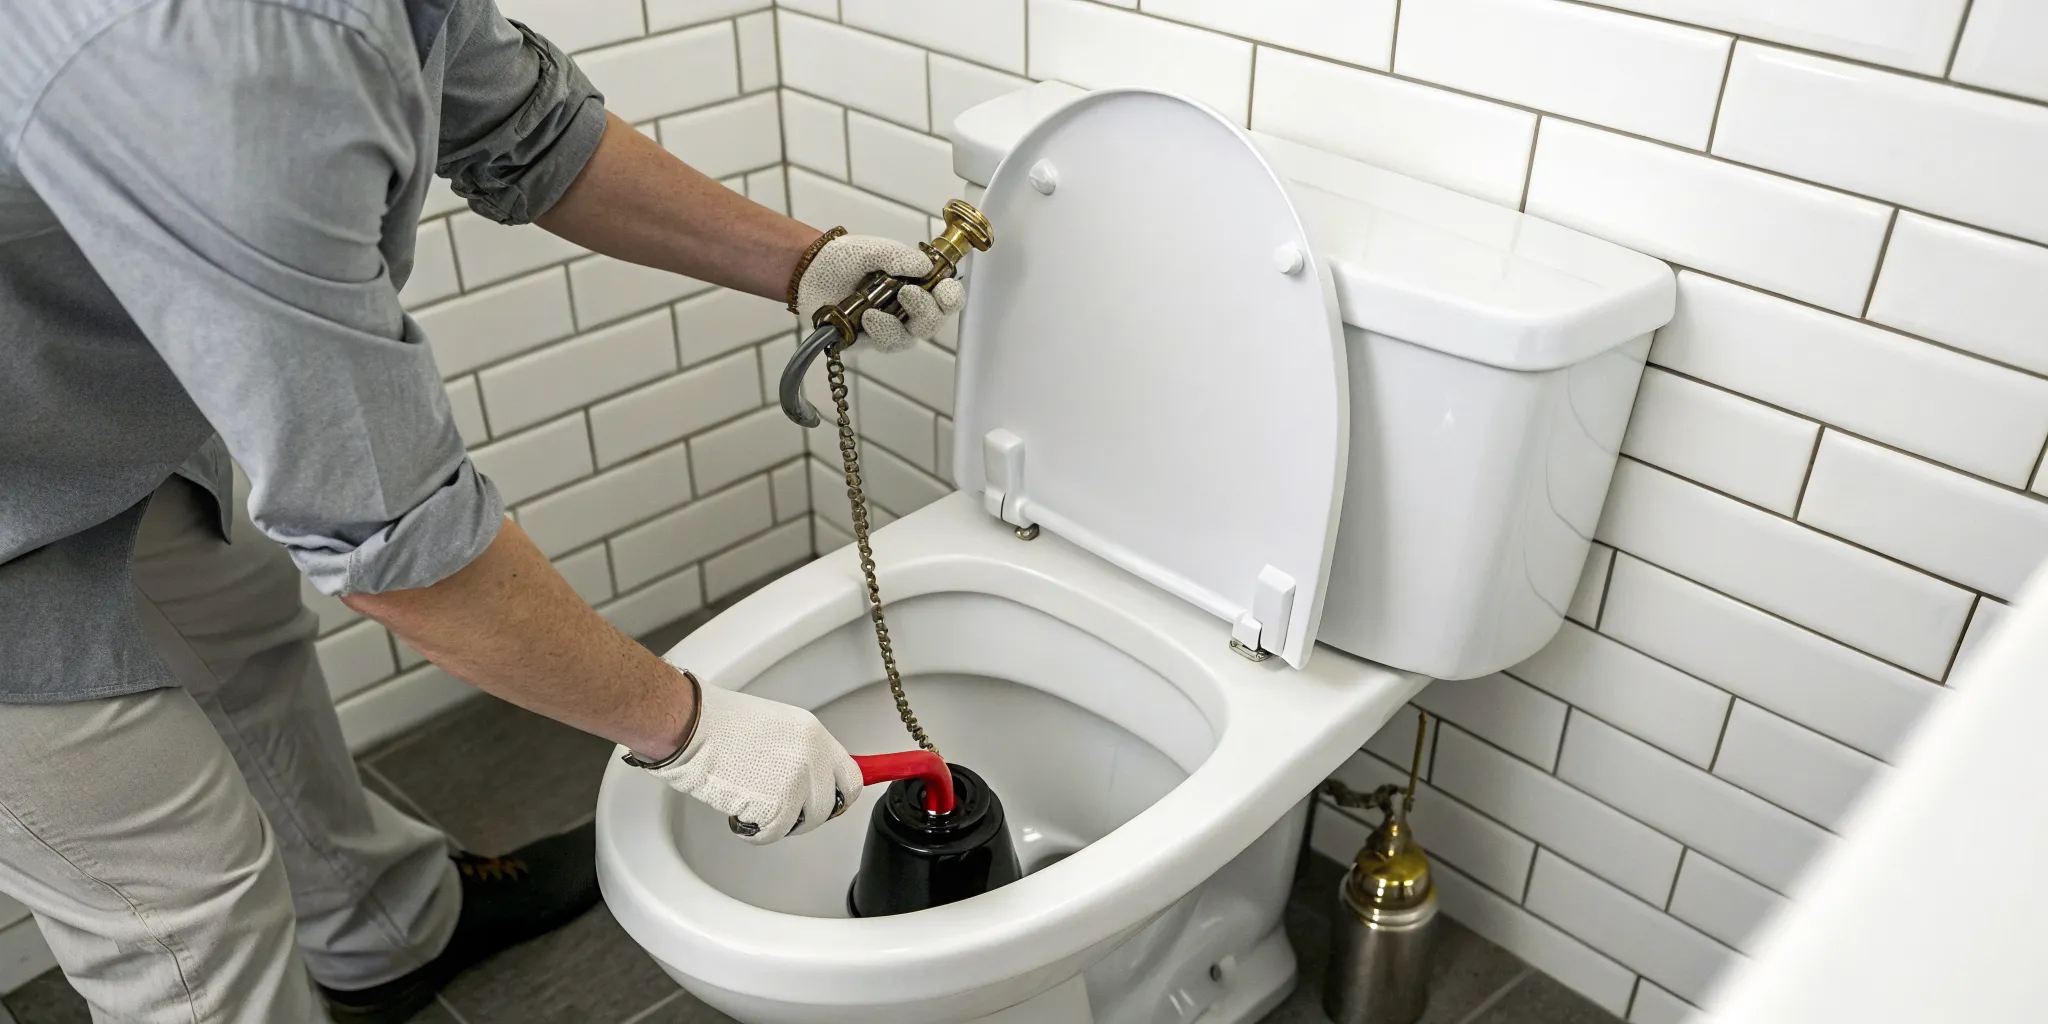
If you’ve replaced the flapper but the toilet still runs, the problem might be with the flush valve itself. The flush valve is the plastic assembly that the flapper attaches to, forming the drain at the bottom of the tank. Over time, this plastic can develop tiny, hairline cracks that are almost impossible to see with the naked eye. Even a minuscule crack will allow water to seep out of the tank and into the bowl, causing your toilet to run intermittently. Diagnosing this often requires a very thorough inspection. Replacing a flush valve is a more involved toilet repair that requires draining and removing the tank, so if you suspect this is the issue, it might be time to call in a professional.
Is High Water Pressure the Problem?
Sometimes, the problem isn’t inside your toilet tank at all—it’s the water pressure in your entire home. Residential water pressure should ideally be between 40 and 60 PSI. If the pressure is too high, it can put a lot of stress on your plumbing fixtures, including the fill valve in your toilet. This excess force can cause the valve to leak or fail to shut off completely, leading to a constantly running toilet. High water pressure can also damage your washing machine, dishwasher, and pipes. If you hear banging noises in your pipes or notice multiple fixtures leaking, high pressure could be the culprit. A professional plumber can test your home’s pressure and install or adjust a pressure-reducing valve to protect your entire plumbing system.
How to Find Out Why Your Toilet Is Running
Before you can fix your running toilet, you need to play detective and find out what’s causing the issue. The good news is that most of the culprits are hiding in plain sight right inside your toilet tank. You don’t need any special tools for this part, just a keen eye and a few minutes of your time. By following these simple diagnostic steps, you can pinpoint the exact reason your toilet is wasting water and get one step closer to a quiet, efficient bathroom.
Step 1: Take Off the Tank Lid
First things first, let’s get a look inside the tank. Before you do anything else, find the water supply valve on the wall behind your toilet and turn it clockwise to shut off the water. Next, flush the toilet to drain most of the water out of the tank. This makes it much easier and cleaner to work. Now, you can carefully lift the ceramic tank lid and set it aside on a towel or rug to prevent it from cracking. With the lid off, you have a clear view of the inner workings of your toilet.
Step 2: Do the Food Coloring Test
This simple trick is the best way to check for a silent leak from the tank into the bowl. Grab some food coloring from your kitchen and add a few drops into the water in the tank. Don’t flush! Just let it sit for about 15 to 20 minutes. After waiting, take a look inside the toilet bowl. If you see any colored water in the bowl, you have a leaky flapper. This is one of the most common issues we encounter during our toilet repair and replacement calls, and it means the seal isn’t holding.
Be Patient with Slow Leaks
It can be tempting to rush the food coloring test, but patience is key, especially with a very slow leak. If the problem is a worn-out flapper—the most common culprit—water will seep gradually from the tank into the bowl. Over time, the rubber on the flapper can get stiff or warped, preventing it from creating a perfect seal. This tiny, almost invisible leak is what causes the toilet to run intermittently as the fill valve works to replace the lost water. It might not seem like a big deal, but a single running toilet can waste hundreds of gallons of water a day. So, give it the full 20 minutes. If you spot even a faint trace of color in the bowl, you’ve found your leak. If the water stays clear but you’re still hearing that phantom flushing, it’s a good sign that a more complex issue is at play and it’s time to call for a professional toilet repair.
Step 3: Check the Flapper for a Tight Seal
Whether the food coloring test confirmed it or not, it’s always a good idea to inspect the flapper itself. The flapper is the rubber stopper at the bottom of the tank that lifts when you flush. Over time, this rubber can degrade, warp, or get covered in mineral buildup. Gently feel the flapper. Is it brittle, stiff, or warped? Look at the rim where it seals against the flush valve opening. If you see any gunk or uneven spots, it’s likely not creating a watertight seal, causing water to constantly trickle into the bowl and trigger the fill valve.
Step 4: Inspect the Flapper Chain’s Length
The small chain that connects the flush handle lever to the flapper can also be a source of trouble. Take a look at its length. If the chain is too short, it will hold the flapper slightly open, allowing water to leak continuously. If it’s too long, it can get tangled or caught underneath the flapper, preventing it from closing properly after a flush. The chain should have just a little bit of slack when the flapper is closed, but not so much that it gets in the way. An incorrect chain length is a simple fix that often solves the problem.
Step 5: Look at the Water Level and Float
Look at the water level inside the tank. It should be about one inch below the top of the overflow pipe, which is the large vertical tube in the middle. If the water is too high, it will constantly spill into this tube, and your toilet will run to replace it. This is controlled by the float. Depending on your toilet model, you’ll either have a large ball float or a smaller float cup that moves up and down the fill valve. Adjusting the float will change the water level. A constantly overflowing tank can become a major headache, so if you’re not comfortable adjusting it, our emergency plumbing team can help.
Step 6: Check for Cracks and Loose Parts
While you’re looking inside the tank, take a moment to check for physical damage. Your main focus should be the flush valve—that’s the plastic assembly in the middle where the flapper rests. With age, this part can develop tiny, hairline cracks that are easy to miss but large enough to cause a slow leak into the bowl. Carefully run your fingers around the base of the valve tower to feel for any cracks or chips. If you find one, the entire flush valve needs to be replaced. This is a bigger job than just changing a flapper, so if you’re not comfortable with it, it’s a great time to call for a professional toilet repair.
After checking for cracks, look for any loose parts. The flush valve is secured to the tank by a large nut on the underside. If this mounting nut is loose, it can cause a leak at the gasket between the tank and the bowl. You can often tighten this by hand, but please be extremely careful. Applying too much force can easily crack the porcelain tank, turning a small repair into a full toilet replacement. All you need is a gentle, snug fit. If the leak continues after you’ve tightened the nut, the gasket itself has likely worn out and needs to be replaced.
Gathering Your Tools and Parts
Before you roll up your sleeves, gathering the right tools and parts will make this repair go much more smoothly. Most running toilet issues can be fixed with a few basic items you might already have, plus a quick trip to the hardware store. Having everything ready means you can tackle the problem in one go without any last-minute scrambles. Think of it as setting up your station for success. A little preparation now will save you a lot of time and potential frustration later. Let’s walk through exactly what you should have on hand.
The Tools You’ll Need to Investigate
First things first, you’ll need a few simple tools to get the job done. You don’t need a professional-grade toolbox, just the basics. Grab a multi-bit screwdriver and a pair of cutting pliers, as these will come in handy for adjusting or replacing small parts. It’s also a good idea to have a sponge and some old towels nearby to soak up any water you drain from the tank. Before you start any work, the most important step is to turn off the water supply valve, which is usually located on the wall behind the toilet. Once it’s off, flush the toilet to drain the tank completely. This gives you a clean, dry space to work in.
Essential Replacement Parts to Have on Hand
The good news is that the parts that cause a running toilet are inexpensive and easy to find. Most hardware stores sell universal toilet repair kits that include the most common culprits: a new flapper and a fill valve. A worn-out flapper is the number one reason for a silent, steady leak from the tank into the bowl. Before you head to the store, I recommend taking a quick picture of the inside of your toilet tank with your phone. This will help you match the existing parts and buy the correct replacements, as there are a few different styles available.
Inexpensive Parts like Flappers
You’ll be happy to know that fixing a running toilet is usually a very affordable DIY project. The flapper, that rubber stopper at the bottom of the tank, is the most common troublemaker. Over the years, the rubber can get stiff, warped, or brittle from being constantly submerged in water, especially if you use those in-tank cleaning tablets. When it no longer creates a perfect seal, water seeps into the bowl, causing the toilet to run randomly. It’s a simple part, but a critical one for proper toilet function, and often the first thing we check during a toilet repair service call. A new flapper typically costs only a few dollars, making it one of the cheapest and most effective plumbing fixes you can perform.
Prepping Your Space and Safety Gear
Proper preparation is key to a clean and stress-free repair. Start by laying down some old towels around the base of the toilet to catch any drips. While the water in your toilet tank is clean, wearing a pair of rubber gloves is always a good idea to keep your hands dry and clean. Once you’ve turned off the water and flushed the tank, use your sponge to soak up any remaining water at the bottom. This simple step prevents spills when you start removing old parts. Taking a few minutes to prep your space ensures the focus stays on the fix, not on cleaning up a mess afterward.
How to Fix a Running Toilet: A Step-by-Step Guide
How to Replace a Damaged Flapper
Let’s start with the most common reason for a running toilet: a bad flapper. The flapper is the rubber seal at the bottom of your tank. Over time, it can get brittle, warped, or covered in mineral buildup, which prevents it from creating a tight seal. When that happens, water slowly leaks from the tank into the bowl, and your toilet runs to refill it. Replacing it is usually a quick fix. First, turn off the water supply. Then, flush to drain the tank. You can easily unhook the old flapper from the overflow tube and the chain. Take the old one with you to the hardware store to get an exact match. Once you have the new one, simply clip it into place, reattach the chain, and turn the water back on. If this simple swap doesn’t solve the issue, it might point to a bigger problem, which is a good time to consider a professional toilet repair.
A Temporary Fix for a Leaky Flapper
Okay, so the food coloring test confirmed it: your flapper is leaking. While replacing it is the best long-term solution, sometimes you just need a quick fix to stop the noise until you can get to the hardware store. First, try cleaning it. With the water off and the tank drained, reach in and wipe down the rubber flapper and the rim of the flush valve it sits on. Sometimes, a bit of sediment or mineral buildup is all that’s preventing a good seal. You can also check the chain. If it’s too tight or tangled, it might be holding the flapper open just enough to cause a leak. Make sure it has about a half-inch of slack. These adjustments can often buy you some peace and quiet. However, if the rubber itself is warped or brittle, this is just a temporary patch. A proper toilet repair with a new flapper is the only way to permanently solve the problem and stop wasting water for good.
How to Adjust the Flapper Chain
Sometimes, the problem isn’t the flapper itself but the small chain that connects it to the flush handle. If this chain is too short, it will pull on the flapper, preventing it from sealing completely after you flush. If the chain is too long, it can get tangled or caught underneath the flapper, also breaking the seal. The sweet spot is having about a half-inch of slack in the chain when the flapper is closed. To check this, just take the lid off the tank and look. If you need to make an adjustment, it’s as simple as unhooking the clip from the flush handle arm and moving it to a different link on the chain. This is a two-minute fix that can instantly stop that annoying running sound and save you money on your water bill.
How to Set the Right Water Level
If your flapper and chain are in good shape, the next thing to check is the water level inside the tank. Look inside and you’ll see a tall overflow tube. The water level should be about an inch below the top of this tube. If it’s too high, water will constantly spill into the tube, causing the fill valve to run nonstop. To fix this, you need to adjust the float. Depending on your toilet model, you’ll either have a large float ball or a float cup that moves up and down the fill valve. You can lower the water level by adjusting the screw on top of the fill valve or by adjusting the clip that connects the float to the metal rod. Small adjustments can make a big difference, so turn the screw or move the clip a little at a time until the water stops at the right level.
How to Install a New Fill Valve
If you’ve tried the other fixes and your toilet is still running, the fill valve might be the culprit. This is the mechanism that refills the tank with water after you flush. When it wears out, it can fail to shut off completely, leading to a constant, slow trickle of water. Replacing a fill valve is a bit more involved than the other repairs, but it’s a manageable DIY project. After shutting off the water and draining the tank, you’ll need to disconnect the water supply line and use a wrench to remove the old valve. Then, you can install the new one, reconnect everything, and adjust the float to the correct water level. If you’re not comfortable with this process or if the problem persists, don’t hesitate to reach out for professional plumbing services. It’s always better to be safe and ensure the job is done right.
Try Cleaning the Fill Valve First
Before you commit to replacing the entire fill valve, there’s a simpler step worth trying first: giving it a good cleaning. Over time, tiny particles of sediment and mineral deposits from the water supply can build up inside the valve’s small components. This debris can prevent the mechanism from closing completely, causing that constant, slow trickle of water into the tank even after the float has risen. To clean it, turn off the water, remove the valve’s cap, and briefly turn the water back on to flush out any trapped gunk. If this quick fix solves the problem, you’ve just saved yourself some time and money. If the toilet still runs, it’s a strong sign the valve is worn out and needs replacing. When DIY fixes don’t cut it, our team is always ready to handle any toilet repair.
Common DIY Mistakes (and How to Avoid Them)
Tackling a running toilet on your own can feel empowering, but a few common missteps can turn a simple fix into a much bigger headache. Many homeowners try to solve the problem themselves, only to find the issue persists or worsens. By being aware of these potential pitfalls, you can approach your repair with confidence and avoid making a call for emergency plumbing later. Before you get started, make sure you aren’t making one of these frequent mistakes.
Forgetting to Turn Off the Water Supply
This is the number one rule of any plumbing repair, yet it’s surprisingly easy to forget in the heat of the moment. Before you even think about working inside the toilet tank, you must shut off the water supply. Look for the small shut-off valve on the wall or floor behind your toilet and turn it clockwise until it stops. If you can’t find one, you’ll need to turn off the main water supply to your home. Skipping this crucial first step can lead to an unexpected gush of water, a messy bathroom, and potential water damage, turning a small repair into a major problem.
Using Mismatched or Incorrect Parts
A quick trip to the hardware store will show you dozens of toilet repair kits and parts, and it’s easy to grab the wrong one. While many kits are labeled “universal,” toilets come in all shapes and sizes, and a one-size-fits-all part may not create a perfect seal. Using an ill-fitting flapper or the wrong type of fill valve will leave you right back where you started: with a constantly running toilet. If you’re unsure what you need, taking a picture of your toilet’s internal parts can help, but getting an expert opinion on toilet repair and replacement is the surest way to get the right fit.
Choosing the Right Flapper for Your Model
It’s easy to see a “universal” flapper on the shelf and assume it will work, but this is a common pitfall. Toilets have different flush valve designs, and the flapper needs to create a perfect seal against its specific seat. A flapper that’s just a little off in size or rigidity will still allow water to leak, leaving you with the same running toilet problem you started with. The most reliable way to get it right is to take the old flapper with you to the hardware store for a direct comparison. Before you go, also snap a picture of the inside of your tank. This simple step can save you a second trip and ensure you get the correct part for your specific model. If you’re still unsure, a professional toilet repair is a quick job for us and guarantees the right fit.
Over-Tightening or Misadjusting Parts
When it comes to the delicate mechanisms inside your toilet tank, less is more. It’s tempting to make big adjustments to the flapper chain or the float, but this often creates new problems. A chain that’s too short won’t let the flapper seal properly, while a chain that’s too long can get caught underneath it, preventing it from closing. Similarly, setting the float too high causes the tank to overfill and water to constantly drain into the overflow tube. Make small, incremental adjustments and test the flush after each one to see if you’ve solved the problem. This patient approach saves you from creating a new issue.
Not Cleaning the Tank and Components
Over time, mineral deposits and grime can build up on the parts inside your tank, especially around the flapper’s seat. You could install a brand-new flapper, but if the rim it’s supposed to seal against is dirty, water will continue to seep through. Before you install a new part, take a moment to clean the area where the flapper sits with a sponge or cloth. A clean surface is essential for creating a watertight seal and ensuring your repair actually lasts. This simple step is often overlooked but is critical for a successful fix, preventing you from having to do the job all over again.
How to Keep Your Toilet from Running Again
Fixing a running toilet is a great feeling, but making sure it doesn’t happen again is even better. A little proactive care can save you from future headaches, wasted water, and surprise utility bills. By turning a few simple checks into a regular habit, you can extend the life of your toilet’s components and catch small issues before they become major problems. Think of it as a small investment of your time that pays off in peace of mind and a smoothly running home.
Your Simple Monthly Maintenance Checklist
You don’t need to be a plumbing expert to keep your toilet in top shape. A quick monthly check-in can make all the difference. First, give the bowl a weekly scrub with a toilet cleaner to prevent mineral and grime buildup. Once a month, perform a quick leak check by looking for any puddles around the base of the toilet. You can also add a few drops of food coloring to the tank and wait 30 minutes (without flushing) to see if any color appears in the bowl, which would signal a silent leak. Finally, lift the tank lid and take a peek inside. Make sure the flapper chain isn’t tangled and that everything looks aligned. If something seems off, it might be time to schedule a toilet repair.
Catching Problems Early: What to Look For
Your toilet will often give you subtle hints that something is wrong before it starts running constantly. Learning to recognize these signs is key to early prevention. Listen for any unusual noises, like gurgling sounds after a flush or a faint hissing or whistling noise coming from the tank. That hissing often indicates a worn-out fill valve that isn’t closing properly. Another major red flag is the “phantom flush,” where the toilet briefly refills on its own without being used. This is a telltale sign of a slow leak from the tank into the bowl. Catching these issues early can help you avoid a late-night emergency plumbing call.
Simple Tips for a Healthy Toilet
Beyond regular maintenance, how you treat your toilet day-to-day has a big impact on its longevity. The most important rule is to only flush human waste and toilet paper. Items marketed as “flushable,” like wipes and feminine hygiene products, are a leading cause of clogs and can put a major strain on your plumbing system. When cleaning, stick to mild cleansers. Harsh chemicals and in-tank bleach tablets can eat away at the rubber flapper and other plastic parts, causing them to warp and fail. Finally, avoid using the tank lid as a storage shelf. Heavy items can crack the porcelain, and it discourages you from doing those quick, important internal checks.
When Should You Call a Plumber?
You’ve done your homework, followed the steps, and maybe even gotten your hands dirty replacing a part or two. But what happens when the phantom flushing continues? While many common toilet issues are perfect for a weekend DIY project, some problems require a trained eye. Knowing when to step back and call for help can save you from a much bigger headache and a more expensive repair down the road. If you’re feeling stuck or unsure, it’s always better to be safe than sorry. A professional can quickly diagnose the issue and provide a lasting fix, giving you peace of mind. For any persistent toilet troubles, our team is always ready to help with expert toilet repair and replacement.
The Problem Seems Bigger Than a Simple Fix
Sometimes, the problem isn’t the flapper or the fill valve but something less obvious. If you’ve checked all the common culprits and the issue persists, you might be dealing with a more complex internal problem. This could be a hairline crack in the overflow tube, a faulty flush valve seat, or an issue deeper within your plumbing system that isn’t visible inside the tank. These problems often require specialized tools and knowledge to diagnose correctly. A professional plumber can identify these hidden issues and determine the best course of action, ensuring all of your home’s plumbing solutions work together correctly.
When Your DIY Repairs Don’t Work
There’s no shame in calling for backup. You can follow every online tutorial perfectly and still have a toilet that won’t quit running. If you’ve tried adjusting the float, changing the flapper, and checking the chain with no success, it’s a clear sign that the problem is more stubborn than it appears. Instead of spending another afternoon troubleshooting, this is the perfect time to call a professional. We can take the stress off your shoulders and get your toilet back in working order quickly. If you’ve reached the end of your DIY rope, feel free to contact us for a fast and reliable fix.
If You Spot Any Signs of Water Damage
A running toilet isn’t just an annoying sound; it can be a symptom of a bigger problem and lead to serious consequences. One of the first signs is a sudden spike in your water bill, as a running toilet can waste hundreds of gallons of water. You should also listen for unusual noises like gurgling or bubbling, which can indicate a blockage in the plumbing system. Other red flags include water stains on the ceiling below the bathroom, a damp or soft floor around the toilet base, or a toilet that feels wobbly. These are urgent signs that require immediate attention, so don’t hesitate to call for emergency plumbing services.
Related Articles
- Toilet Keeps Running After Flush? 5 Easy DIY Fixes
- How to Fix a Toilet Running When Not in Use
- Toilet Button Flush Running? Here’s How to Fix It
Frequently Asked Questions
How much water does a running toilet actually waste? It’s much more than you might think. A moderately running toilet can waste several hundred gallons of water every single day, which can cause a noticeable spike in your water bill. A silent, slow leak is less dramatic but can still waste thousands of gallons over a month. Fixing the issue promptly is one of the best ways to conserve water and save money.
I replaced the flapper, but my toilet is still running. What should I check next? This is a common point of frustration, but don’t give up. If a new flapper didn’t solve the problem, the next step is to inspect the flapper chain. Make sure it has just a little bit of slack and isn’t too tight or so long that it gets caught under the seal. If the chain is fine, examine the water level to see if it’s too high and spilling into the overflow tube. If both of those look good, the issue is likely a failing fill valve.
Are the blue drop-in cleaning tablets bad for my toilet? While they promise an easy way to keep the bowl clean, we generally advise against using them. The harsh chemicals in many of these tablets can significantly speed up the deterioration of the rubber flapper and other plastic components inside your tank. This can cause parts to become brittle and fail prematurely, leading to the very leaks you’re trying to prevent.
My toilet makes a faint hissing sound after I flush. What does that mean? That persistent hissing noise is almost always a sign that your fill valve is failing. The sound you hear is water being forced through a valve that isn’t closing completely. This means water is constantly trickling into the tank and then draining out through the overflow tube. It’s a clear signal that the fill valve needs to be adjusted or, more likely, replaced.
How often should I expect to replace the parts inside my toilet tank? The lifespan of your toilet’s internal parts can vary based on your water quality and how often the toilet is used. Generally, you can expect a flapper to last about three to five years before the rubber starts to degrade. A fill valve might last a bit longer, typically around five to seven years. Performing a quick visual check once or twice a year can help you spot wear and tear before it causes a problem.
Considering a Replacement for an Older Toilet
If you find yourself constantly tinkering with an older toilet, it might be time to think beyond another quick fix. Older models often have parts that wear out more easily, like rubber seals and float mechanisms, leading to a cycle of repairs. While fixing a running toilet is one thing, if you’re facing multiple issues or the problem keeps coming back, the costs can start to add up. This is when you should weigh the price of another repair against the long-term benefits of a new toilet. Modern, water-saving toilets are designed for efficiency, using significantly less water per flush. This not only helps lower your water bill but also makes your home more eco-friendly. Investing in a toilet repair and replacement can be a smarter financial decision in the long run, saving you from future headaches and wasted water.