There’s nothing worse than your hot shower turning lukewarm halfway through. If you find yourself running out of hot water faster than you used to, it might not be because your tank is too small. The problem could be brewing inside the tank itself. When minerals and grit settle at the bottom, they form a barrier that prevents the heating element from doing its job properly. The heater struggles to warm the water, leaving you with a disappointing supply. This is a common issue when you have a hot water tank full of sediment. We’ll explain why this happens, what other signs to look for, and how you can fix it to get back to enjoying long, hot showers.
Key Takeaways
- Sediment makes your heater work harder, not smarter: This layer of mineral buildup forces your water heater to use more energy, which increases utility bills and can shorten the appliance’s lifespan. Regular flushing is the key to keeping it efficient.
- Listen for the warning signs: Popping sounds, cloudy water, and a drop in hot water supply are clear signals that your tank needs to be flushed. An annual flush is a simple maintenance task that removes this buildup and restores performance.
- Prevention is key, but know your limits: Installing a water softener or filter can stop most sediment before it starts. If your tank is old, the drain valve is stuck, or you feel unsure, calling a professional is the safest choice to avoid a bigger problem.
What Is Sediment in Your Hot Water Tank?
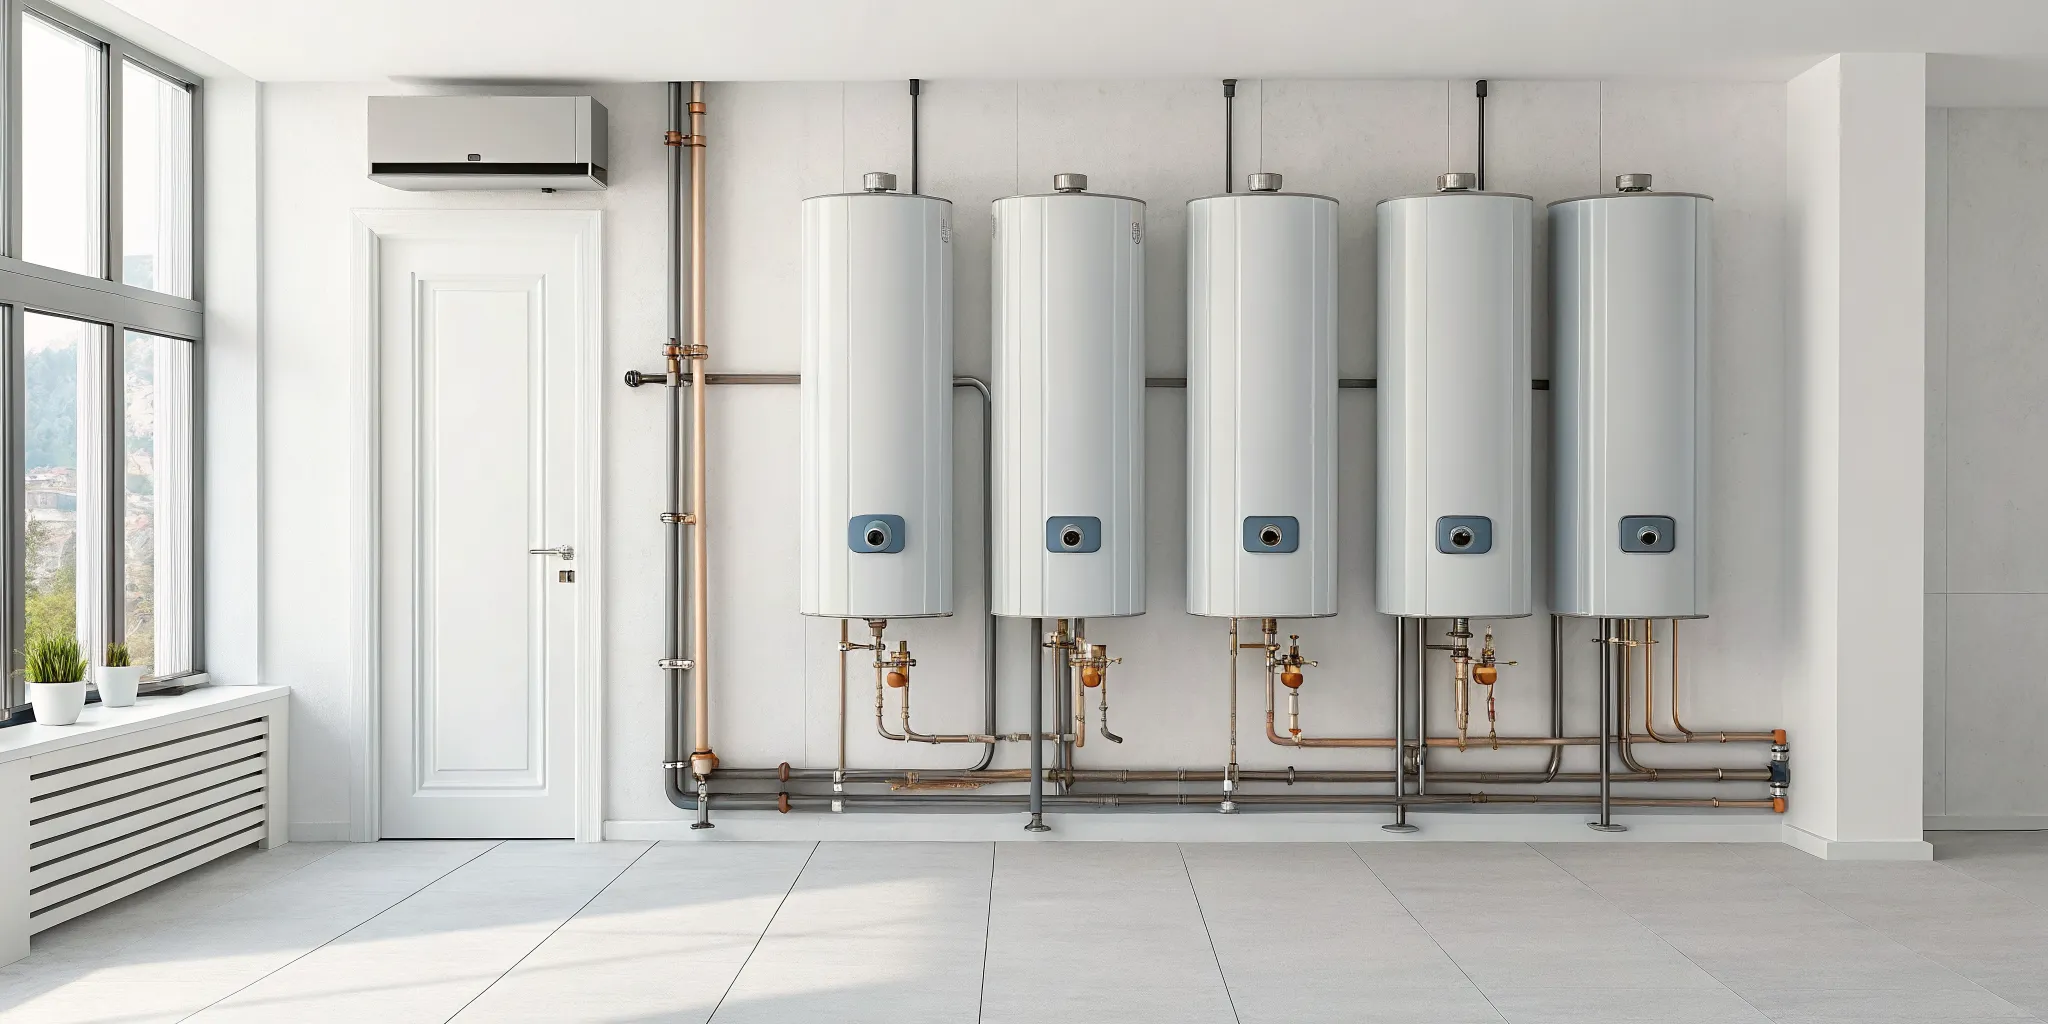
If you’ve ever noticed a gritty film at the bottom of your tea kettle, you’ve seen sediment on a small scale. Now, imagine that happening inside your hot water tank, day after day. Sediment is the collection of minerals and tiny bits of debris that naturally occur in our water supply. Over time, these particles settle at the bottom of your water heater, creating a thick layer that can cause all sorts of problems.
This buildup isn’t just an annoyance; it forces your water heater to work harder, drives up your energy bills, and can even shorten the appliance’s lifespan. For homeowners in Metro Detroit, where water hardness can vary, understanding how to manage sediment is key to keeping your plumbing in top shape and your hot water flowing.
Where does sediment come from?
Sediment is a mix of tiny particles, including minerals like calcium and magnesium, along with sand, dirt, and even rust from aging pipes. These particles can enter your home’s water from various natural sources or through the city’s water lines.
Even treated municipal water contains minerals that can accumulate in your tank. Plus, any breaks or repairs in the city’s water mains can temporarily introduce more dirt and debris into the system, which then finds its way into your home. Whether your water comes from a private well or the city, some level of sediment is almost unavoidable.
Does hard water make it worse?
Yes, absolutely. Hard water, which is common in many parts of Michigan, contains a higher concentration of dissolved minerals, especially calcium and magnesium. When this water is heated inside your tank, these minerals solidify and fall to the bottom, forming a hard, crusty layer known as scale. This scale is a major contributor to sediment buildup.
This layer of mineral sludge forces your water heater to work much harder to heat the water, leading to wasted energy and higher utility bills. While a water softener can help reduce mineral buildup, it doesn’t eliminate the problem. You’ll still need regular maintenance, a core part of our plumbing services, to keep your tank clean and efficient.
7 Signs of Sediment Buildup in Your Water Heater
Your water heater is one of those appliances that works quietly in the background, until it doesn’t. When problems start, sediment is often the culprit. Catching the signs of buildup early can save you from a cold shower, a high energy bill, or even a major leak. If you notice any of these red flags, your water heater is trying to tell you something. Paying attention now can prevent a much bigger headache later. Let’s walk through the seven key indicators that your tank needs a good cleaning.
Your tank is making strange noises
If your water heater has started to sound like a coffee pot brewing or a popcorn machine, it’s time to listen up. Those popping, rumbling, or hissing sounds are a classic sign of sediment buildup. What’s happening is that a layer of mineral deposits has settled at the bottom of the tank, trapping water underneath. When the burner or heating element kicks on, that trapped water boils and steams, creating bubbles that make these strange noises as they escape. It’s not just an annoying sound; it’s the sound of your heater working inefficiently and putting stress on the tank.
The hot water looks cloudy or discolored
Your hot water should always be crystal clear. If you turn on the tap and see cloudy, sandy, or rusty-looking water, sediment is the likely cause. Tiny particles of minerals and debris that have settled in your tank are getting stirred up and pushed through your pipes. The reddish or orange tint is particularly concerning because it can indicate that the sediment has started to corrode the inside of your tank, creating rust. This not only affects your water quality but also signals that the structural integrity of your water heater could be at risk.
Your water isn’t getting hot enough
Are you finding that your showers are turning lukewarm faster than they used to? Or maybe it feels like it takes forever for the water to heat up at all. When a thick layer of sediment coats the bottom of the tank, it acts as an insulator between the heating element and the water. Your water heater has to work much harder and longer to heat the water to the temperature set on the thermostat. This means you get less hot water, and the system is under constant strain just to keep up with your daily needs.
Hot water pressure is low
If your cold water flows just fine but your hot water only trickles out, you might have a sediment problem. Over time, small particles of sediment can break loose from the tank and travel into your plumbing. These particles can easily clog the small openings in your faucets, showerheads, and appliance supply lines. This creates a bottleneck that reduces the flow and pressure of your hot water. While cleaning your faucet aerators can provide a temporary fix, the root of the problem is still sitting at the bottom of your water heater tank, waiting to cause more blockages.
The pressure relief valve is leaking
Your water heater’s temperature and pressure (T&P) relief valve is a critical safety feature. It’s designed to release water if the pressure or temperature inside the tank gets dangerously high. If you see it dripping or leaking, take it seriously. Sediment buildup can cause the tank to overheat, leading to excessive pressure. The valve is simply doing its job by trying to relieve that pressure. However, a constantly leaking valve can be a sign of a persistent problem. If this safety mechanism fails, it could lead to a catastrophic tank rupture, which is why you should address it immediately.
You notice pressure buildup
This sign goes hand-in-hand with a leaking T&P valve. The sediment layer forces the heating elements to run longer, which can superheat the water at the bottom of the tank. This creates excessive steam and pressure that the system wasn’t designed to handle. While the T&P valve is your first line of defense, you don’t want to rely on it constantly. If you hear loud hissing or notice the valve releasing water frequently, it’s a clear warning that your tank is under extreme stress. This is a serious situation that requires immediate attention from a professional to prevent a dangerous failure. If you suspect high pressure, it’s best to call for emergency plumbing services.
Your energy bills are creeping up
An unexplained spike in your gas or electric bill can often be traced back to an inefficient appliance, and your water heater is a prime suspect. When it has to fight through a layer of sediment to heat your water, it consumes a lot more energy to do its job. The heating element or burner has to stay on longer to reach the target temperature, wasting energy and driving up your utility costs. Flushing the sediment out of your tank can make your heater more efficient and put that money back in your pocket. If your bills are climbing, it’s worth investigating your water heater.
How Sediment Damages Your Water Heater
That layer of sediment at the bottom of your tank isn’t just harmless grit. Over time, it can cause serious and expensive damage to your water heater, leading to inefficient performance and even total failure. Understanding how this buildup affects your unit is the first step toward preventing a costly breakdown.
It works harder, not smarter
Think of the sediment at the bottom of your tank as a thick, unwanted blanket. This layer settles right over the heating mechanism, whether it’s a gas burner or an electric element. The sediment insulates the water from the heat source, forcing your heater to run longer and work much harder to get your water to the right temperature. This constant extra effort means your water heater uses more energy, which you’ll notice on your utility bills. It’s a classic case of working harder, not smarter, and that inefficiency puts a huge strain on the entire system.
It shortens the tank’s lifespan
All that extra work doesn’t just cost you money; it also wears out your water heater much faster. When the burner or heating element has to overheat just to get past the sediment layer, it puts a lot of stress on the tank’s metal lining. This constant cycle of overheating can weaken the steel, leading to corrosion and deterioration from the inside out. A water heater is a significant investment, and letting sediment build up can easily cut its expected lifespan in half. Regular maintenance is key to protecting your investment and avoiding a premature, and often unexpected, replacement.
It can burn out the heating element
The heating element is often the first casualty of sediment buildup. In an electric water heater, the lower element can become completely buried in mineral deposits. This traps an immense amount of heat directly around the element, causing it to overheat and burn out. For gas models, the concentrated heat at the bottom of the tank can damage the tank’s glass lining and even the burner assembly itself. A burnt-out element is a common reason for a sudden loss of hot water, which is why our emergency plumbing team frequently deals with this preventable issue.
It increases the risk of leaks and floods
The worst-case scenario for a neglected water heater is a catastrophic failure. As the tank’s metal weakens from constant overheating and corrosion, it can develop cracks. At first, it might be a slow leak, but that pressure can eventually cause the tank to rupture, releasing dozens of gallons of water into your basement or utility closet. The resulting flood can cause thousands of dollars in water damage to your home’s foundation, walls, and flooring. This makes flushing your tank not just about maintenance, but about protecting your entire home from a potential disaster.
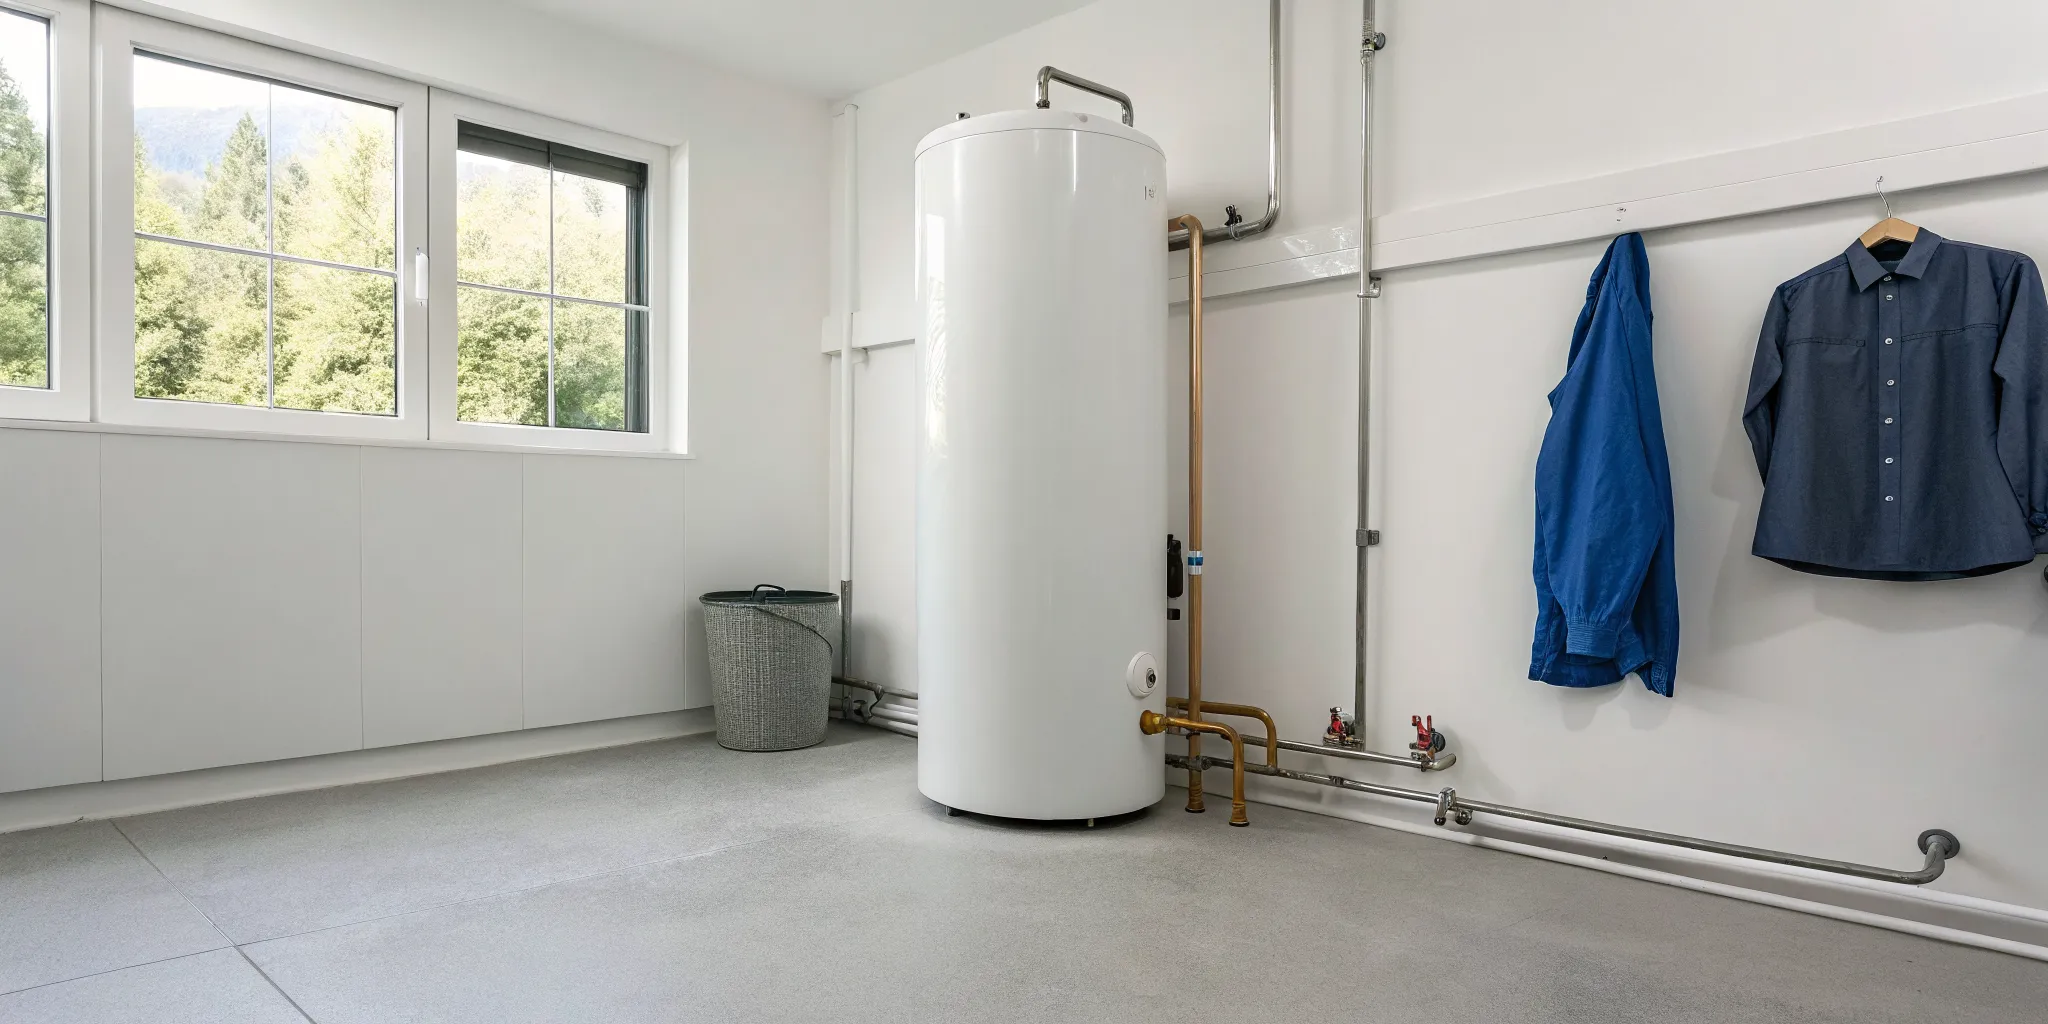
How to Flush Your Hot Water Tank: A Step-by-Step Guide
Flushing your water heater might sound like a big job, but it’s one of the most effective ways to maintain your unit and keep it running efficiently. Over time, minerals like calcium and magnesium settle at the bottom of your tank, creating a layer of sediment. This buildup forces your water heater to work harder, wastes energy, and can even lead to costly damage. By flushing your tank about once a year, you can clear out this gunk and extend its lifespan. Ready to give it a try? Here’s a simple guide to get it done.
What you’ll need
Before you get started, gather a few basic items to make the process go smoothly. You don’t need much, which is great news for your weekend project list. It’s a good idea to remove sediment annually to keep your water heater in top shape.
Here’s your short list:
- A standard garden hose long enough to reach a floor drain or go outside
- A flathead screwdriver or a wrench, depending on your drain valve
- A bucket (optional, but helpful for catching initial drips)
- Gloves to protect your hands from hot water
Step 1: Turn off the water heater’s power
Safety first! You must cut the power to your water heater before you start draining it. If you have an electric model, head to your breaker box and switch off the breaker connected to your water heater. For a gas water heater, find the thermostat dial on the unit and turn it to the “Pilot” or “Vacation” setting. This ensures the heating elements won’t try to heat an empty tank, which could cause them to burn out. Double-check that the power is off before moving on to the next step.
Step 2: Shut off the cold water supply
Next, you need to stop water from entering the tank while you’re trying to empty it. Look for the cold water inlet pipe, which is usually located at the top of your water heater. You should see a handle or a valve on this line. Turn the handle clockwise until it stops. This will shut off the cold water supply, allowing the tank to drain completely without refilling itself. If the valve is stiff from not being used, you may need to apply gentle but firm pressure to get it to turn.
Step 3: Open a nearby hot water tap
This is a simple but important step that makes draining much easier. Go to a sink or tub close to the water heater and turn on the hot water faucet. You won’t get much more than a trickle of water, but that’s not the point. Opening the tap allows air to enter the plumbing system, which breaks the vacuum inside the tank. This helps the water flow out smoothly and quickly once you open the drain valve. Just leave the faucet on until you’re finished with the entire process.
Step 4: Connect a garden hose
Now it’s time to get your hose ready. Find the drain valve, which is a spigot located near the bottom of your water heater tank. Carefully screw one end of your garden hose onto the valve. Make sure it’s a secure connection to prevent leaks. Run the other end of the hose to a safe place for the water to drain, like a floor drain in your basement, a utility sink, or outside on your lawn. Remember, the water inside will be hot, so handle the hose with care.
Step 5: Drain the tank
With your hose in place, it’s time to let the water out. Open the drain valve on your water heater. You might need a flathead screwdriver or a wrench to turn it, as some valves have a slot instead of a handle. Once it’s open, water will start flowing through the hose. The tank will take some time to drain completely, often 30 minutes or more, depending on its size. Don’t be surprised if the water looks cloudy or has small particles in it. That’s the sediment you’re trying to remove!
Step 6: Flush out the remaining sediment
Once the tank is empty, you’ll want to stir up and wash out any stubborn sediment left at the bottom. With the drain valve still open, go back to the cold water supply valve and turn it on for about 15 to 30 seconds. This will send a blast of cold water into the tank, agitating the remaining gunk and flushing it out through the hose. Turn the water off and let it drain again. Repeat this process a few times until the water running out of the hose looks clear.
Step 7: Refill and restart the system
You’re on the home stretch! First, close the drain valve tightly and disconnect your garden hose. Next, make sure the hot water tap you opened earlier is still on. Go back to the cold water supply valve and turn it back on to start refilling the tank. You’ll hear water flowing. Keep an eye on the open faucet. Once water starts flowing steadily from it, all the air has been purged from the system, and you can turn it off. Now, and only now, is it safe to restore power. Turn the breaker back on or switch your gas heater back to its normal setting. If you run into any trouble, our team is always here to help with emergency plumbing needs.
What to Do If the Drain Valve Is Clogged
You’ve followed all the steps, attached the hose, and opened the drain valve, but only a trickle of water comes out, or maybe nothing at all. It’s a frustrating but common problem. When the drain valve is clogged with sediment, it stops the entire flushing process in its tracks. Don’t give up just yet. There are a few things you can try to get things flowing again. Before you attempt any of these, make sure the power and water supply to the heater are still off.
Try clearing the clog
If the valve is completely blocked, a large chunk of sediment is likely the culprit. Your goal is to break it up without damaging the valve. You can try carefully using a tool to poke into the valve opening to dislodge the blockage. Another method is to use air pressure. With the hose still attached, you can use a small tool or even a bicycle pump to carefully inject a burst of air back into the valve. This can often provide enough force to break up the stubborn debris and get the water moving.
Backflush the valve
If a simple poke or puff of air doesn’t work, you can try backflushing. This process uses water pressure to your advantage by forcing water into the tank through the drain valve, stirring up the sediment from the bottom. To do this, keep the power and cold water supply to the heater off. Then, connect a garden hose from the heater’s drain valve to an outdoor cold water faucet. Open the hot water heater’s drain valve and then the outdoor faucet. This reverse flow can dislodge the sediment that’s blocking the drain, allowing you to flush it out properly once you disconnect and drain it normally.
Know when to replace the valve
Sometimes, a drain valve is beyond a simple fix. If your water heater is older, say four years or more, and has never been drained, proceed with caution. Over time, the valve can become corroded and brittle. Forcing it open or closed can cause it to break, leading to a much bigger problem. If the valve seems stuck, is visibly rusted, or you feel you’re using too much force, it’s better to stop. This is the point where a DIY project can turn into an emergency plumbing situation. If you’re facing a stubborn or broken valve, it’s wise to call a professional to handle the repair safely.
How Often Should You Flush Your Water Heater?
Knowing how often to flush your water heater can feel like a guessing game, but it doesn’t have to be. While a yearly flush is a great starting point for most homes, your ideal schedule really depends on a couple of key factors: the quality of your local water and the age and maintenance history of your tank. Getting on a regular schedule is one of the best things you can do to keep your water heater running efficiently and prevent a surprise breakdown. Think of it as a small investment of your time that pays off with reliable hot water and lower energy bills.
What determines your flushing schedule?
As a general rule, you should plan to drain and flush your water heater at least once a year. This annual maintenance clears out the sediment that naturally settles at the bottom of the tank. Over time, this layer of minerals can harden, making your heater work harder to warm your water and even causing damage. By staying on top of this simple task, you help extend the life of your appliance and ensure it operates efficiently. If you’re unsure about your tank’s specific needs, our team can always help you create a maintenance plan that works for your home’s plumbing system.
Why you should flush more often with hard water
If you live in an area with hard water, which is common in parts of Metro Detroit, you may need to flush your water heater more frequently, perhaps every six months. Hard water contains a higher concentration of minerals like calcium and magnesium, and these are the primary culprits behind sediment buildup. The harder your water, the faster sediment accumulates in your tank. Flushing it more often prevents this gunk from solidifying, which keeps your heater running efficiently, saves you money on energy costs, and helps you avoid a premature replacement.
Debunking the myth about draining old tanks
You might have heard that you shouldn’t drain an old water heater that has never been flushed. There’s some truth to this advice. If a tank is more than four or five years old and has never been maintained, the drain valve could be seized by corrosion and sediment. Trying to force it open could cause it to break, leading to a leak you can’t stop. If you’ve just moved into a new home or aren’t sure about your tank’s history, it’s wise to be cautious. In this situation, it’s best to have a professional take a look before you proceed. If something goes wrong, you’ll be glad you have an expert ready to handle any emergency plumbing issues.
How to Prevent Sediment Buildup
Flushing your water heater is a great reactive measure, but what if you could stop most of the sediment from building up in the first place? Being proactive is the best way to extend your water heater’s life and keep it running efficiently. It saves you time, money, and the headache of dealing with a malfunctioning unit. A few simple strategies can make a huge difference in keeping your tank clean and your hot water flowing. Here are five effective ways to prevent sediment from taking over your water heater.
Install a whole-house water filter
One of the most effective ways to stop sediment in its tracks is to install a whole-house water filter. Think of it as a gatekeeper for all the water entering your home. This system connects to your main water line and filters out minerals, sand, and other debris before they can even reach your water heater. Not only does this protect your tank, but it also safeguards all your other water-using appliances, like your dishwasher and washing machine. It’s a fantastic investment for the overall health of your home’s plumbing system.
Use a water softener
If you live in an area with hard water, like many parts of Michigan, a water softener can be a game-changer. Hard water is packed with minerals like calcium and magnesium, which are the primary culprits behind that crusty sediment buildup. A water softener works by removing these minerals from your water. While it significantly reduces the rate of sediment accumulation, it’s important to remember that it doesn’t completely eliminate the need for regular maintenance. Think of it as a powerful ally that makes flushing your tank a much easier and less frequent task.
Inspect the anode rod
Inside your water heater tank is a hidden hero called the anode rod. Its job is to sacrifice itself by attracting corrosive elements in the water, which prevents the steel tank from rusting. Over time, this rod corrodes and dissolves, contributing to the sediment at the bottom of your tank. Checking the anode rod every year or two and replacing it when it’s worn down is a crucial preventative step. A fresh anode rod keeps rust at bay and is a small price to pay to protect the much larger investment of your water heater.
Lower your water heater’s temperature
Here’s a simple tip that can make a real difference: turn down your water heater’s thermostat. Most manufacturers set the temperature to 140°F, but a setting of 120°F is hot enough for most households and is recommended by the Department of Energy. Hotter water actually accelerates the process of minerals separating and settling as sediment. By lowering the temperature, you not only slow down buildup but also reduce your energy bills and decrease the risk of scalding. It’s a win-win situation that helps your water heater last longer.
Schedule professional maintenance
While these DIY tips are great, nothing beats the peace of mind that comes with professional maintenance. Having a qualified plumber perform a thorough flush and inspection ensures the job is done right. A professional can spot early signs of trouble, like a failing anode rod or a leaky valve, that you might miss. At Mr. Pipey, we treat your home like our own and can set you up with a regular maintenance schedule to keep your water heater in top shape. If you want an expert to handle it, don’t hesitate to contact us for help.
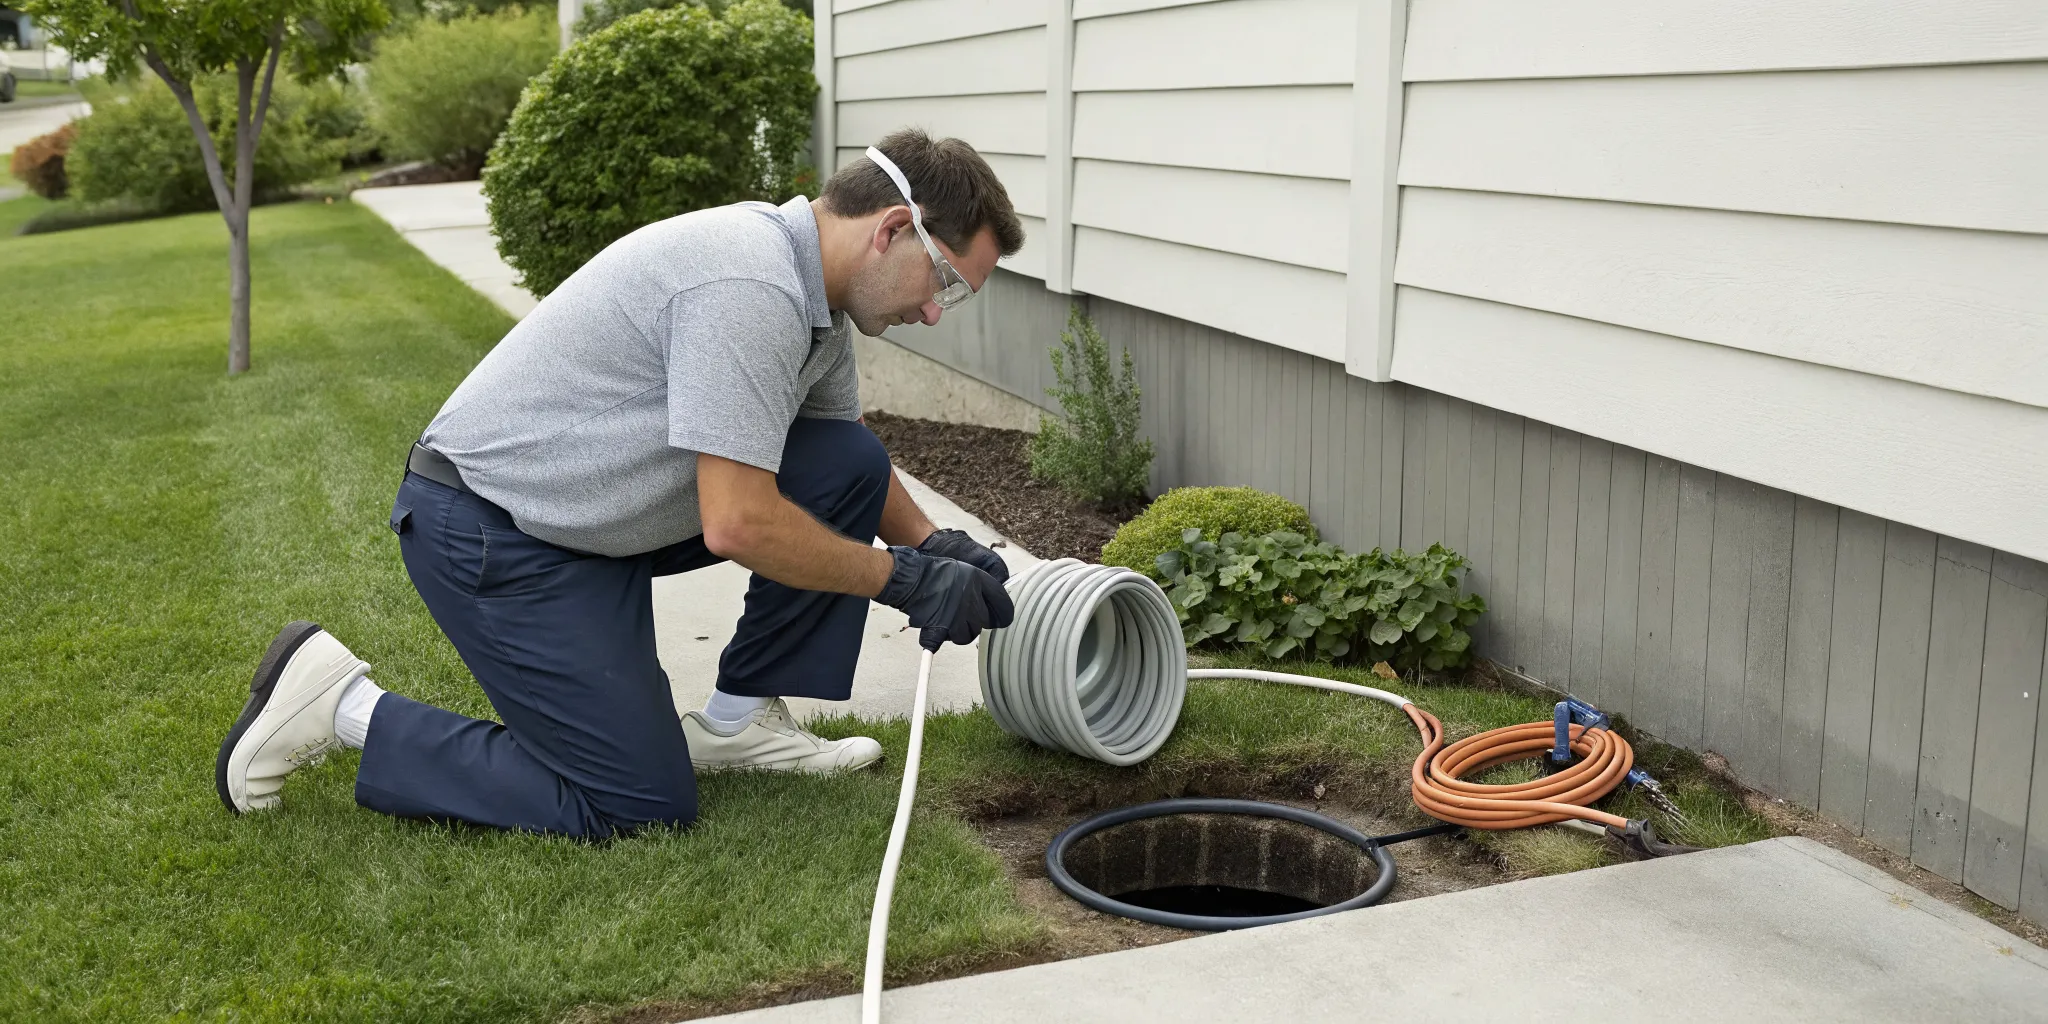
When to Call a Plumber for Help
Tackling home maintenance projects yourself can be incredibly rewarding, but there are times when calling in a professional is the smartest move. Flushing a water heater seems straightforward, but certain situations can quickly become complicated. If you run into trouble, forcing the issue can lead to broken parts, leaks, or even a full-blown flood in your basement. Knowing when to step back and call for help can save you from a much bigger headache and a more expensive repair down the road. At Mr. Pipey, we treat your home like our own and are always ready to provide expert plumbing services when you need them.
Your water heater is old and has never been drained
If your water heater is more than four years old and has never been flushed, it’s wise to pause before you start. Over time, the drain valve can corrode or become seized with mineral buildup. Trying to force it open could cause it to break, leaving you with a leak you can’t stop. A professional plumber can assess the condition of the valve and the tank. They can determine if it’s safe to proceed with a flush or if the risk of damage is too high, in which case they might suggest it’s time to start planning for a replacement.
The drain valve is stubbornly clogged
You’ve followed the steps, but when you open the drain valve, nothing comes out but a trickle. A clog of sediment is likely blocking the way. While you can try a few tricks to break it up, like backflushing, sometimes the blockage is just too dense. This is a clear sign to call a plumber. We have specialized tools to clear stubborn clogs without damaging the valve or the tank itself. If you’re dealing with a valve that won’t close properly after you’ve started, you may need emergency plumbing assistance to prevent water damage.
You’re simply not comfortable with the job
There is absolutely no shame in deciding a project is outside your comfort zone. Plumbing can be intimidating, and the thought of accidentally flooding your basement is enough to make anyone hesitate. If you feel unsure at any point, it’s better to be safe than sorry. A professional flush is an affordable service, typically costing between $80 and $150, and it provides peace of mind knowing the job was done correctly. If you’d rather leave it to the experts, feel free to contact us to schedule a maintenance visit.
Related Articles
- How to Repair an Instant Water Heater: A DIY Guide
- 6 Signs You Need Water Heater Repair Now
- When to Call a Plumber for Water Heater Repair
- How to DIY a Tankless Water Heater Installation
Frequently Asked Questions
Is it really that bad to ignore a noisy water heater? Yes, those popping or rumbling sounds are a clear sign of trouble. That noise is the sound of your water heater struggling to work through a layer of mineral buildup. It’s forcing the unit to use more energy just to do its job, which drives up your utility bills. More importantly, this constant strain causes excessive wear and tear, which can significantly shorten your water heater’s lifespan and lead to a premature, costly replacement.
I flushed my tank, but my hot water pressure is still low. What’s next? If you’ve flushed the tank and still have low pressure, the next step is to check the fixtures themselves. Small sediment particles can travel through your pipes and get stuck in the aerators on your faucets and in your showerheads. Unscrew them and give them a good cleaning. If clearing the aerators doesn’t solve the problem, you may have a more significant blockage in your pipes, which is a good time to call a professional for help.
Can I really break my water heater by trying to flush it? Unfortunately, yes, it is possible, especially with an older tank that has never been maintained. The drain valve at the bottom can become corroded and brittle over time. If you try to force a stuck valve open, it can snap off, creating a leak that you won’t be able to stop. If the valve seems rusted or won’t turn with gentle pressure, it’s much safer to stop and call a plumber.
Will a water softener completely solve my sediment problem? A water softener is a fantastic tool for preventing sediment, but it isn’t a complete solution on its own. It works by removing hard minerals like calcium and magnesium, which are the main ingredients for the crusty scale that builds up in your tank. However, it won’t stop other debris like sand, dirt, or rust particles from settling. You will still need to flush your tank periodically, though a softener may allow you to do it less frequently.
How much money can I actually save by flushing my water heater? While it’s hard to name an exact dollar amount, the savings are very real. When your water heater’s heating element is covered in sediment, it has to run much longer to heat the water to the set temperature. This wasted energy directly translates to higher gas or electric bills. By keeping the tank clean, you ensure it runs efficiently, using less energy every time it kicks on. This regular maintenance helps lower your monthly utility costs and protects your appliance.