That persistent damp feeling in your basement? Those chalky white stains on the walls and the musty smell you just can’t shake? That’s your house telling you it has a groundwater problem. Ignoring these signs can lead to serious structural damage and expensive repairs down the road. The best defense is a reliable sump pump system. This guide walks you through the entire sump pump installation process, from choosing the right model to simple maintenance tips. We’ll show you how this simple device can solve your moisture problems for good and protect your home’s foundation.
Key Takeaways
- Match the Pump to Your Basement’s Needs: The best sump pump is one tailored to your home. Consider if a quiet submersible or an accessible pedestal pump is better for your space, ensure the horsepower is correct to handle water flow without burning out, and always include a battery backup for protection during storms.
- Get the Installation Details Right: A successful sump pump installation hinges on a few key details. Always locate the pit at the lowest point in your basement, plug the pump into a GFCI outlet to prevent electrical hazards, and install a check valve on the discharge pipe to stop water from flowing back into the pit.
- Perform Seasonal Check-Ups for Reliability: A few minutes of maintenance each season keeps your sump pump ready for action. Test it by pouring a bucket of water into the pit to ensure it turns on and off correctly, clear out any debris from the basin, and make sure the exterior discharge pipe isn’t blocked.
What Is a Sump Pump, Anyway?
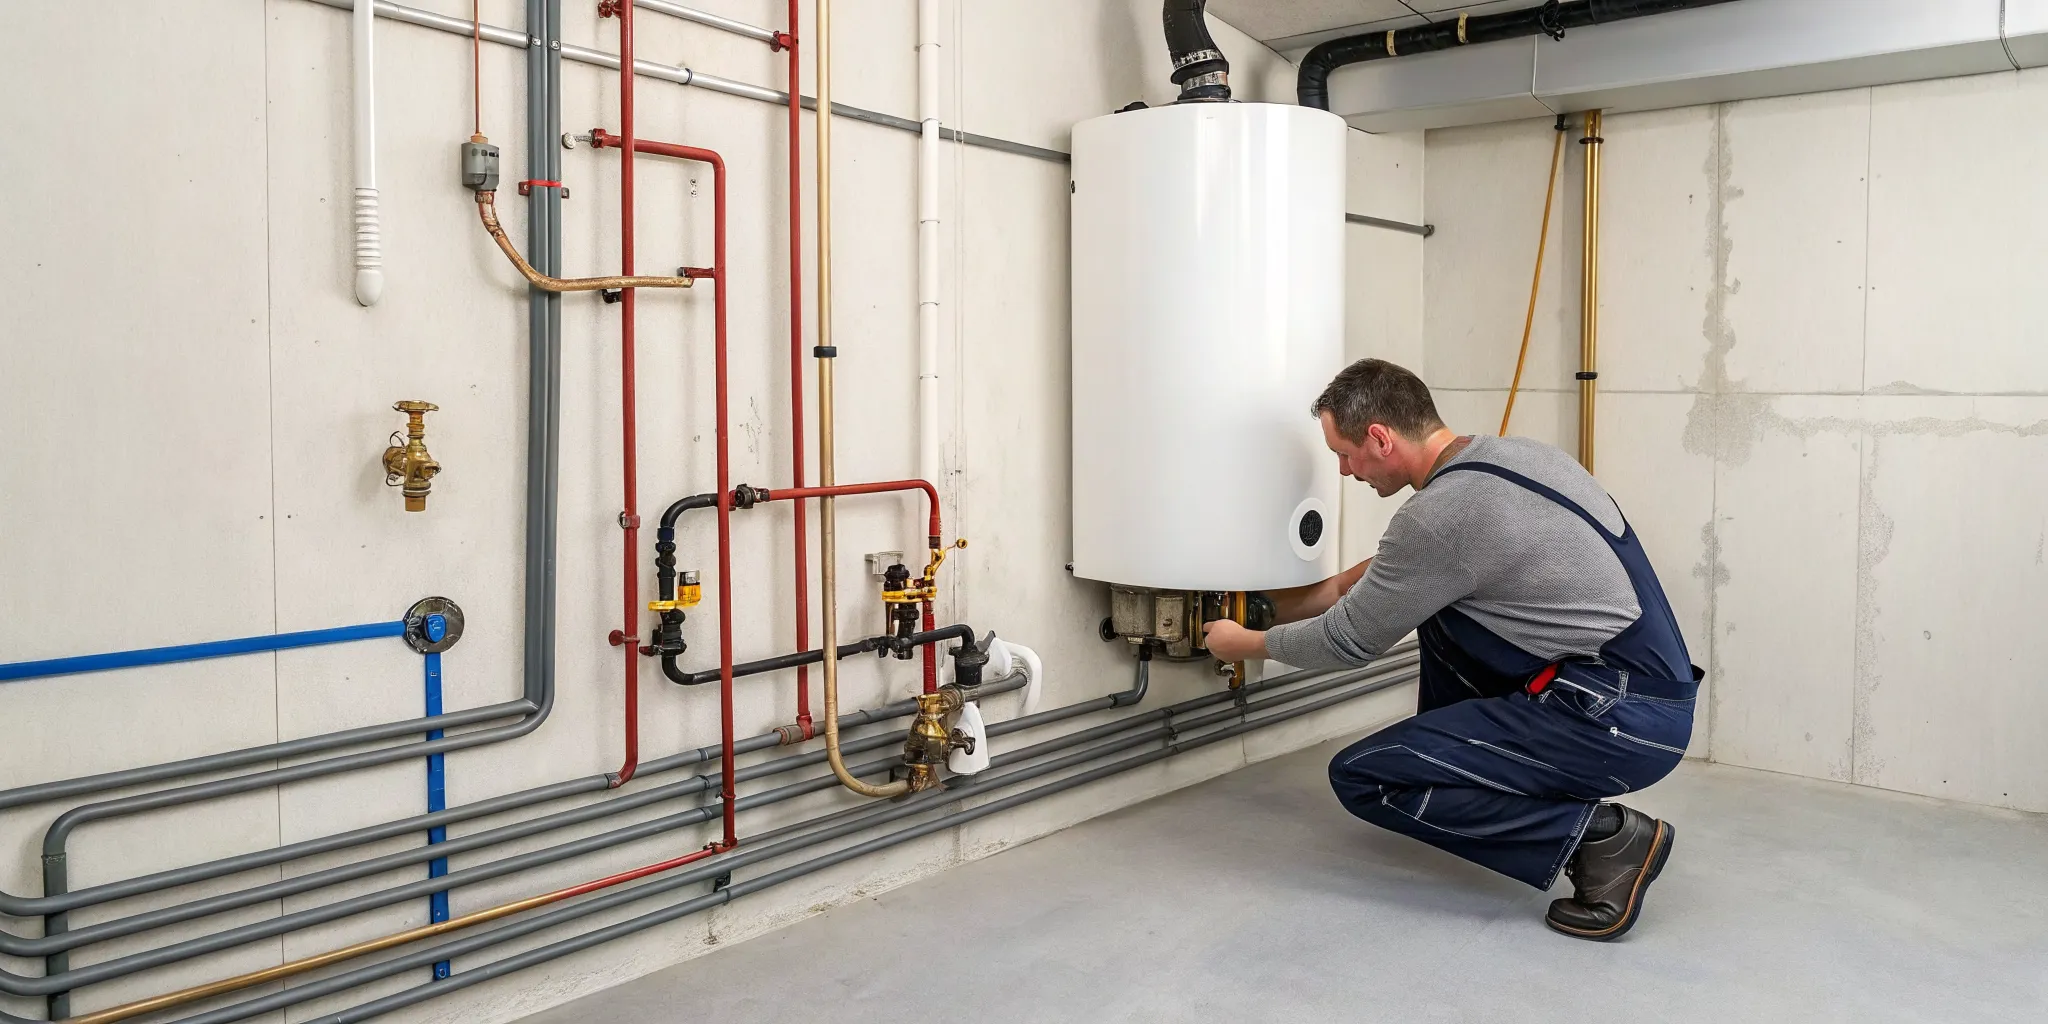
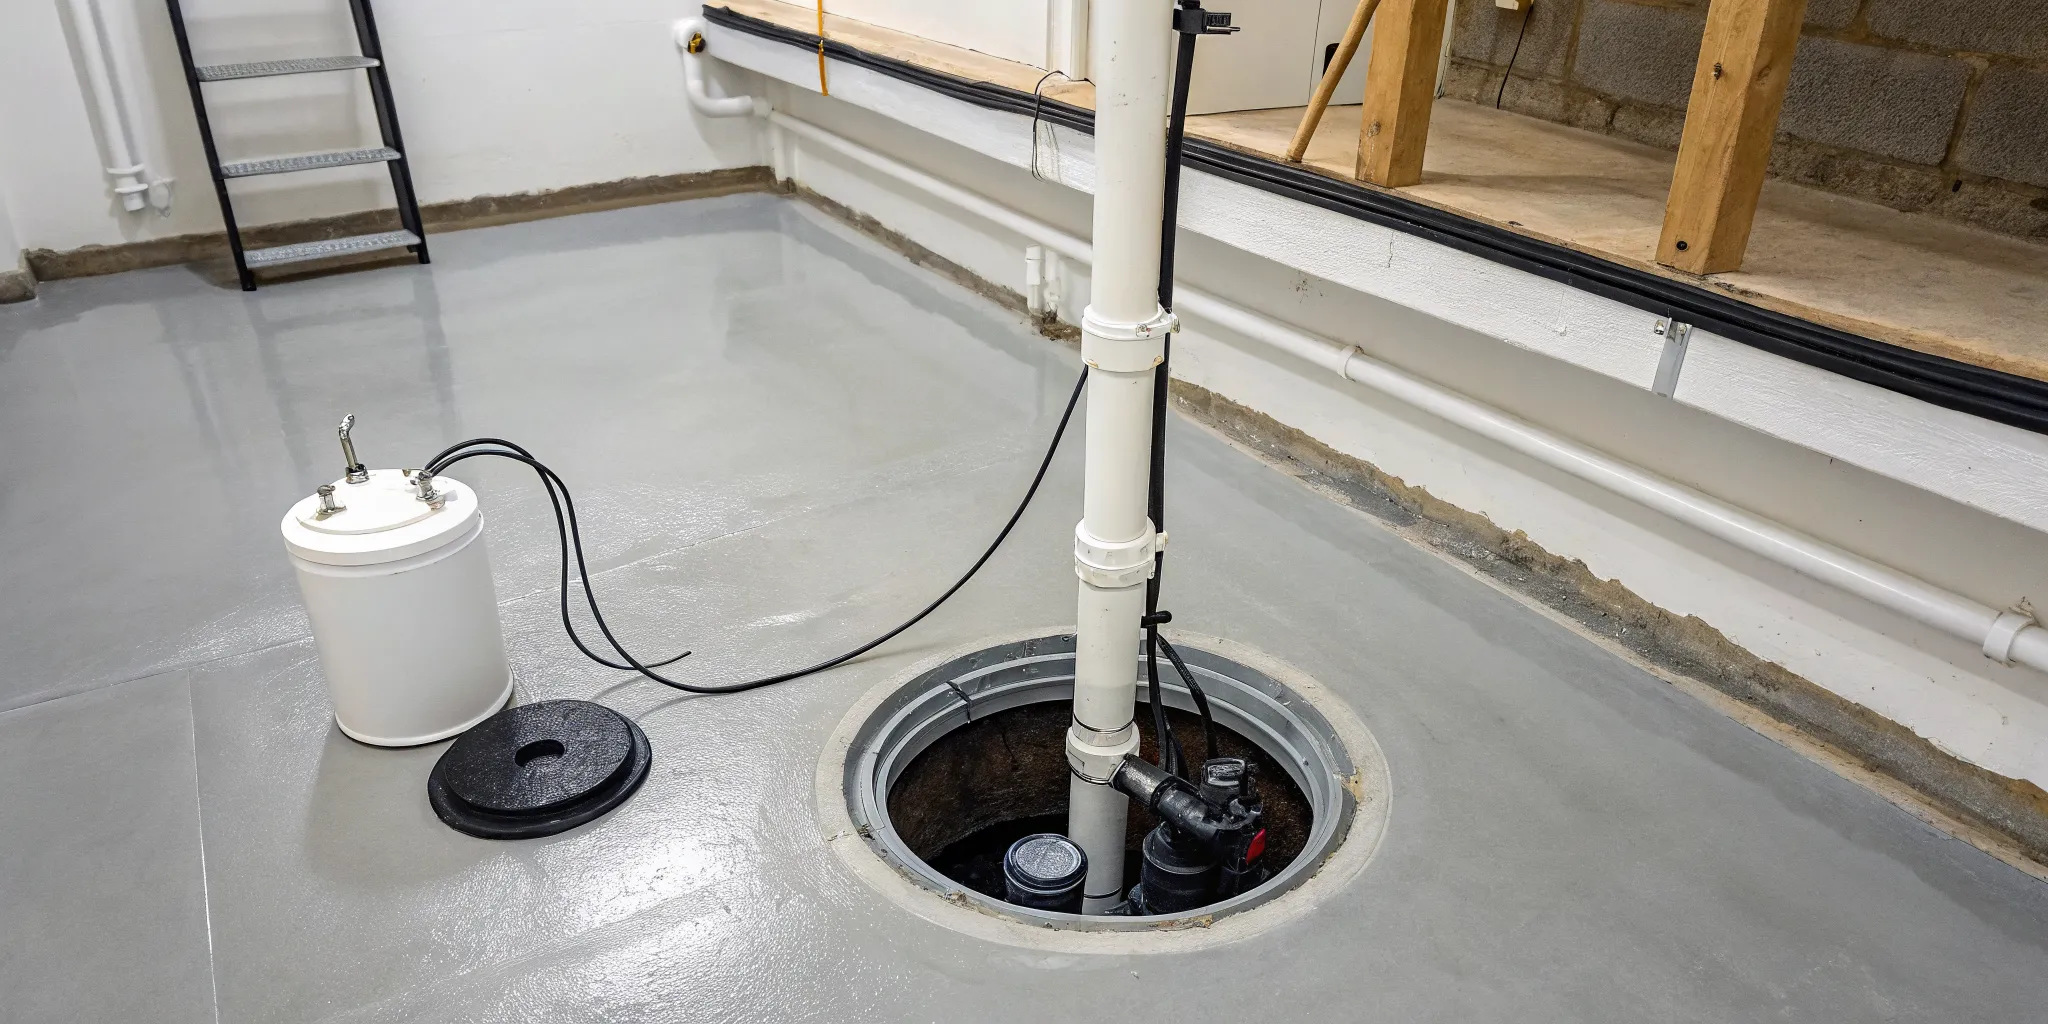
Think of a sump pump as your basement’s personal, on-call bodyguard against flooding. It’s a small but mighty device that sits in a specially constructed pit, called a sump basin, usually in the lowest part of your basement or crawlspace. Its one job is to kick into action and remove water before it has a chance to cause problems. For homeowners in Metro Detroit, where heavy spring rains and rapid snow melts can saturate the ground, this isn’t a luxury—it’s a necessity. All that excess moisture in the soil creates hydrostatic pressure, which relentlessly pushes against your foundation walls. Without an escape route, that water will find its way inside through the tiniest cracks and joints. A sump pump system provides that escape route. It works automatically to protect your home’s integrity, your stored belongings, and your family from the health risks of mold and mildew. Investing in reliable sump pump services is one of the smartest, most proactive steps you can take to keep your basement dry and your home safe, saving you from the immense stress and cost of water damage restoration down the road.
How It Keeps Your Basement Dry
So, how does this little machine work its magic? It’s actually a pretty straightforward system. As groundwater seeps into the soil around your foundation, it’s directed into the sump pit. Inside the pit, the sump pump has a float switch, much like the one in your toilet tank. As the water level in the pit rises, it lifts the float. Once the water reaches a certain level, the switch activates the pump, which then pushes the water out of the pit and through a discharge pipe. This pipe carries the water safely away from your home’s foundation, usually to a storm drain or a designated spot in your yard. It’s a simple, automated cycle that protects your home 24/7.
Signs Your Home Needs a Sump Pump
Your house will often tell you when it needs help. If you’ve noticed persistent damp spots on your basement walls, a lingering musty smell you can’t seem to air out, or visible mold and mildew, your foundation is struggling with moisture. Other clues include peeling paint, white, chalky residue on the walls (efflorescence), or small puddles after a storm. If your home has flooded in the past or you know you have poor yard drainage, a sump pump is a must. Ignoring these signs can lead to bigger problems, so if your basement is sending out an S.O.S., it’s time to listen before you need emergency plumbing services.
Environmental Risk Factors
Living in Metro Detroit means dealing with a high water table and soil that holds a lot of moisture, especially after heavy rain or a quick snowmelt. If you’ve ever noticed a persistent damp feeling in your basement, chalky white stains on the walls, or a musty odor that just won’t go away, your house is trying to tell you something. These are classic signs that groundwater is pushing its way through your foundation. This constant hydrostatic pressure can exploit even the smallest cracks in the concrete, leading to leaks, structural stress, and water damage. A sump pump is your first and best line of defense against these environmental pressures, actively working to collect and redirect water before it becomes a major problem.
Your Home’s Construction
The age and construction of your home also play a big role in its vulnerability to water intrusion. Older homes, particularly those with foundations made of concrete blocks, can be more prone to seepage over time as the mortar joints weaken. Even newer homes with poured concrete foundations aren’t immune to the intense pressure that builds up in the surrounding soil. A sump pump system provides that escape route for water that would otherwise be forced into your basement. It works automatically to protect your home’s integrity, your stored belongings, and your family from the health risks of mold and mildew. Investing in professional sump pump services is a proactive step to preserve your foundation for years to come.
Considering the Bigger Picture: Exterior Drainage
While a sump pump is a critical component, it’s part of a larger system designed to keep your home dry. Your gutters, downspouts, and the grading of your yard all work together to direct water away from your foundation. If your gutters are clogged or your downspouts dump water right next to the house, your sump pump will have to work overtime to handle the excess load. If your home has flooded in the past or you know you have poor yard drainage, a sump pump is a must. Ignoring these signs can lead to bigger problems, so if your basement is sending out an S.O.S., it’s time to listen before you need emergency plumbing services.
How to Pick the Perfect Sump Pump
Picking the right sump pump feels like a big decision, but it doesn’t have to be complicated. It really comes down to understanding your home’s specific needs. Think about your basement’s layout, how much water you typically see, and what kind of backup plan you want in place for those big Michigan storms. We’ll walk through the main types of pumps, the importance of a backup system, and how to get the sizing just right so you can feel confident your basement is protected.
Submersible vs. Pedestal: Which One Is for You?
The two main players in the sump pump world are submersible and pedestal pumps. A submersible pump, as the name suggests, sits down inside the sump pit, fully submerged in water. This design makes them quieter and often more powerful, which is great if your basement deals with a lot of water. On the other hand, a pedestal pump has its motor mounted on a column above the pit. This keeps the motor out of the water, making it easier to access for repairs and generally more affordable. While submersible pumps are tucked away and more efficient, a pedestal pump can be a solid, budget-friendly choice for some homes.
Don’t Forget a Backup: Battery vs. Water-Powered
A sump pump is your first line of defense, but what happens when the power goes out during a heavy storm? That’s where a backup system becomes a true lifesaver. The most common option is a battery backup, which kicks in automatically when your main power fails, ensuring your pump keeps running. Another option is a water-powered backup, which uses your home’s water pressure to pump water out of the pit—no electricity needed. Whichever you choose, having a reliable backup prevents a power outage from turning into a basement flood. It’s a small investment for major peace of mind, especially when you need emergency plumbing the least.
Getting the Right Pump Size for Your Space
Sump pumps come in different sizes, measured in horsepower (HP), and getting the right size is critical. It’s all about matching the pump’s power to the amount of water your basement handles. A pump that’s too small will struggle to keep up during a downpour, leaving your basement vulnerable. Conversely, a pump that’s too powerful for your needs will turn on and off too frequently—a problem called “short cycling” that can burn out the motor prematurely. A professional can assess your home’s water table and drainage to recommend the perfect size, ensuring your pump works efficiently for years to come. Getting the right sump pump services from the start makes all the difference.
Choosing the Right Horsepower
When it comes to horsepower, think of it as finding the “just right” fit for your basement. The most common sump pumps you’ll see are 1/3 or 1/2 HP, which are perfect for the average home. However, if your home is in an area with a high water table or has significant drainage issues, you might need a more powerful 3/4 HP model to keep up. The key is to match the pump’s power to your specific situation. A pump with too little horsepower will work overtime during a storm and may not be able to pump water out fast enough, while one with too much power will switch on and off constantly. This “short cycling” wears out the motor quickly, leading to a premature failure right when you need it most. Getting this balance right ensures your pump operates efficiently and lasts for years, providing reliable protection without wasting energy or needing early replacement.
Why Pump Material Matters
A sump pump spends its entire life in a damp, dark pit, so the materials it’s made from are incredibly important for its longevity. While less expensive plastic pumps are available, they are more prone to cracking and wearing out over time. For real durability, look for a pump with a cast iron core. Cast iron is tough, dissipates heat well, and can withstand the demanding environment of a sump pit. Another critical component is the float switch—this is what tells the pump when to turn on. A flimsy or poorly designed switch is a common point of failure. Investing in a pump with high-quality, durable components from the start means you’ll have a reliable system you won’t have to worry about every time it rains. It’s the difference between a short-term fix and a long-term solution for keeping your basement dry, and our expert sump pump services always prioritize quality materials.
Understanding the Costs of Sump Pump Installation
Let’s talk about the budget. Investing in a sump pump is an investment in your home’s health, but it’s important to know what to expect financially. The total cost can vary quite a bit, depending on whether you hire a professional or tackle it yourself, the type of pump you choose, and the specifics of your basement. The national average for a professional installation hovers around $1,400, but the price can range anywhere from $500 to over $4,000. Understanding the breakdown of these costs will help you make an informed decision and find a solution that protects your home without breaking the bank. We’ll explore the key factors that shape the final price tag, so you can feel confident in your choice.
Professional Installation vs. DIY Costs
The first big decision you’ll face is whether to hire a professional or go the DIY route. While doing it yourself can save money on labor, it’s a demanding job that involves breaking concrete, digging a pit, and handling both plumbing and electrical connections. If something goes wrong, the cost of fixing mistakes could easily surpass the initial savings. Professional sump pump services offer peace of mind. You’re not just paying for labor; you’re paying for expertise, the right tools for the job, and the assurance that the system is installed correctly to handle a real emergency. A pro ensures the pit is placed perfectly, the discharge line is properly routed, and everything is up to code, protecting your home and your investment.
Factors That Influence the Final Price
The final cost of your sump pump installation is shaped by several key factors. The type of pump you select is a major one—a basic pedestal pump is more affordable than a high-powered submersible pump with a battery backup system. The complexity of the installation itself also plays a huge role. If you already have a sump pit, replacing an old pump will be less expensive than a brand-new installation that requires breaking through a concrete floor to dig a new one. Other variables include the need for a new, dedicated GFCI electrical outlet, the length and complexity of the discharge piping, and whether any local permits are required for the work.
Potential Financial Assistance Programs
Here’s a tip that could save you some money: check with your local government. Some municipalities or local wastewater management offices offer financial incentives or rebates for homeowners who install a sump pump. These programs are designed to reduce the strain on municipal sewer systems during heavy rainfall. It’s definitely worth a phone call to see if any assistance is available in your area. They may ask you to get a couple of quotes from licensed plumbers, so be prepared to shop around. This small bit of research could help offset the cost and make this essential home protection project even more affordable.
What You’ll Need for Your Sump Pump Installation
Alright, before you start digging, let’s talk prep. Getting all your ducks in a row before installation day is the secret to a smooth, headache-free project. Think of it like gathering your ingredients before you start cooking—it just makes everything easier. A little planning now will save you from making multiple trips to the hardware store later. This checklist covers everything you’ll need, from the right safety gear to the essential parts that make your sump pump system work flawlessly. Taking the time to prepare properly ensures the job is done right and, more importantly, safely.
The Tools and Safety Gear You’ll Need
First things first: safety. You’re going to be working with concrete, water, and electricity, so protecting yourself is non-negotiable. When you start breaking up the concrete for the sump pit, you absolutely must wear proper eye protection, ear protection, and a dust mask. Concrete dust is no joke. Beyond that, a good pair of work gloves will save your hands.
For tools, you’ll need a shovel and a bucket to clear out the dirt and gravel. You’ll also want a tape measure, a level, and a PVC pipe cutter. The biggest tool you’ll likely need is an electric jackhammer to break through your basement floor. Most home improvement stores offer them for rent, which is a great option for a one-time project.
A Quick List of Materials and Parts
Now for the fun part—the shopping list. Obviously, you’ll need your sump pump and a sump basin (the liner for the pit). You’ll also need several feet of PVC pipe for the discharge line, along with the right fittings and PVC cement to connect everything. A bag of gravel for the base of the pit and some ready-mix concrete to patch the floor are also essential.
Two critical components you can’t forget are a check valve and a gate valve. The check valve is a one-way door that stops water from flowing back into the pit after it’s been pumped out. The gate valve acts as a manual shut-off, which is handy for maintenance. If you’re sourcing everything yourself, expect to spend between $300 and $600. If that sounds like a lot to manage, our team offers professional sump pump services to handle it all for you.
Do You Need a Permit? A Note on Local Codes
Before you break ground, it’s smart to do a little homework. Depending on where you live in the Metro Detroit area, you might need a permit from your local municipality to install a sump pump, especially if you’re connecting it to the city’s drainage system. This isn’t just red tape; it ensures your installation is up to code and won’t cause issues for you or your neighbors down the line. A quick call to your city’s building department can clear up any questions. When you work with a professional plumber, they handle all the permitting for you, ensuring everything is done by the book. If you have questions about local requirements, feel free to contact us.
Your Step-by-Step Sump Pump Installation Guide
Alright, you’ve chosen your pump and you’re ready to get it installed. This project involves breaking concrete, plumbing, and electrical work, so it’s a serious undertaking. While it’s possible to do it yourself if you have the right skills and tools, many homeowners find peace of mind by leaving it to the professionals. If you’re feeling unsure at any point, remember that a proper installation is key to preventing a flooded basement. Our team is always here to provide expert sump pump services and ensure your home is protected.
For the confident DIY-er, here’s a breakdown of the installation process. Before you begin, double-check your local building codes for any specific requirements or permits needed for sump pump installation and drainage. Safety should always be your top priority, so wear your protective gear and be mindful of electrical and water lines. Let’s walk through the steps to get your sump pump up and running.
Step 1: Prep Your Sump Pit Location
First, you need to find the lowest point in your basement or crawl space. This is where water will naturally collect, making it the ideal spot for your sump pit. Once you’ve marked the location, you’ll need to carefully break through the concrete floor. Using a jackhammer or a sledgehammer and chisel, create a hole that’s wide and deep enough for your sump basin—usually about 18 inches in diameter and 2 feet deep. After digging out the dirt and rock, add a few inches of gravel to the bottom of the hole. This creates a stable, level base and helps with water filtration.
Preparing the Work Area
Before you even think about breaking ground, you need to manage the mess. Jackhammering concrete creates an incredible amount of fine dust that will get into everything if you let it. Your first move should be to cover the entire area with heavy-duty plastic sheeting, taping it from floor to ceiling to create a sealed-off workspace. This simple step will save you hours of cleanup later. If your basement is already damp, consider placing sandbags around your work zone. Once you break through the concrete floor, any groundwater present will have a new place to go, and the sandbags can help contain it, preventing a muddy mess from spreading across your basement.
Digging the Sump Pit
With the area prepped, it’s time to dig. The goal is to create a hole for the sump basin that is deep and wide enough to function properly. A good rule of thumb is to dig the pit about a foot deeper than the basin itself; this extra space allows the pump to run less frequently, which extends its lifespan and keeps your basement drier. As you dig out the concrete, dirt, and rock, place it into a heavy-duty bucket for easy removal. Your objective is to have the top lip of the sump basin sit perfectly flush with the surface of your concrete floor for a clean, professional finish that won’t be a tripping hazard.
Preparing the Sump Liner
Once the pit is dug, you can prepare the sump liner, also known as the basin. Before placing the basin in the hole, it’s a great idea to lay down a layer of filter fabric. This special material is a game-changer because it prevents silt and small debris from working their way into the pit and eventually clogging your pump. Next, place the perforated basin on top of the fabric, making sure it’s perfectly level. The holes in the basin allow water to enter freely while keeping larger gravel and dirt out. Getting these small details right is what separates a temporary fix from a long-term solution, and it’s where professional sump pump services can make all the difference.
Step 2: Set Up the Pump and Discharge Line
With the pit prepared, lower the sump basin into the hole. Fill the gaps around the outside of the basin with more gravel to hold it securely in place, then place your pump inside. Next, it’s time to set up the discharge system. Attach a PVC pipe to the pump’s discharge port, using PVC primer and cement to create a watertight seal. Run this pipe up the wall and out of your house through the rim joist. It’s crucial that the exterior pipe slopes downward, carrying water at least six feet away from your home’s foundation to prevent it from seeping back into the basement.
Positioning the Pump
Once your pump is in the basin, a few details make all the difference. Make sure the pump is sitting level and not touching the sides of the basin, which could interfere with the float switch. The float needs to move freely to activate the pump at the right time. For safety, always plug the pump into a ground-fault circuit interrupter (GFCI) outlet. This type of outlet is designed to shut off power instantly if it detects a problem, which is a critical safety feature when you have electricity and water in the same place. This simple step is one of the most important for preventing electrical hazards in your basement.
Choosing and Assembling Pipes and Valves
Now it’s time to build the discharge line that will carry water away. Start by connecting a PVC pipe to the pump’s discharge port. To create a strong, watertight seal, you’ll need to use both PVC primer and cement on the pipe and fittings. A crucial piece to install here is the check valve. Think of it as a one-way gate; it allows water to be pushed out but snaps shut to prevent it from flowing back down into the pit after the pump turns off. This prevents your pump from having to pump the same water twice, which saves wear and tear on the motor and keeps the system running efficiently.
Piping for a Backup Pump
If you’re installing a backup system—and you absolutely should—the process is similar. Whether you chose a battery-powered or water-powered backup, it will need its own connection to the main discharge line. This usually involves adding a Y-fitting and a second check valve to the PVC pipe above your primary pump. This ensures both pumps can discharge water without interfering with each other. Getting this connection right is essential for the backup system to work when you need it most. Because this step adds a layer of complexity, it’s often when homeowners decide to call for professional sump pump services to guarantee everything is installed correctly for total peace of mind.
Step 3: Connect the Power (Safely!)
This is the most critical step for safety. Your sump pump must be plugged into a Ground Fault Circuit Interrupter (GFCI) outlet. This special outlet is designed to shut off power instantly if it detects a fault, preventing electrical shock in wet conditions. If you don’t have a dedicated GFCI outlet near your sump pit, you’ll need to have one installed. Due to the risks involved, we strongly recommend hiring a licensed electrician for this part of the job. Messing with your home’s wiring is not the place to cut corners. If you need help, don’t hesitate to contact a professional.
Step 4: Test Everything and Wrap It Up
Once everything is connected, it’s time for a test run. Pour a few buckets of water into the sump pit until the water level rises enough to lift the pump’s float switch. This should trigger the pump to turn on automatically. Watch as it pumps the water out through the discharge pipe. Check for leaks at all the pipe connections and make sure the water is flowing freely away from your foundation outside. If everything works as it should, you can place the lid on the sump basin to keep out debris. Test your pump every few months to ensure it’s always ready for the next big rainstorm.
Finishing the Concrete Floor
The final construction step is to repair the concrete floor around your new sump basin. This isn’t just about making it look good; it’s about creating a safe, seamless surface that restores your floor’s integrity. You’ll use a ready-mix concrete patch to fill the gap you created. After mixing the concrete according to the package directions, pour it into the space around the basin. As you smooth the surface with a trowel, pay close attention to the top of the sump pit. You want to make sure the lid sits perfectly flush with the floor, or even slightly recessed, to eliminate any tripping hazards. A clean, level finish is the hallmark of a professional job. If you’re not confident in getting that perfect finish, remember that expert sump pump services handle every detail from start to finish, ensuring your basement is not only dry but also safe.
Sump Pump Installation Mistakes to Avoid
Installing a sump pump can feel like a major win for any homeowner. But a few common missteps can turn your weekend project into a future headache. Even the most careful DIY-er can overlook a small detail that makes a big difference in how well the system works. Getting these things right from the start will save you from dealing with a damp basement down the road. Let’s walk through the most frequent installation errors so you can sidestep them completely and ensure your hard work pays off.
Mistake #1: Wrong Pit Size or Location
Where you put the sump pit is just as important as the pump itself. The golden rule is to place the pit in the lowest part of your basement, which is naturally where water will collect first. A common mistake is guessing or placing it where it’s most convenient. Take the time to find that true low spot. The pit also needs to be deep and wide enough for the pump and its float switch to operate without obstruction. Make sure it’s at least 10 inches away from your foundation walls to prevent any structural issues.
Mistake #2: Forgetting Electrical Safety
Water and electricity are a dangerous mix, and your basement is a prime spot for potential hazards. One of the most critical safety steps is plugging your sump pump into a Ground Fault Circuit Interrupter (GFCI) outlet. This special outlet is designed to shut off the electrical circuit instantly if it detects a fault, protecting you from electric shock. Skipping this step is a serious risk. If you don’t have a GFCI outlet nearby or you’re not comfortable with electrical work, this is the perfect time to call in the pros for your sump pump services.
Mistake #3: Common Discharge Line Problems
The discharge line’s job is to carry water out of the pit and far away from your home. A frequent error is forgetting to install a check valve on the line. This simple, one-way valve is essential because it stops water from flowing back into the pit after the pump shuts off, which would cause the pump to cycle on and off constantly. Another issue is poor discharge planning. The pipe must slope downward away from your house and release water at least 10 feet from your foundation. If not, you’re just dumping water right back where it can seep into your basement again.
Illegal Sewer Connections
This next mistake isn’t just a bad idea—it’s often illegal and can create a huge mess for you and your neighbors. It might seem convenient to connect your sump pump’s discharge line directly to your home’s main sewer pipe, but this is a major code violation. Your sanitary sewer line is designed to handle household waste, not gallons of groundwater. During a heavy storm, when your pump is working overtime, that extra water can overwhelm the municipal sewer system. The result? A disgusting and hazardous sewage backup right into your basement. To avoid this nightmare scenario, your pump must discharge water outside to your yard or a dedicated storm drain. This is one of those rules that professional sump pump services never bend, because the consequences are just too severe.
Simple Sump Pump Maintenance
Getting your sump pump installed is a huge step toward a dry, protected basement. But the work doesn’t stop there. Just like any other important appliance in your home, your sump pump needs a little TLC to keep it running reliably. Think of it as a quick check-up to ensure it’s ready to spring into action when the next big storm hits Metro Detroit. A few simple, routine checks can save you from the headache and expense of water damage, giving you valuable peace of mind. Taking just a few minutes every season to perform some basic maintenance is a small investment of your time that protects a much larger investment: your home. It’s the best way to make sure your first line of defense against a flooded basement is always ready for duty.
Easy DIY Tests and Cleaning Tips
You don’t have to be a plumbing pro to make sure your sump pump is in good working order. The easiest way to test it is by slowly pouring a bucket of water into the sump pit. As you pour, watch to see if the float switch rises with the water level and activates the pump. The pump should turn on, drain the water from the pit, and then shut off automatically once the water level drops. While you’re there, it’s a good idea to unplug the pump and check the intake screen for any small rocks, mud, or debris that could cause a clog. A quick clean-out helps the pump operate efficiently and prevents blockages that could lead to failure when you need it most.
Your Seasonal Maintenance Checklist
A little proactive care goes a long way. It’s a good idea to inspect your sump pump every few months, especially before the rainy spring season or a big winter thaw. This simple routine helps your system last longer and work effectively.
Here’s a quick checklist to follow:
- Test the pump: Use the bucket-of-water method described above to confirm it’s turning on and off correctly.
- Clean the pit: Remove any dirt, gravel, or other debris from the bottom of the sump pit that could interfere with the pump or float switch.
- Check the float switch: Make sure it moves freely without getting stuck on the sides of the pit or tangled in wires.
- Inspect the discharge pipe: Walk outside to where the pipe drains and ensure it’s clear of obstructions like leaves, dirt, or ice.
Maintaining Your Backup System
Your main sump pump isn’t the only hero in the basement—its backup deserves some attention, too. After all, it’s your ultimate safety net during a power outage. For battery backups, check the battery terminals for corrosion a few times a year and make sure the connections are tight. Most systems have a self-testing feature or an indicator light that will tell you if the battery needs replacing, which is typically every 3-5 years. To test it manually, unplug your main pump and pour water into the pit to ensure the backup kicks on automatically. If you have a water-powered system, just make sure its dedicated water line is clear and unobstructed. A few minutes of maintenance ensures your backup is ready when you need it most, preventing a power outage from becoming a full-blown plumbing emergency.
When to Call in the Experts
While DIY checks are great for routine upkeep, some situations require a professional touch. If your pump makes strange grinding or rattling noises, runs constantly even when there’s no water, or fails to turn on during your test, it’s time to call for help. Trying to fix complex electrical or mechanical issues yourself can be dangerous and often leads to bigger, more expensive problems. For peace of mind and reliable repairs, our team at Mr. Pipey offers expert sump pump services to keep your system in perfect condition. A professional inspection can catch issues you might miss and ensure your basement stays dry all year round.
Frequently Asked Questions
My sump pump runs constantly, even when it’s not raining. Is this a problem? Yes, that’s a sign that something isn’t right. A sump pump that runs nonstop could be struggling with a high water table, a stuck float switch, or a missing or broken check valve that’s allowing water to flow back into the pit. Letting it run continuously will burn out the motor prematurely. It’s best to have a professional diagnose the specific cause to protect your pump and your basement.
How long does a sump pump typically last? Most quality sump pumps have a lifespan of about 7 to 10 years. This can vary depending on how often it runs, the quality of the pump, and how well it’s maintained. If your pump is getting close to the 10-year mark, it’s a good idea to start thinking about a replacement before it fails during a critical time.
Is a battery backup system really that important? Think of it this way: the worst storms are often the ones that knock out the power. A battery backup system is your insurance policy for when that happens. It ensures your basement stays dry even when the electricity is out, which is precisely when your home is most vulnerable to flooding. It’s a relatively small investment for major peace of mind.
Where should the discharge pipe drain the water? The discharge pipe must carry water far away from your home’s foundation. A good rule of thumb is to make sure the pipe extends at least 10 feet from your house and slopes downward so gravity can do its job. If you drain the water too close, it will just soak back into the ground and cycle right back into your sump pit, forcing your pump to work harder than it needs to.
How often should I test my sump pump? A quick test every three to four months is a great habit to get into. It’s also smart to check it before the start of the rainy season or any time a major storm is in the forecast. Simply pour a bucket of water into the pit to make sure the float switch engages and the pump turns on and off properly. This simple check ensures it’s ready to work when you need it most.