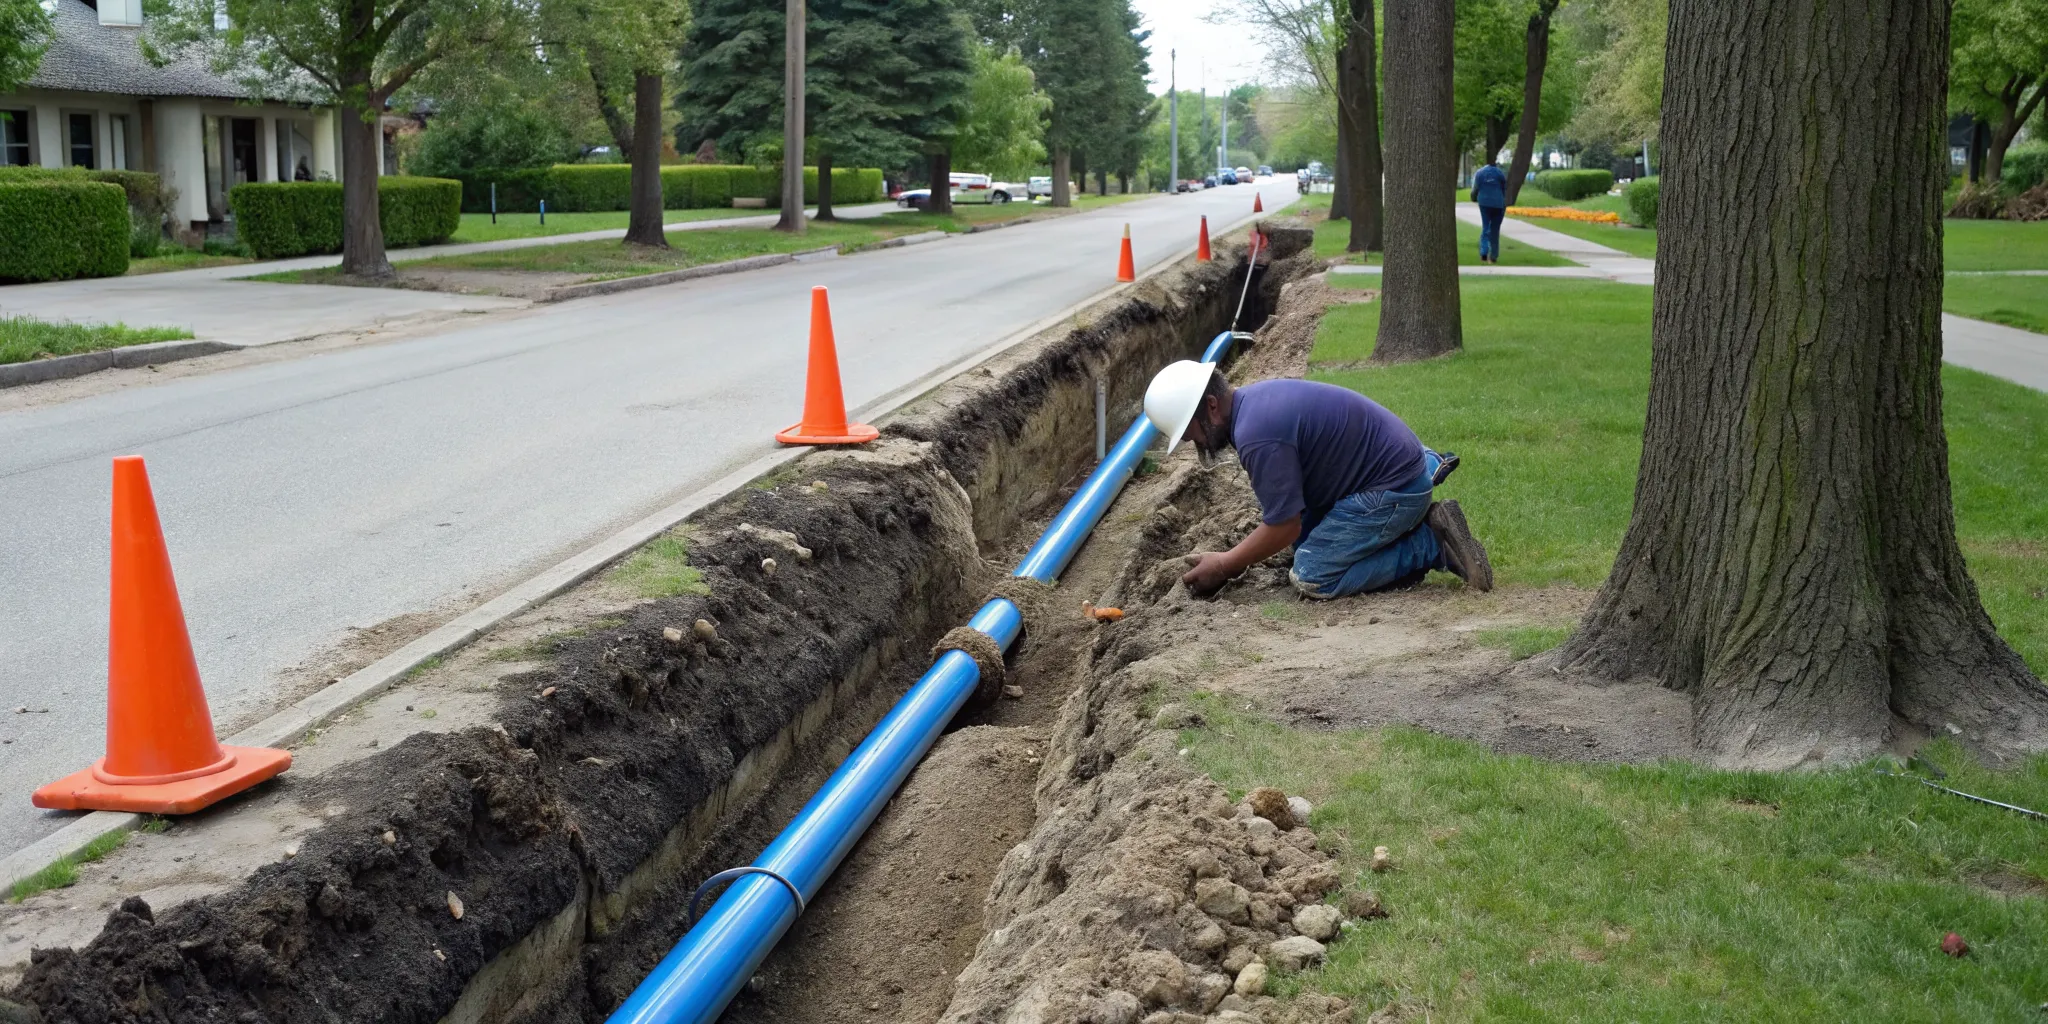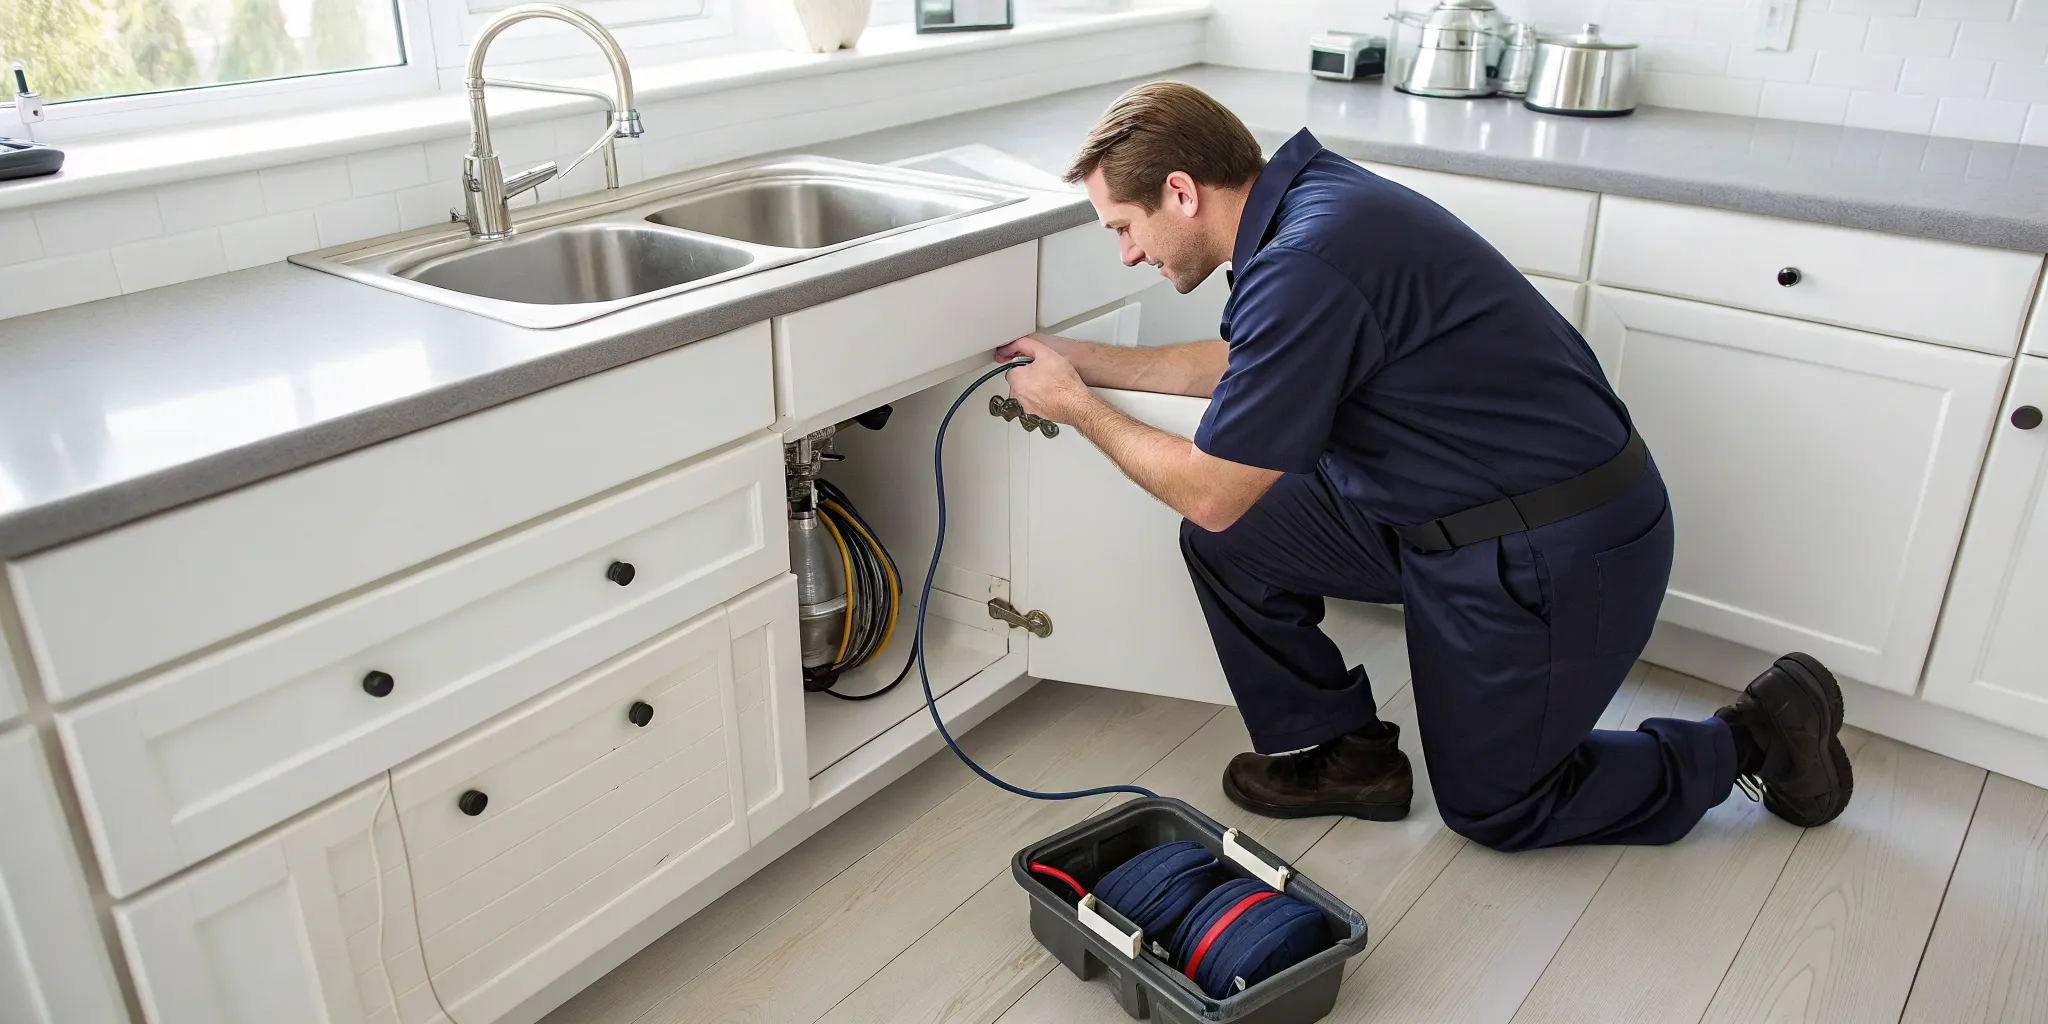

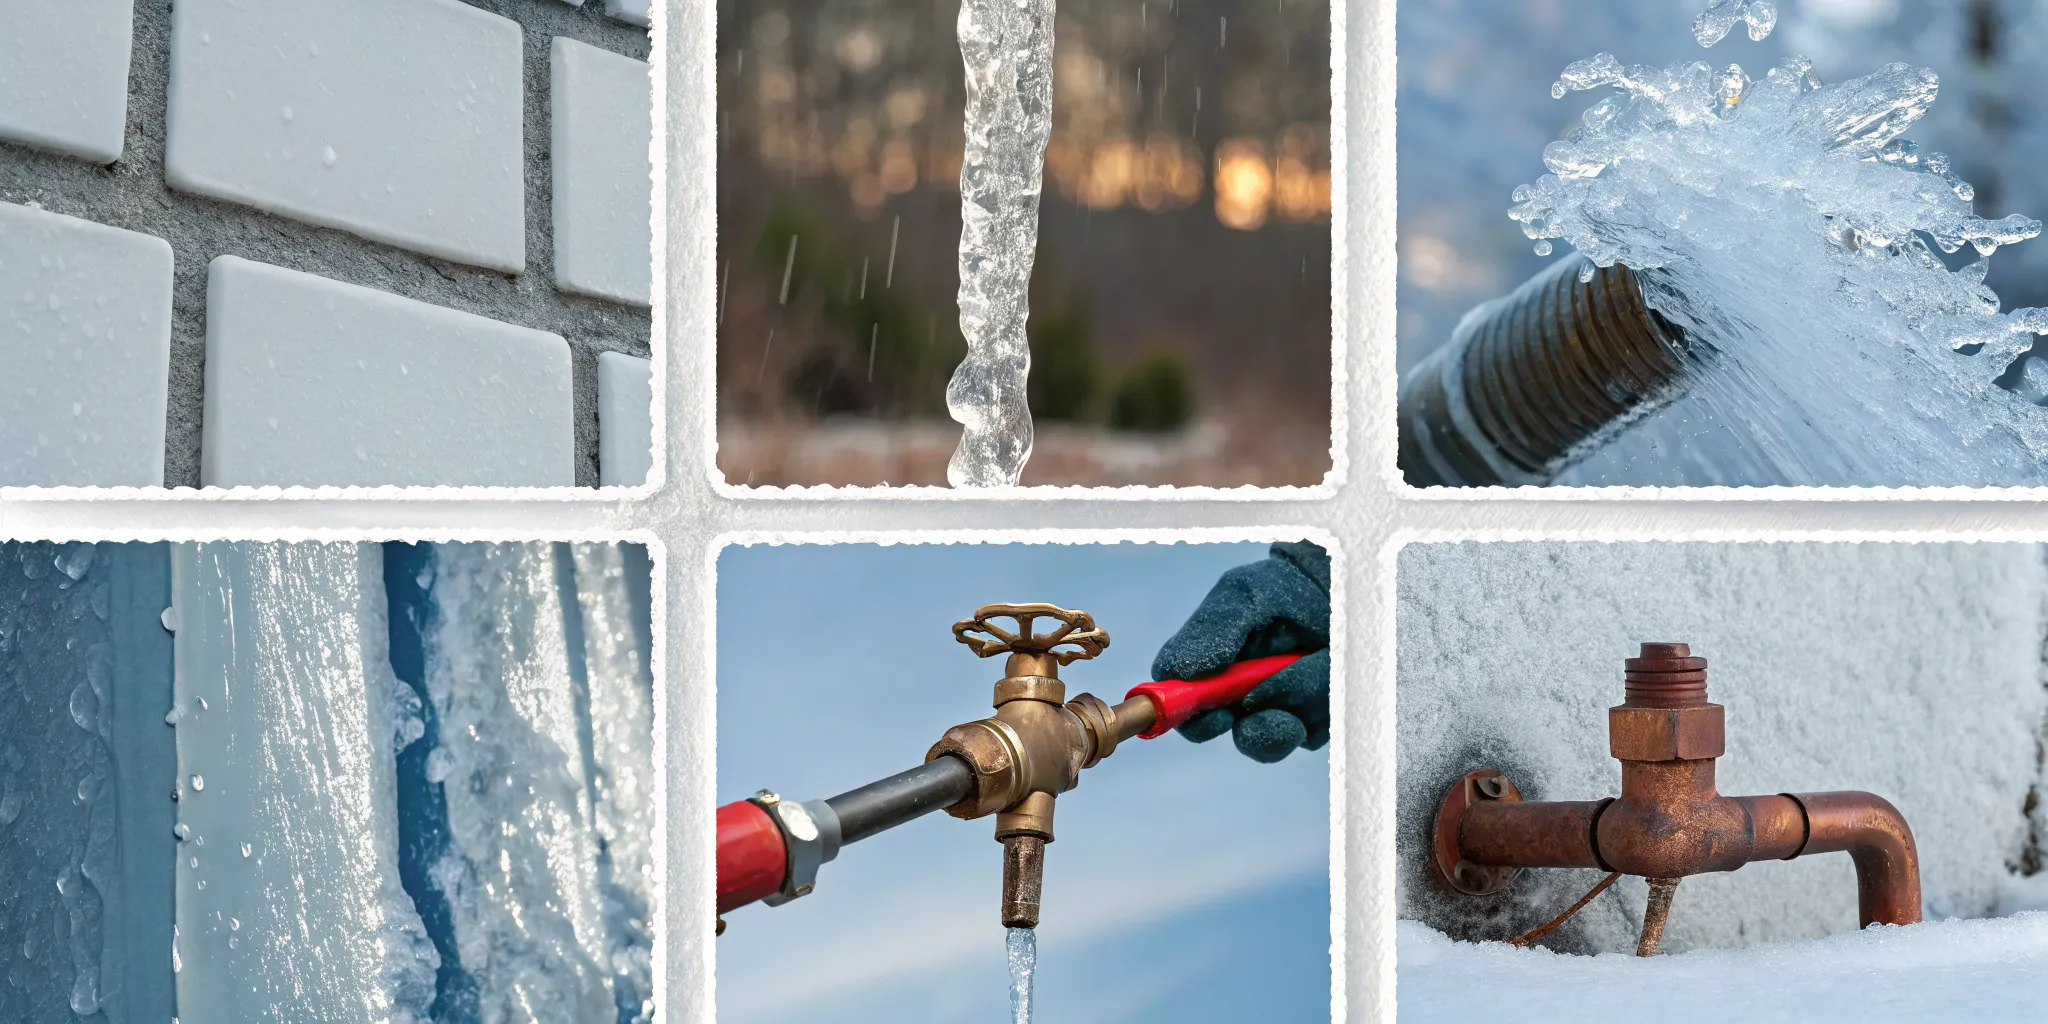
A burst pipe can feel like a home invasion, with water causing damage wherever it goes. While the situation is serious, your quick actions can dramatically reduce the impact. Knowing what to do in the first few minutes is critical, from shutting off the main water supply to making the right call for help. This article is your comprehensive guide to navigating this plumbing crisis. We will cover everything from identifying the initial problem to understanding the costs and, most importantly, preventing it from ever happening again. We’ll explain when a DIY fix is possible and when you need professional frozen pipe burst repair to ensure the job is done right.
Key Takeaways
- Recognize the Warning Signs and Act Immediately: A trickle of water, strange gurgling sounds, or frost on a pipe are all red flags for a frozen line. If you suspect a pipe has already burst, your first move should always be to shut off the main water supply to stop the damage from spreading.
- Leave Major Repairs to the Experts: While a quick DIY patch might seem like a good idea, a burst pipe repair is best left to a professional. An expert not only fixes the immediate break but also addresses the underlying cause, ensuring the repair is permanent and giving you long-term peace of mind.
- Proactive Prevention Saves You Money and Stress: The best way to deal with a burst pipe is to prevent it from ever happening. Simple actions like insulating pipes in cold areas, sealing air leaks, and letting a faucet drip during a freeze can save you from thousands of dollars in potential repairs and water damage.
Frozen or Burst Pipe? Key Signs to Spot
When the temperature drops, the last thing you want is a plumbing disaster. But how do you know if your pipes are just cold or on the verge of bursting? A frozen pipe doesn’t always announce itself with a bang and a flood. Sometimes, the signs are subtle. Paying attention to your home’s signals is the first step in catching a problem before it turns into a catastrophe. If you notice any of the following signs, it’s time to act fast. Knowing what to look and listen for can save you from significant stress and costly water damage.
No Water (or Just a Trickle)
You turn on a faucet, and instead of a steady stream, you get a weak trickle or nothing at all. This is one of the most common and obvious signs of a frozen pipe. Somewhere along the line, water has frozen solid, creating an ice blockage that prevents more water from flowing through. While it might seem like a minor annoyance, it’s a major red flag. The pressure building up behind that ice dam can cause the pipe to crack or burst. This is a clear warning that you need to address your frozen pipes before the pressure causes a break.
Frost, Bulges, or Cracks on the Pipe
If you have any exposed pipes in your home, like those in a basement, crawl space, or under a sink, give them a quick visual inspection. A pipe that is frozen on the inside will often have a layer of frost on the outside. Even more alarming are visible bulges or cracks. When water freezes, it expands with incredible force. A bulge means the pipe is stretching under this intense pressure and is dangerously close to bursting. A visible crack, even a small one, means the pipe has already failed. If you see a bulge or frost, don’t wait for it to get worse.
Strange Noises from Your Plumbing
Your plumbing system should be relatively quiet. If you suddenly start hearing strange noises coming from your walls or pipes, listen closely. Gurgling, banging, or clanking sounds can all indicate a problem with a frozen pipe. These noises are caused by water trying to force its way around an ice blockage. You might also hear water sputtering inside a wall, which could mean the pipe has a small leak. These sounds are your plumbing’s cry for help, and it’s often a situation that requires emergency plumbing services to prevent a full-blown crisis. Don’t ignore what your house is trying to tell you.
Damp Spots, Puddles, or Warped Walls
This is the sign no homeowner wants to see, as it usually means a pipe has already burst. Water damage is often the first clear indicator of a broken pipe, especially for pipes hidden behind walls or ceilings. Look for damp or discolored patches on your drywall, peeling paint, or flooring that feels soft or warped. You might also notice a musty, damp smell in a specific area of your home. Even a small puddle can indicate a much larger problem lurking out of sight. If you find any unexplained water, it’s crucial to act immediately to stop the leak and prevent further structural damage.
Suspect a Burst Pipe? Take These Steps Immediately
That sinking feeling when you spot water where it shouldn’t be is something no homeowner wants. A burst pipe can feel overwhelming, but taking immediate, decisive action can save you from extensive and costly water damage. The key is to stay calm and work through a checklist. Think of it as damage control. By following these six steps, you can contain the situation and get professional help on the way. Remember, what you do in the first few minutes matters most.
Shut Off the Main Water Supply
Before you do anything else, find and turn off your home’s main water shut-off valve. This is the single most important step, as it stops more water from flooding your home. The valve is usually located where the main water line enters your house, often in the basement, a crawl space, or a utility closet. Make sure everyone in your household knows where this valve is and how to turn it. If you can’t find it, this guide on how to find your water shut-off valve can help. Once the water is off, the immediate crisis is contained, and you can move on to the next steps.
Drain Your Pipes
After you’ve shut off the main water supply, you need to get the remaining water out of your plumbing system. Go through your house and turn on every faucet, both hot and cold. Don’t forget the tubs and showers. Flush all your toilets a few times until the tanks no longer refill. This process drains the pipes completely, relieving built-up pressure and reducing the amount of water that can leak from the break. It’s a simple but effective way to minimize further water damage while you wait for a repair.
Cut Power to Wet Areas
Water and electricity are a dangerous combination. If water is leaking near electrical outlets, appliances, or your breaker box, you must prioritize safety. Head to your electrical panel and shut off the power to any affected areas. If you see ceilings bulging with water or have water running down walls, it’s safest to turn off the main breaker for the entire house. Never touch electrical devices or stand in water while doing this. Your safety is paramount, and preventing an electrical shock or fire is a non-negotiable step in this process.
Dry Everything Out
Now it’s time to start cleanup. The faster you can remove the water, the better your chances of preventing mold growth and long-term structural damage. Grab a wet/dry vacuum if you have one, along with mops, buckets, and plenty of old towels. Soak up as much water as you can from floors, carpets, and furniture. If the damage is significant, you may need to rent industrial fans and dehumidifiers to help dry out the space thoroughly. This initial cleanup can make a huge difference in the final restoration effort.
Document the Damage
Before you move anything or start major repairs, take a moment to document everything for your insurance claim. Use your phone to take clear photos and videos of the burst pipe, the flow of water (if it’s safe to do so), and all the resulting damage. Capture images of soaked carpets, damaged walls, and ruined belongings. A detailed record is crucial when you file a homeowners insurance claim for water damage. This evidence will support your case and help ensure you get the coverage you’re entitled to for repairs and replacements.
Call an Emergency Plumber
With the immediate situation under control, your final step is to call a professional. A burst pipe isn’t a DIY fix; it requires an expert to assess the damage and perform a lasting repair. When you call, clearly explain that you have a burst pipe and it’s an emergency. Here in Metro Detroit, a trusted professional can get to you quickly. At Mr. Pipey, we offer 24/7 emergency plumbing services because we know that disasters don’t wait for business hours. The sooner a plumber arrives, the sooner your home’s plumbing can be restored and your life can get back to normal.
Frozen Pipe Burst Repair: DIY or Call a Pro?
When you’re staring at a burst pipe, the instinct to fix it yourself can be strong. You want the problem solved immediately, and maybe you’re hoping to save some money. While the DIY spirit is admirable, a burst pipe is a serious plumbing emergency that often requires a professional touch. Deciding whether to grab your tools or your phone is a critical first step. Let’s walk through what you can realistically handle and when it’s time to bring in an expert.
When to DIY a Pipe Repair
Honestly, most burst pipe situations are best left to the pros. However, if you have some plumbing experience, you might be able to handle a very minor issue as a temporary fix. For example, if you can see a small, accessible leak or need to thaw an exposed pipe, a DIY approach could work until a plumber can arrive. These fixes are almost always short-term solutions. If the pipe has truly burst, the leak is behind a wall, or you’re dealing with pipes that freeze repeatedly, it’s not a DIY job. Attempting a major repair without the right skills can lead to more water damage and a much bigger bill.
Your DIY Toolkit and Materials
If you’re attempting a temporary patch on a burst pipe, you’ll need more than a roll of duct tape. Professional-grade repairs require specific tools and materials. A basic toolkit for a temporary fix on copper or PEX pipes would include push-to-connect fittings like a slip coupling, a pipe cutter, and a deburring tool. The deburring tool is essential for cleaning the pipe ends and ensuring the new fitting can create a watertight seal. You’ll also need a new section of pipe to replace the damaged piece. Gathering these materials can be a challenge in an emergency, which is another reason why having a professional on call is so valuable.
A Step-by-Step DIY Repair Guide
For those set on a temporary fix, precision is key. First, after shutting off the water, you need to cut out the burst section of the pipe using a pipe cutter. Be sure to cut far enough on either side of the break to remove any compromised pipe. Next, use a deburring tool to clean the sharp edges from the inside and outside of the remaining pipe ends. Then, you can push a slip coupling onto one end of the pipe, insert the new piece of pipe, and slide the coupling over to connect it. This is a simplified overview, and a mistake at any step can cause another leak.
Common DIY Mistakes (and How to Avoid Them)
The most common DIY mistake is not removing all of the damaged pipe. A hairline fracture can extend further than you think, so it’s important to cut back to a completely solid section. Another frequent error is failing to properly clean and deburr the pipe ends before attaching a new fitting. Any small burr or piece of debris can prevent a watertight seal, leading to a slow drip that can cause damage over time. Rushing the job or using the wrong materials are also common pitfalls. A temporary fix that fails can cause a second round of water damage, making the initial problem much worse.
When to Call a Professional
The moment you suspect a burst pipe is the moment you should call a professional. This is especially true for leaks behind walls, major bursts, or if you’re not 100% confident in your plumbing skills. Plumbers are incredibly busy during a cold snap, so calling for emergency plumbing services right away is crucial. A professional plumber from Mr. Pipey won’t just patch the leak; we’ll assess the entire situation, identify why the pipe burst, and recommend permanent solutions. We can handle complex frozen pipe repair and ensure your home is protected from future incidents, giving you peace of mind that the job is done right.
Breaking Down the Cost of a Burst Pipe Repair
When you’re dealing with a burst pipe, the last thing you want is a surprise bill. Understanding the potential costs can help you feel more in control during a stressful time. The final price tag isn’t just for the pipe itself; it’s a combination of several factors, from the initial thaw to any water damage cleanup. Let’s walk through what you can expect so you can prepare financially and make informed decisions.
A burst pipe is an urgent problem, and knowing the financial breakdown ahead of time can remove some of the anxiety from the situation. The total cost includes not only the immediate fix but also any secondary services required to get your home back to normal. From the moment a plumber arrives for an emergency call to the final touches of restoring a water-damaged wall, each step has an associated cost. We believe in transparency, so we want to give you a clear picture of what goes into a burst pipe repair bill. This way, you can face the situation with confidence, knowing what to anticipate. It helps to think of the total expense in a few different categories: the initial service call, the pipe repair itself, any emergency fees, and the cleanup. Each part is essential to resolving the problem completely.
Cost to Thaw a Frozen Pipe
If you catch a pipe while it’s frozen but before it bursts, you’re already ahead of the game. Professionally thawing a pipe is the first line of defense and is much more affordable than a full-blown repair. The cost for this service is relatively low, but it’s a crucial investment. Taking care of a frozen pipe quickly prevents the pressure buildup that leads to a burst, saving you from much larger expenses and headaches down the road. Think of it as a small price to pay for major peace of mind. Our team can handle frozen pipe repair safely and efficiently.
Cost to Repair or Replace the Pipe
Once a pipe has burst, a repair is non-negotiable. The cost can vary quite a bit, depending on where the pipe is located and how bad the break is. A simple, accessible pipe in your basement will cost less to fix than one hidden behind a tiled bathroom wall. In some cases, a simple patch will do, while in others, a whole section of pipe may need to be replaced. A professional plumber can assess the damage and give you a clear estimate for the specific plumbing repair needed to get your system back in working order.
Factoring in Emergency Service Fees
Pipe emergencies rarely stick to a 9-to-5 schedule. If you wake up to a flooded basement on a holiday or weekend, you’ll need to call for immediate help. It’s important to know that emergency plumbing services typically come with higher rates than a scheduled appointment. This premium covers the plumber’s immediate availability outside of normal business hours. While nobody loves paying extra, getting a professional on-site right away is the best way to stop the water flow and prevent the damage from getting worse, which ultimately saves you money.
The Cost of Water Damage Restoration
The cost of fixing the pipe is often just the beginning. Water from a burst pipe can quickly soak into drywall, flooring, insulation, and furniture, leading to extensive and expensive damage. The cost of water damage restoration can easily become the biggest part of your bill. This process involves water extraction, drying and dehumidifying the area, and repairing or replacing damaged materials. Acting fast is critical here; the sooner you get the water out, the better your chances of preventing mold growth and long-term structural problems.
Will Your Homeowners Insurance Cover It?
This is the million-dollar question for many homeowners. The good news is that most standard homeowners insurance policies cover sudden and accidental water damage from a burst pipe. However, coverage can be denied if the incident is linked to neglect, like if you left the heat off while you were away on vacation. It’s a great idea to pull out your policy and review the details or call your agent to understand exactly what’s covered. Knowing where you stand with your insurance can provide significant financial relief during a pipe emergency.
How to Financially Prepare for Pipe Emergencies
No one wants to think about a pipe bursting, but being financially prepared can make a huge difference. The best way to handle unexpected home repairs is to have an emergency fund set aside. Even better, you can invest in prevention. Taking proactive steps like scheduling professional pipe insulation is one of the most cost-effective ways to protect your home from freezing temperatures. A small investment in prevention now can help you avoid thousands of dollars in emergency repairs and water damage restoration later.
Prevent Future Frozen Pipes
After the stress and mess of a burst pipe, the last thing you want is a repeat performance. Thankfully, preventing frozen pipes is much easier and less expensive than dealing with the aftermath. By taking a few proactive steps, you can protect your home from the harsh Metro Detroit winters and gain valuable peace of mind. The key is to think about where your plumbing is most vulnerable, particularly pipes located in unheated areas like basements, crawl spaces, attics, or along exterior walls.
A solid prevention strategy uses a few different tactics. It involves making long-term improvements to your home, like adding insulation, and adopting simple habits during cold snaps, like letting a faucet drip. Sealing air leaks near pipes, keeping your thermostat at a consistent temperature, and properly winterizing your outdoor spigots are all crucial pieces of the puzzle. Taking these measures helps ensure water keeps flowing freely through your pipes, even when the temperatures outside plummet. For a comprehensive look at how to protect your home’s plumbing system, you can explore a range of expert plumbing solutions.
Insulate Your Pipes
Your first line of defense against freezing is insulation. Pipes in unheated or poorly heated areas like basements, crawl spaces, and garages are the most at risk. You can find pipe sleeves or foam insulation at any hardware store, which are easy to cut to size and wrap around exposed pipes. Pay close attention to any pipes located along exterior walls. While you might not be able to see them, you can add insulation to the wall cavity if you’re doing other renovations. For a more robust solution, consider professional pipe insulation, which ensures every vulnerable point is covered correctly for maximum protection.
Seal Air Leaks Near Pipes
Even a small, chilly draft can be enough to freeze a pipe. Take some time to inspect your home’s foundation and exterior walls, especially where pipes and utility lines enter the house. Use caulk or spray foam to fill any visible cracks, gaps, or holes. This simple step does more than just protect your pipes; it also helps keep your home warmer and can even lower your energy bills by preventing cold air from seeping in. Sealing these leaks is a quick and inexpensive way to make a big difference in preventing a future plumbing emergency.
Keep the Heat Circulating
Consistent warmth is essential during the winter. Even if you’re leaving for a few days, you should never turn your heat completely off. Keep your thermostat set to at least 55 degrees Fahrenheit at all times to ensure the ambient temperature in your home is warm enough to protect your plumbing. For pipes located inside cabinets, like under your kitchen or bathroom sink, open the cabinet doors during extreme cold snaps. This allows the warmer air from your home to circulate around the pipes, preventing them from freezing over.
Let Faucets Drip in a Cold Snap
When you hear that a deep freeze is on its way, one of the easiest and most effective preventative measures is to let your faucets drip. You don’t need a steady stream; a slow, consistent drip from the faucet furthest from where the water enters your home is enough. This works because moving water freezes much more slowly than stationary water. It also relieves pressure building up inside the pipes, which is what ultimately causes them to burst. This simple action can be a true lifesaver for your plumbing during a bitter cold spell.
Winterize Your Outdoor Faucets
Your outdoor faucets, or hose bibs, are extremely susceptible to freezing if they aren’t properly prepared for winter. Before the first frost hits, make sure to disconnect all garden hoses. Next, find the shut-off valve for your outdoor faucets (usually located in the basement or a crawl space) and turn it off. Then, go back outside and open the faucets to allow any remaining water to drain out completely. Leaving the outdoor faucet open all winter ensures that any trapped water won’t freeze, expand, and crack the pipe, saving you from a costly repair come spring.
Schedule Professional Pipe Insulation
If you have pipes that seem to freeze every winter no matter what you do, it might be time to call in a professional. Some pipes may be located in an uninsulated wall or a poorly routed area that makes them chronically vulnerable. A professional plumber can assess your home’s unique layout and recommend effective, long-term frozen pipe solutions. This could involve rerouting a pipe to a warmer location or installing specialized insulation in hard-to-reach areas. While it’s an investment, professional intervention can permanently solve the problem and prevent the recurring cycle of freezing, thawing, and worrying.
Need Burst Pipe Repair in Metro Detroit? Call Mr. Pipey
There’s nothing quite like the sinking feeling of discovering a burst pipe. While you’re dealing with the initial shock, the most important first step is to shut off your main water supply to stop the flow. Once the water is off, your next call should be to a trusted plumber who can respond quickly. In Metro Detroit, our team at Mr. Pipey is ready to help. We treat every call with the urgency it deserves because we know that fast action is key to minimizing water damage. We offer 24/7 emergency plumbing services because disasters don’t stick to a 9-to-5 schedule.
Dealing with a burst pipe is stressful, and worrying about the cost is completely normal. Repair costs can vary widely depending on the pipe’s location and the extent of the damage. At Mr. Pipey, we focus on providing transparent pricing and long-lasting workmanship, so you know exactly what to expect. We’ll assess the situation and give you a clear, upfront estimate for your frozen pipe repair. Many homeowners also find that their insurance policy helps cover the cost of water damage, and we can provide the professional documentation you need for your claim. As a family-owned business, we stand by our 100% customer satisfaction guarantee. If you have a burst pipe, don’t wait for the damage to get worse. Contact Mr. Pipey right away for fast, reliable service you can count on.
Related Articles
- Need a 24 Hr Emergency Plumber? Read This First
- DIY Pipe Leak Repair: Your Step-by-Step Guide
- Repair a Copper Pipe Leak: A Step-by-Step Guide
- Pipe Insulation & Repair in Birmingham Hills | Mr. Pipey® Plumbing
Frequently Asked Questions
My faucet is just trickling. Is it definitely a frozen pipe? A weak trickle is a classic sign of a frozen pipe, especially if the temperature has dropped. The ice creates a blockage that stops the normal flow of water. However, it could also be something simpler, like a clogged aerator on the faucet. A good first step is to check other faucets in your house. If the problem is happening everywhere, it might be an issue with your water main. If it’s isolated to one area, a frozen pipe is the most likely culprit, and you should investigate before the pressure builds up.
I’ve heard you should use a hairdryer to thaw a frozen pipe. Is that safe? Using a hairdryer on a low heat setting is one of the safer DIY methods for thawing an exposed pipe you can see and reach. The key is to apply gentle, even heat. You should never use an open flame, like a propane torch, because it can boil the water inside, cause the pipe to burst, and create a serious fire hazard. If a hairdryer isn’t working or the pipe is behind a wall, the safest and most effective solution is to call a professional who has the right tools to thaw the pipe without causing damage.
Once I call for an emergency repair, what does the process typically look like? When our team arrives, our first priority is to make sure the situation is contained and assess the damage. We’ll locate the exact source of the break and determine the most effective way to repair it, which might involve replacing a section of the pipe. We will explain the necessary work and provide a clear, upfront estimate before we begin. After the repair is finished, we’ll test your plumbing to ensure everything is working perfectly and give you guidance on how to prevent it from happening again.
My pipe burst from the cold. Will my homeowners insurance actually cover the damage? Most standard homeowners insurance policies do cover sudden and accidental water damage, which includes damage from a burst pipe. The key words are “sudden and accidental.” Coverage could be questioned if the damage resulted from a lack of maintenance, for example, if you turned the heat off completely before leaving for a winter vacation. It’s always a good idea to take photos of the damage for your claim and to review your specific policy or call your agent to understand your coverage fully.
Is pipe insulation a project I can handle myself, or should I hire a professional? For exposed and easy-to-reach pipes in a basement or under a sink, installing foam pipe sleeves is a great DIY project that can make a big difference. You can find the materials at most hardware stores. However, if you have pipes that are behind walls, in tight crawl spaces, or seem to freeze no matter what you do, it’s best to call a professional. We can identify tricky problem spots and use specialized materials to ensure your entire system is protected for the long term.